-
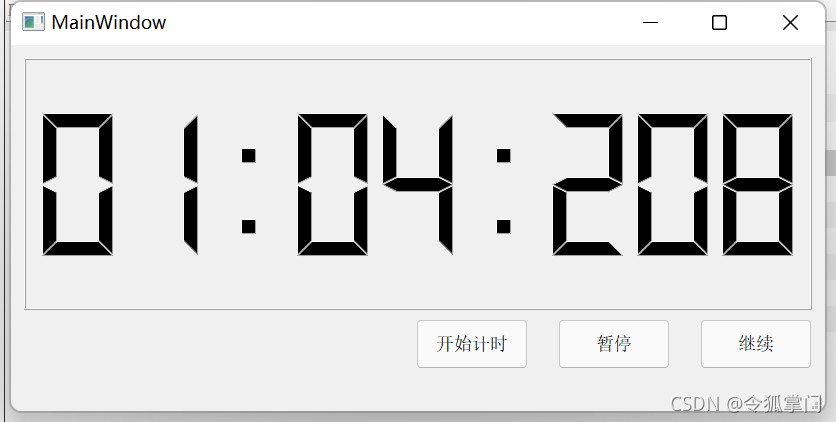
QTime的使用
-
双Qtime的实现原理

一:QTime的使用

# -*- coding: utf-8 -*-# Form implementation generated from reading ui file 'D:\Qt\QT-Projects\UI项目\时间实时更新.ui'
#
# Created by: PyQt5 UI code generator 5.12.2
#
# WARNING! All changes made in this file will be lost!from PyQt5 import QtCore, QtGui, QtWidgets
from PyQt5.QtCore import QTimer,QDateTime
from PyQt5.QtWidgets import QApplication,QDialog
import sysclass Ui_Dialog(object):def setupUi(self, Dialog):Dialog.setObjectName("Dialog")Dialog.resize(546, 272)Dialog.setMinimumSize(QtCore.QSize(546, 272))Dialog.setMaximumSize(QtCore.QSize(546, 272))Dialog.setStyleSheet("")self.label = QtWidgets.QLabel(Dialog)self.label.setGeometry(QtCore.QRect(90, 70, 351, 51))font = QtGui.QFont()font.setPointSize(13)self.label.setFont(font)self.label.setStyleSheet("background-color: rgb(85, 255, 127);")self.label.setText("")self.label.setObjectName("label")self.pushButton_start = QtWidgets.QPushButton(Dialog)self.pushButton_start.setGeometry(QtCore.QRect(90, 160, 141, 51))font = QtGui.QFont()font.setPointSize(12)self.pushButton_start.setFont(font)self.pushButton_start.setObjectName("pushButton_start")self.pushButton_stop = QtWidgets.QPushButton(Dialog)self.pushButton_stop.setGeometry(QtCore.QRect(270, 160, 171, 51))font = QtGui.QFont()font.setPointSize(12)self.pushButton_stop.setFont(font)self.pushButton_stop.setObjectName("pushButton_stop")self.retranslateUi(Dialog)QtCore.QMetaObject.connectSlotsByName(Dialog)def retranslateUi(self, Dialog):_translate = QtCore.QCoreApplication.translateDialog.setWindowTitle(_translate("Dialog", "计时器"))self.pushButton_start.setText(_translate("Dialog", "开始"))self.pushButton_stop.setText(_translate("Dialog", "停止"))self.timer = QTimer(Dialog)self.timer.timeout.connect(self.show_time)self.pushButton_stop.setEnabled(False)self.pushButton_start.setEnabled(True)self.pushButton_start.clicked.connect(self.start_timer)self.pushButton_stop.clicked.connect(self.stop_timer)def start_timer(self):self.timer.start(1000)self.pushButton_stop.setEnabled(True)self.pushButton_start.setEnabled(False)def stop_timer(self):self.timer.stop()self.pushButton_start.setEnabled(True)self.pushButton_stop.setEnabled(False)def show_time(self):time = QDateTime.currentDateTime()time_display = time.toString("yyyy-MM-dd hh:mm:ss dddd")self.label.setText("  "+time_display)if __name__ == "__main__":app = QApplication(sys.argv)window = QDialog()ui = Ui_Dialog()ui.setupUi(window)qss_style = """QLabel{border-radius:15px;}QPushButton{border-radius:15px;background-color:red;}QPushButton:hover{background-color:blue;}"""window.setStyleSheet(qss_style)window.show()sys.exit(app.exec_())
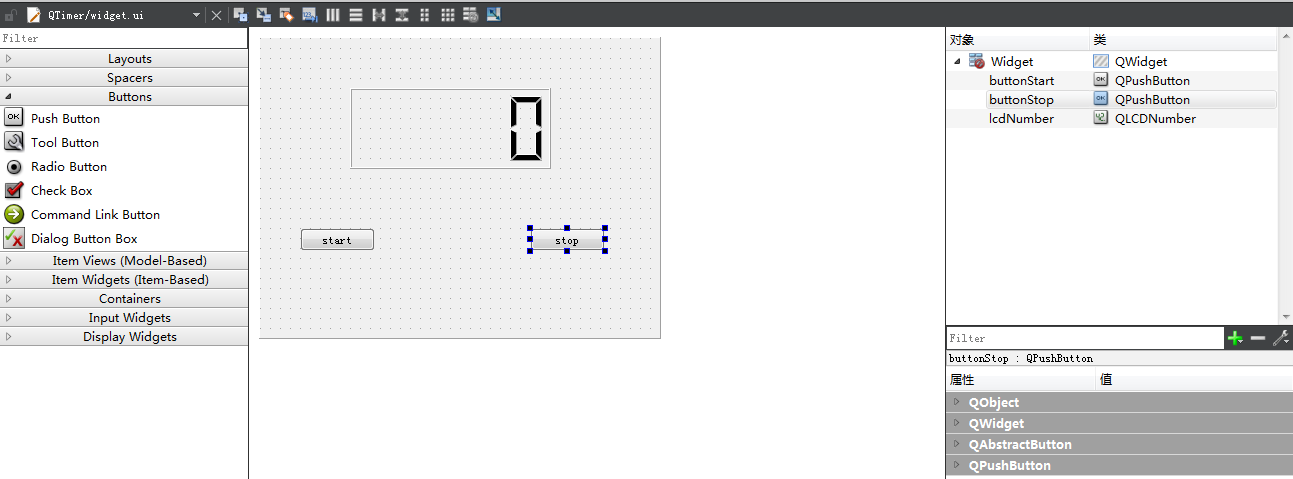
二:双Qtime的实现原理

测试用例:
# -*- coding: utf-8 -*-# Form implementation generated from reading ui file 'D:\Qt\QT-Projects\UI项目\时间实时更新.ui'
#
# Created by: PyQt5 UI code generator 5.12.2
#
# WARNING! All changes made in this file will be lost!from PyQt5 import QtCore, QtGui, QtWidgets
from PyQt5.QtCore import QTimer,QDateTime
from PyQt5.QtWidgets import QApplication,QDialog
import sysclass Ui_Dialog(object):def setupUi(self, Dialog):Dialog.setObjectName("Dialog")Dialog.resize(546, 272)Dialog.setMinimumSize(QtCore.QSize(546, 272))Dialog.setMaximumSize(QtCore.QSize(546, 272))Dialog.setStyleSheet("")self.label = QtWidgets.QLabel(Dialog)self.label.setGeometry(QtCore.QRect(90, 70, 351, 51))font = QtGui.QFont()font.setPointSize(13)self.label.setFont(font)self.label.setStyleSheet("background-color: rgb(85, 255, 127);")self.label.setText("")self.label.setObjectName("label")self.pushButton_start = QtWidgets.QPushButton(Dialog)self.pushButton_start.setGeometry(QtCore.QRect(90, 160, 141, 51))font = QtGui.QFont()font.setPointSize(12)self.pushButton_start.setFont(font)self.pushButton_start.setObjectName("pushButton_start")self.pushButton_stop = QtWidgets.QPushButton(Dialog)self.pushButton_stop.setGeometry(QtCore.QRect(270, 160, 171, 51))font = QtGui.QFont()font.setPointSize(12)self.pushButton_stop.setFont(font)self.pushButton_stop.setObjectName("pushButton_stop")self.retranslateUi(Dialog)QtCore.QMetaObject.connectSlotsByName(Dialog)def retranslateUi(self, Dialog):_translate = QtCore.QCoreApplication.translateDialog.setWindowTitle(_translate("Dialog", "计时器"))self.pushButton_start.setText(_translate("Dialog", "开始"))self.pushButton_stop.setText(_translate("Dialog", "停止"))self.timer = QTimer(Dialog)self.timer_2 = QTimer(Dialog)self.timer.timeout.connect(self.show_timer_1)self.timer_2.timeout.connect(self.show_time_2)self.pushButton_stop.setEnabled(False)self.pushButton_start.setEnabled(True)self.pushButton_start.clicked.connect(self.start_timer)self.pushButton_stop.clicked.connect(self.stop_timer)def start_timer(self):self.timer.start(500)print("计时器1打开操作 - 已经执行!")self.timer_2.start(500)print("计时器2打开操作 - 已经执行!")self.pushButton_stop.setEnabled(True)self.pushButton_start.setEnabled(False)def stop_timer(self):self.timer.stop()#self.timer_2.stop()print("计时器1关闭操作 - 已经执行!")self.pushButton_start.setEnabled(True)self.pushButton_stop.setEnabled(False)def show_timer_1(self):print(">>>计时器1的输出!")def show_time_2(self):print(">>>计时器2的输出!")#pass# time = QDateTime.currentDateTime()# time_display = time.toString("yyyy-MM-dd hh:mm:ss dddd")# self.label.setText("  "+time_display)if __name__ == "__main__":app = QApplication(sys.argv)window = QDialog()ui = Ui_Dialog()ui.setupUi(window)qss_style = """QLabel{border-radius:15px;}QPushButton{border-radius:15px;background-color:red;}QPushButton:hover{background-color:blue;}"""window.setStyleSheet(qss_style)window.show()sys.exit(app.exec_())
测试结果: