PHP项目部署到云服务器(CentOS+HTTP+PHP+MYSQL)

article/2025/9/22 21:27:55

如何将写好的项目部署到云服务器,让外界可以通过互联网访问项目网站。以下使用的是腾讯云服务器操作,系统环境为CentOS7.9。

一、购买云服务器

打开腾讯云官网,注册好自己的平台账号。如果是新人的话去新人专区购买服务器,性价比高。

这里可以选的服务器有轻量云服务器、云服务器CVM。两者都可以指定自己的操作系统,配置自定义环境上没有区别。轻量云服务器带宽比云服务器CVM大,但是轻量云服务器有流量限制,云服务器CVM是没有流量限制的,但轻量云性价比高。以下操作轻量云服务器还是云服务器CVM可以部署。

二、开放安全组(防火墙)

有效去防止入侵者去攻击服务器,不建议全部端口开放。

这里把以下端口开放

80WEB服务
443HTTPS服务
3306MySQL
22登录服务器
ICMPPing

三、部署云服务器环境

 1,安装HTTPD服务器

[root@localhost ~]# yum install httpd -y

2,启用HTTPD服务并设置开机启动

[root@localhost ~]# systemctl start httpd

[root@localhost ~]# systemctl enable httpd 

3,测试网站是否能访问
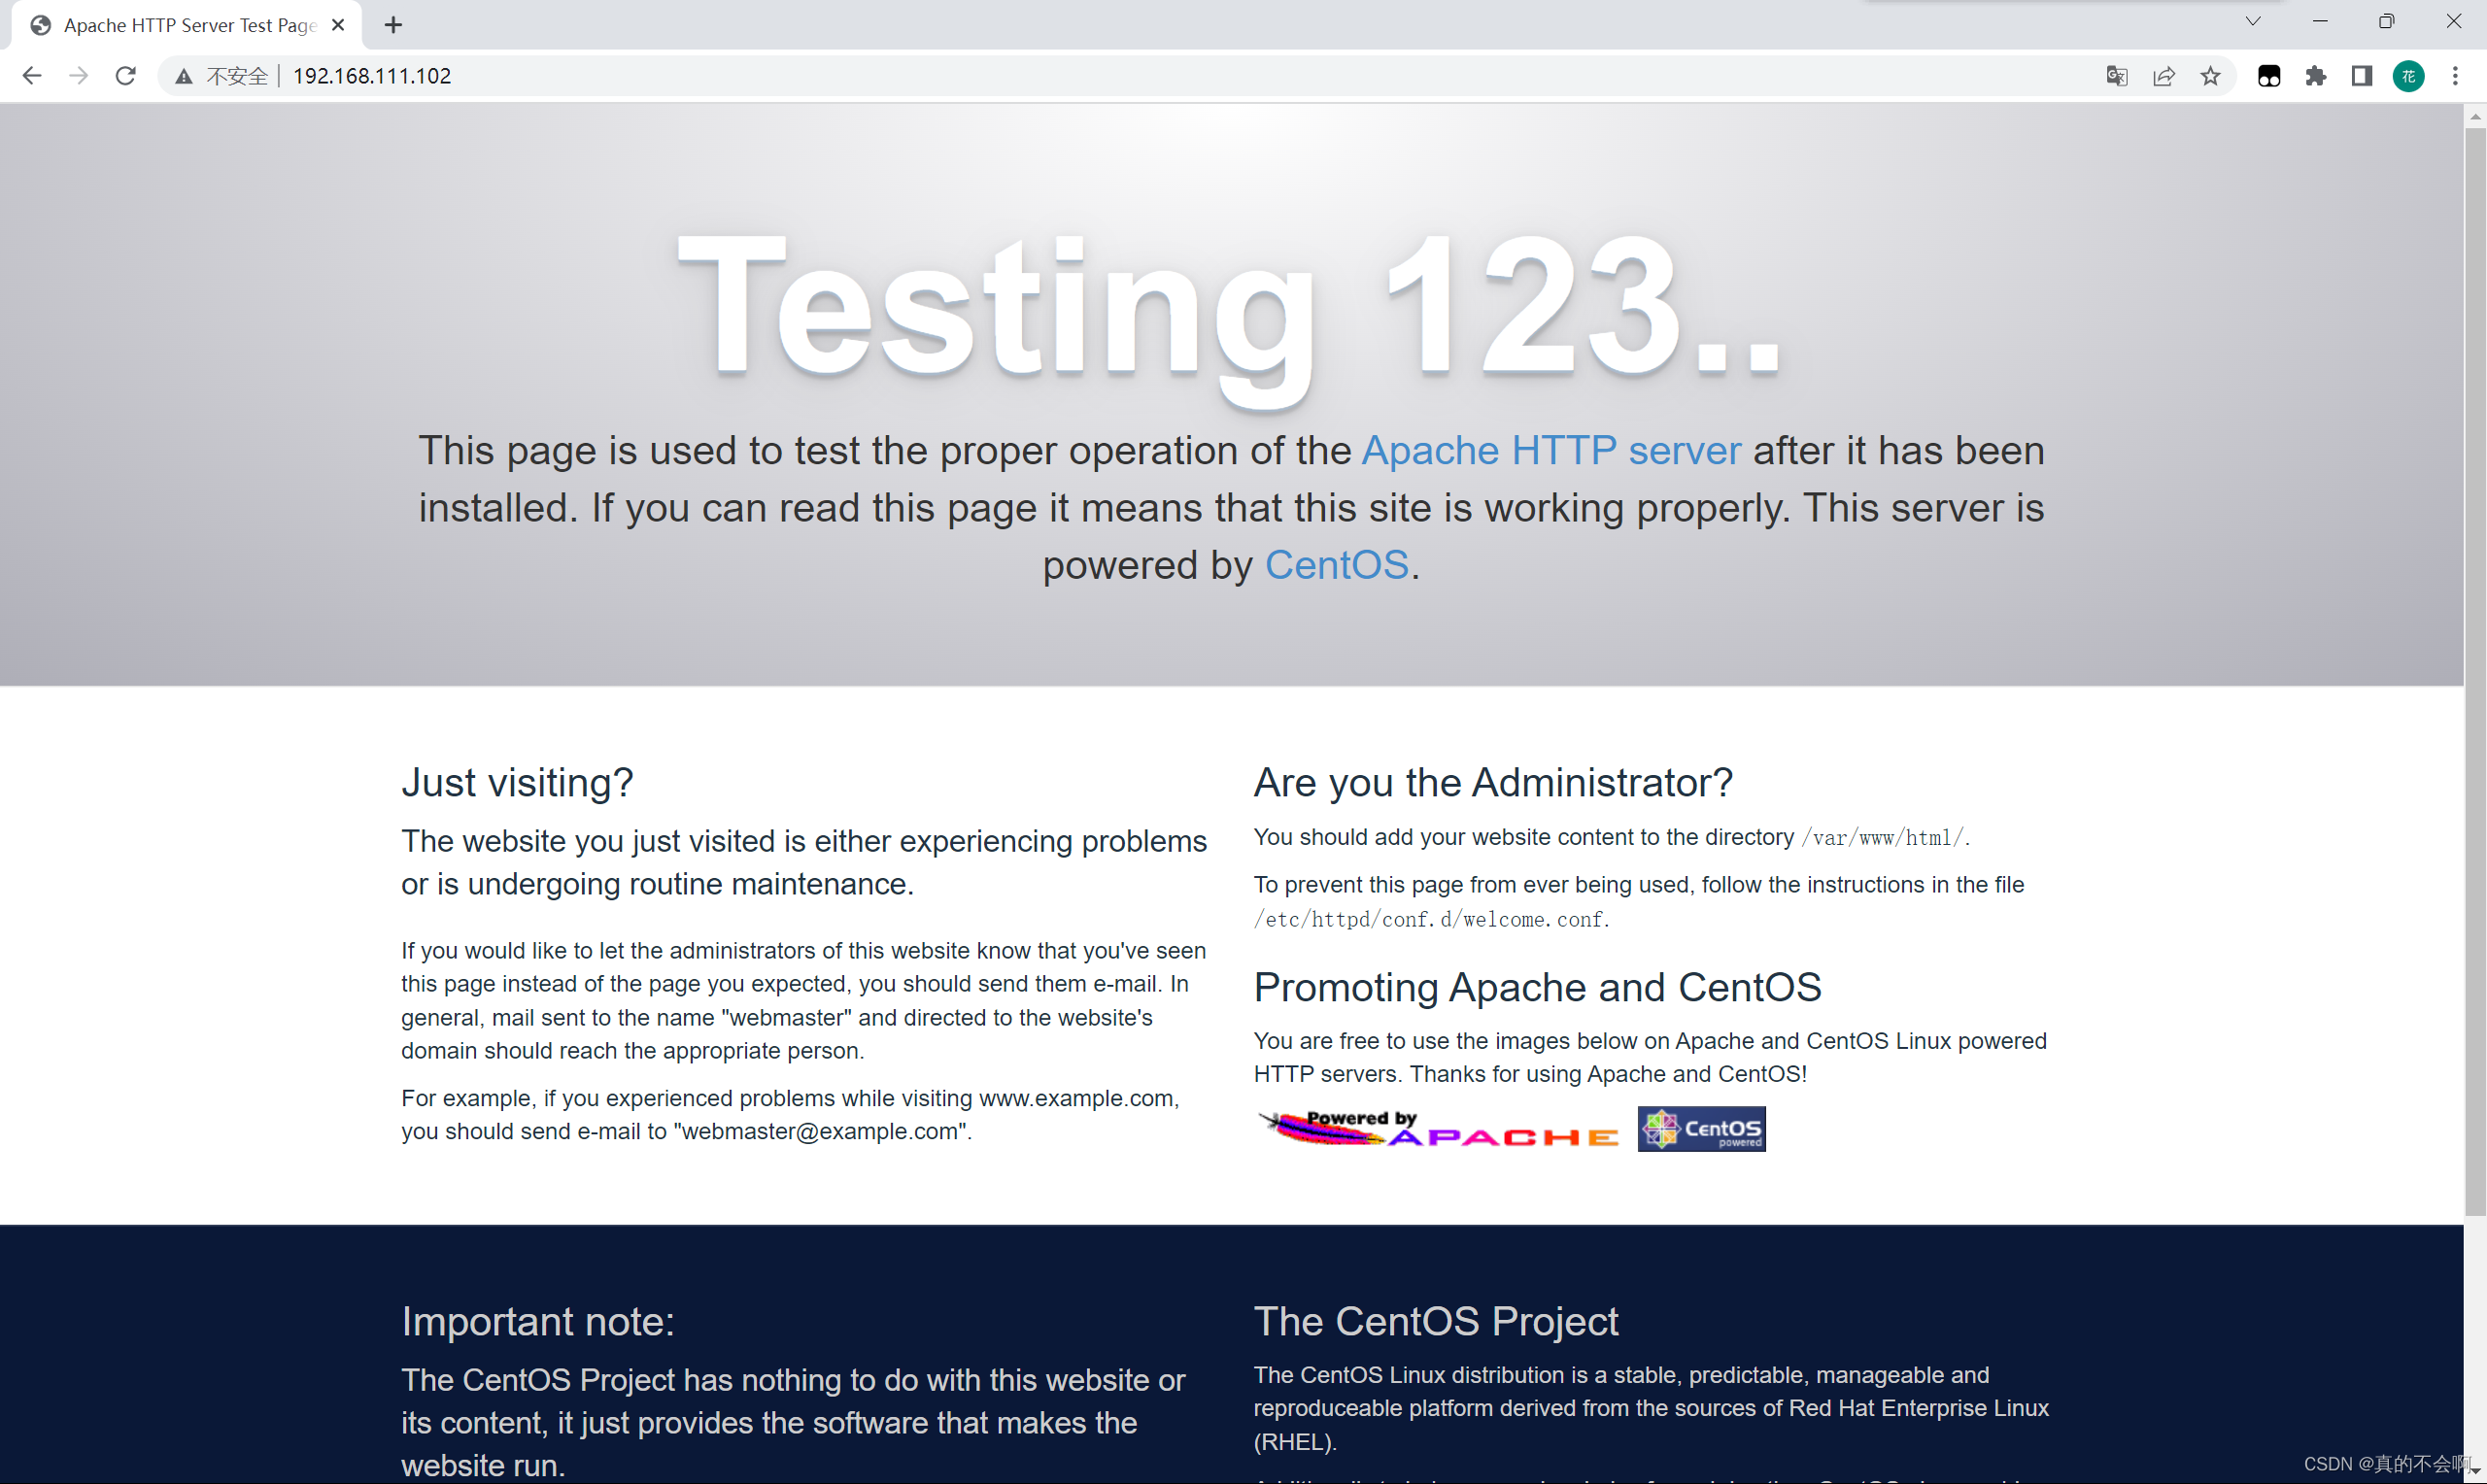
 以上访问成功接下来做以下操作

4,安装PHP服务器

[root@localhost ~]# yum install php php-mysql -y

5,配置HTTPD

[root@localhost ~]# echo "AddType application/x-httpd-php .php" >> /etc/httpd/conf/httpd.conf 

[root@localhost ~]# vi /etc/httpd/conf/httpd.conf 

#找到

DirectoryIndex index.html

后面追加 index.php 如下

 保存退出

6,重启HTTPD服务器

[root@localhost ~]# systemctl restart httpd 

7,测试php文件可用

[root@localhost ~]# echo "<?php phpinfo(); ?>" > /var/www/html/index.php


注意:/var/www/html/目录是存放你的项目目录!

以上访问没有问题接下来可以做mysql配置了

8,安装mysql服务器(mariadb)【你的项目中不使用数据库可以跳了到第12个步骤就可以完成网站上线】

[root@localhost ~]# yum install mariadb mariadb-server -y

9,启用服务器并设置开机启动

[root@localhost ~]# systemctl start mariadb.service   
[root@localhost ~]# systemctl enable mariadb.service 

10,mysql数据库初始化

[root@localhost ~]# mysql_secure_installation

NOTE: RUNNING ALL PARTS OF THIS SCRIPT IS RECOMMENDED FOR ALL MariaDB
      SERVERS IN PRODUCTION USE!  PLEASE READ EACH STEP CAREFULLY!

In order to log into MariaDB to secure it, we'll need the current
password for the root user.  If you've just installed MariaDB, and
you haven't set the root password yet, the password will be blank,
so you should just press enter here.

Enter current password for root (enter for none):                 #初次运行直接回车
OK, successfully used password, moving on...

Setting the root password ensures that nobody can log into the MariaDB
root user without the proper authorisation.

Set root password? [Y/n] Y                #是否设置密码,输入Y或者直接车
New password:                                 #输入root密码
Re-enter new password:                         #再输入root密码
Password updated successfully!
Reloading privilege tables..
 ... Success!


By default, a MariaDB installation has an anonymous user, allowing anyone
to log into MariaDB without having to have a user account created for
them.  This is intended only for testing, and to make the installation
go a bit smoother.  You should remove them before moving into a
production environment.

Remove anonymous users? [Y/n]                        #是否删除匿名用户,回车
 ... Success!

Normally, root should only be allowed to connect from 'localhost'.  This
ensures that someone cannot guess at the root password from the network.

Disallow root login remotely? [Y/n] n                #是否禁止root远程登录,输N否
 ... skipping.

By default, MariaDB comes with a database named 'test' that anyone can
access.  This is also intended only for testing, and should be removed
before moving into a production environment.

Remove test database and access to it? [Y/n]         #是否删除test数据库,回车
 - Dropping test database...
 ... Success!
 - Removing privileges on test database...
 ... Success!

Reloading the privilege tables will ensure that all changes made so far
will take effect immediately.

Reload privilege tables now? [Y/n]                 #是否重新加载权限表,回车
 ... Success!

Cleaning up...

All done!  If you've completed all of the above steps, your MariaDB
installation should now be secure.

Thanks for using MariaDB!
[root@localhost ~]# 

11,测试数据库连接

[root@localhost ~]# mysql -uroot -p123456 -h127.0.0.1
Welcome to the MariaDB monitor.  Commands end with ; or \g.
Your MariaDB connection id is 10
Server version: 5.5.68-MariaDB MariaDB Server

Copyright (c) 2000, 2018, Oracle, MariaDB Corporation Ab and others.

Type 'help;' or '\h' for help. Type '\c' to clear the current input statement.

MariaDB [(none)]> 

以上设置了mysql密码 数据库地址为:localhost 用户名为:root 密码为: 123456    (项目包里的数据库连接配置写成这个)

四、部署PHP项目到服务器

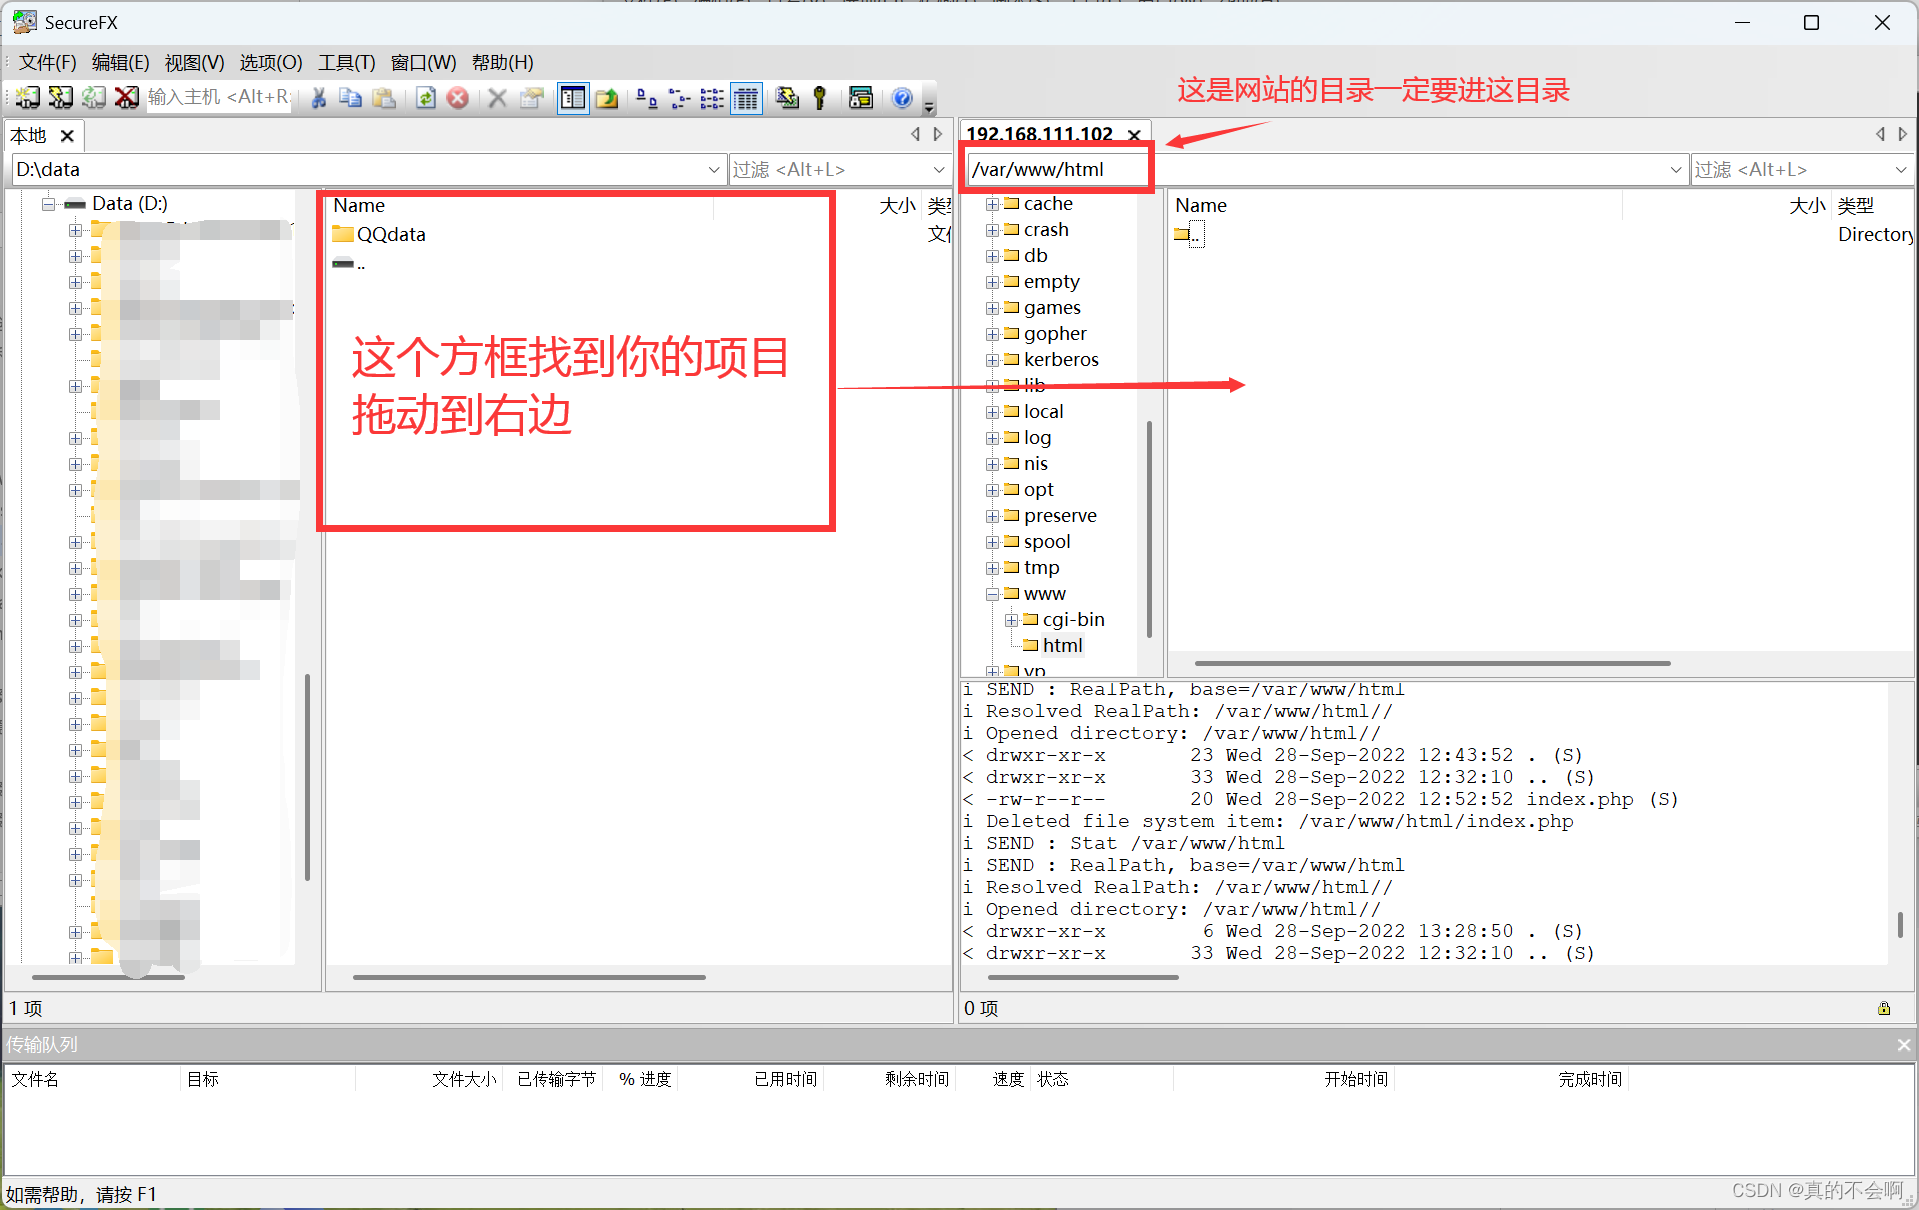
12,上传文件到CentOS

这里使用的是SecureCRT演示

 ​

 以上是上传文件到CentOS操作,如果还不会,建议重开。

13,授权root用户远程访问

MariaDB [(none)]> GRANT ALL PRIVILEGES ON *.* TO 'root'@'%' IDENTIFIED BY '123456' WITH GRANT OPTION;

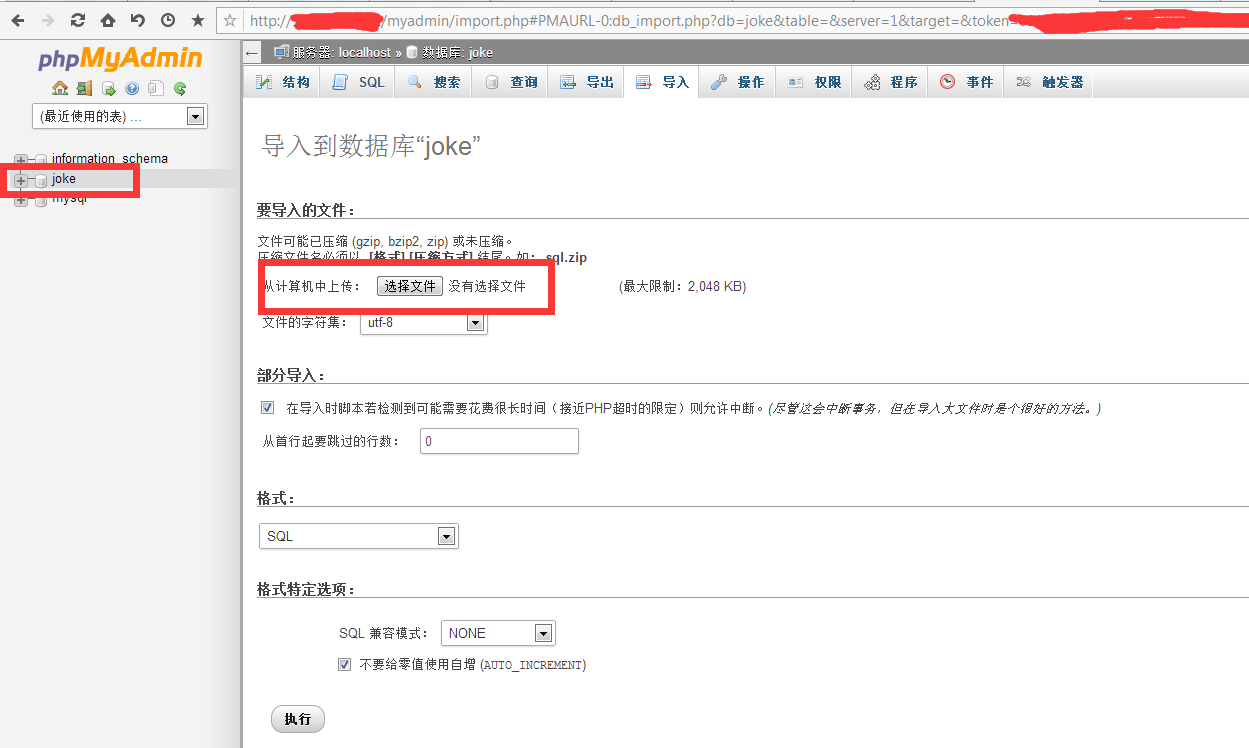
14,创建一个数据库并导入(这里按照你的项目去创建)【这里不会使用的话可以用数据库工具可视化创建】

MariaDB [(none)]> create database room;    #创建数据名
Query OK, 1 row affected (0.00 sec)

MariaDB [(none)]> use room;                        #进入这个数据库
Database changed
MariaDB [room]> source /var/www/html/room.sql                #导入数据库

导入完成,网站就部署部署完毕。

防止别人可以攻击服务器,去腾讯云上安全规则(防火墙)除了80,443端口其他都禁用。有需要上服务器的时候去开启服务。


http://chatgpt.dhexx.cn/article/jZhSU4n7.shtml

相关文章

phpstudy搭建nginx+php服务器显示php网页

下载了phpstudy-all.bin一键安装包&#xff0c;管理员执行./phpstudy-all.bin安装完成后&#xff0c;在火狐浏览器上输入:localhost 测试服务器是否从成功。 遇到的问题&#xff1a; 默认打开的web页面是/usr/share/nginx/www/index.html页面&#xff0c;如下 初次尝试解决&a…

php如何启动内置web服务器

前言&#xff1a; PHP从5.4开始&#xff0c;就提供了一个内置的web服务器。 当然这个主要是用来做本地的开发用的。 不能用于线上环境。 现在我就介绍一下这个工具如何使用。 前提&#xff1a; php已经加入到本地电脑的环境变量中 命令中输入&#xff1a; cd 项目目录 php -S…

公司官网建站笔记(二):在云服务器部署PHP服务(公网访问首页)

若该文为原创文章&#xff0c;转载请注明原文出处 本文章博客地址&#xff1a;https://hpzwl.blog.csdn.net/article/details/124659175 各位读者&#xff0c;知识无穷而人力有穷&#xff0c;要么改需求&#xff0c;要么找专业人士&#xff0c;要么自己研究 红胖子(红模仿)的博…

阿里云ECS服务器Linux环境下配置php服务器(三)--项目部署篇

在前两篇里&#xff0c;我们分别介绍了如何购买阿里云服务器&#xff0c;安装基本软件和配置&#xff08;请看阿里云ECS服务器Linux环境下配置php服务器(一)&#xff0d;&#xff0d;基础配置篇&#xff09; 以及如何安装使用phpMyAdmin&#xff08;请看阿里云ECS服务器Linux环…

阿里云ECS服务器Linux环境下配置php服务器(二)--phpMyAdmin篇

上一篇讲了php服务器的基本配置&#xff0c;我们安装了apache&#xff0c;php&#xff0c;还有mysql&#xff0c;最后还跑通了一个非常简单的php页面&#xff0c;有兴趣的朋友可以看我的这篇博客&#xff1a; 阿里云ECS服务器Linux环境下配置php服务器(一) 这一次我们来继续说…

微信小程序wx.uploadFile(上传文件)PHP服务器获取formData的数据

例如下面的代码是微信小程序上传图片的伪代码 wx.chooseImage({success: function(res) {var tempFilePaths res.tempFilePathswx.uploadFile({url: https://example.weixin.qq.com/upload, //仅为示例&#xff0c;非真实的接口地址filePath: tempFilePaths[0],name: file,fo…

树莓派4B搭建轻量级Web服务器 (Nginx,sqlite,php)

树莓派硬件的配置&#xff0c;包括外置硬盘的挂载和设置&#xff0c;系统的烧录和设置就略了&#xff0c;详情见第一篇文章。 一&#xff1a;更新源安装Nginx服务器 sudo apt-get updatesudo apt-get install nginx二&#xff1a; 启动Nginx服务器 //启动服务器的两种方式sudo…

一、用XAMPP搭建本地PHP服务器,运行php文件

一、XAMPP下载安装 点击下载&#xff0c;下载完成之后执行安装文件安装&#xff0c;一路next&#xff0c;完成。运行界面如下&#xff1a; 二、启动 这里&#xff0c;我是把XAMPP安装在了D:\XAMPP文件夹下。 点击第一行Apache后面的Start是启动XAMPP本地虚拟机(默认端口8080)…

Android手机利用KSWEB+端口转发搭建PHP服务器

Android手机利用KSWEB端口转发搭建PHP服务器 转载来自&#xff1a;https://golthr.gitee.io/articles/202002281619/ KSWEB是一款基于Android的开源服务器&#xff0c;可通过Lighttpd/Nginx/ApachePHPMySql在Android手机上搭建起自己的私人PHP WEB服务器。软件提供了上述功能…

PHP搭建服务器

1. 认识互联网 思考&#xff1a;平常我们上网的时候是怎么实现的&#xff1f; 引入&#xff1a;上网其实打开浏览器&#xff0c;然后输入一个URL&#xff0c;最后就看到了网站打开的效果。 1.1. 普通用户访问网站【了解】 定义&#xff1a;URL&#xff1a;Uniformed Resource L…

PHP本地web服务器搭建教程(通俗易懂版)

现在是北京时间21点22分&#xff1b;忙碌了一天的小菜鸡开始写起了博文。在被搭建本地服务器折磨了一天后终于成功的本人&#xff0c;怀着激动的心情写下了这篇博文&#xff0c;也算是写一篇学习笔记了&#xff0c;希望本篇博文能对想搭一个本地服务器的小伙伴们有所帮助。 好…

PHP(1)搭建服务器

PHP&#xff08;1&#xff09;搭建服务器 一、配置并安装Apache1. 配置2. 安装3. 验证4. 排错5. 重启6. 添加环境变量 二、安装PHP1. 配置2. 验证 三、Apache加载PHP四、安装虚拟主机 一、配置并安装Apache 1. 配置 下载 Apache Download解压 将解压后的文件夹复制到指定目录…

微信小程序网络请求服务器php接口获取数据库数据信息

前言 在写php接口之前 需要事先搭建好环境 1 拥有一台服务器 2 服务器安装好宝塔 3 搭建安装好Apache套件&#xff08;包括php Apache MySQL数据库等等&#xff09; 4 已经开放相应的端口 5 安装微信开发者工具 如果小白没关系&#xff0c;下面的视频会一步一步的说明很详细&…

Android Studio —— ArrayAdapter

效果 代码过程 代码 <?xml version"1.0" encoding"utf-8"?> <TextView xmlns:android"http://schemas.android.com/apk/res/android"android:layout_width"match_parent"android:gravity"center_vertical"andro…

java arrayadapter_简单好用的Adapter---ArrayAdapter详解

拖延症最可怕的地方就是:就算自己这边没有拖延&#xff0c;但对方也会拖延&#xff0c;进而导致自己这边也开始拖延起来&#xff01;现在这个项目我这边已经是完工了&#xff0c;但是对方迟迟没有搞定&#xff0c;导致整个项目无法提交。 这就是拖延症的可怕&#xff1a;我们不…

ArrayAdapter SimpleAdapter

1.ArrayAdapter 数组适配器 用于简单的文字列表 2.SimpleAdapter 简单适配器 用户条目只有两个控件的列表 3.条目点击事件 ListView 一般用 setOnItemClickListener() 这个方法属于 AdapterView 1.先得到适配器 getAdapter() 2.在得到所在位置的条目的数…

ArrayAdapter使用示例

1&#xff09;ArrayAdapter使用示例&#xff1a; 运行效果图&#xff1a; 代码实现&#xff1a; public class MainActivity extends AppCompatActivity {Overrideprotected void onCreate(Bundle savedInstanceState) {super.onCreate(savedInstanceState);setContentView(R.…

Android Listview ArrayAdapter示例

ListView 的使用大致上可以分为四个步骤&#xff1a;添加 ListView 组件、存储数据、设置列表项item的布局文件、加载数据/资源进行显示、添加监听。 这篇文章主要讲一下最简单的ArrayAdapter的用法 示例效果如下&#xff1a; 主layout文件 <?xml version"1.0"…

java arrayadapter_「arrayadapter」Android之ArrayAdapter(数组适配器)的三种方法 - seo实验室...

arrayadapter arrayadapter数组适配器用于绑定格式单一的数据&#xff0c;数据源可以是集合或者数组 列表视图(listview)以垂直的形式列出需要显示的列表项。 实现过程&#xff1a;新建适配器->添加数据源到适配器->视图加载适配器 第一种&#xff1a;直接用ListView组件…

java arrayadapter_Android之ArrayAdapter详解

BaseAdapter之ArrayAdapter ArrayAdapter是BaseAdapter的一个具体实现&#xff0c;可直接使用泛型进行构造&#xff0c;能像List一样直接对Adapter进行增删操作。也是最简单的一个了 ArrayAdapter使用示例&#xff1a; 运行效果图&#xff1a; public class MainActivity exten…