目录:
一、创建工程
二、QThread 源码一览
三、QThread相关方法介绍
四、创建线程
一、创建工程
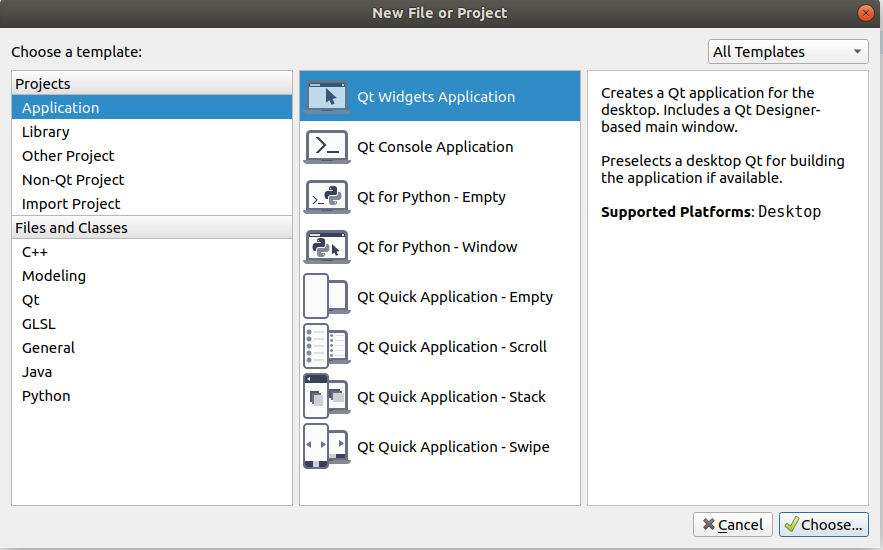
先创建一个工程吧, 具体步骤前面讲过很多次了, 就不再细说了。


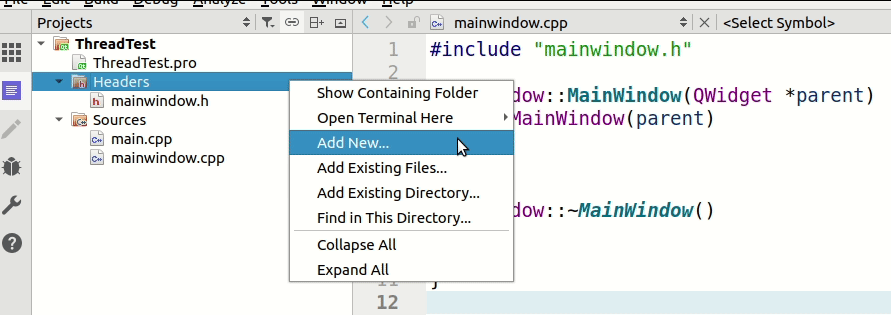
然后在Header文件夹下创建添加一个头文件, 右键Headers -> Add New... -> C++ -> C++ Header File -> Choose
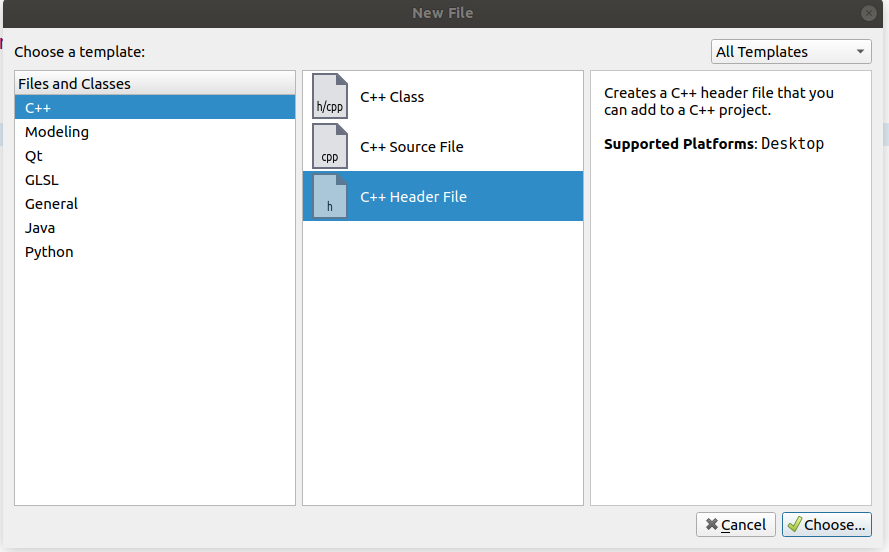
随便起个名字, 比如mythread, 然后点Next->Finish。

本文福利, 免费领取Qt开发学习资料包、技术视频,内容包括(C++语言基础,Qt编程入门,QT图像,QT网络,QT数据库编程,QT项目实战,QT嵌入式开发,Quick模块等等)↓↓↓↓↓↓见下面↓↓文章底部点击免费领取↓↓
二. QThread 源码一览
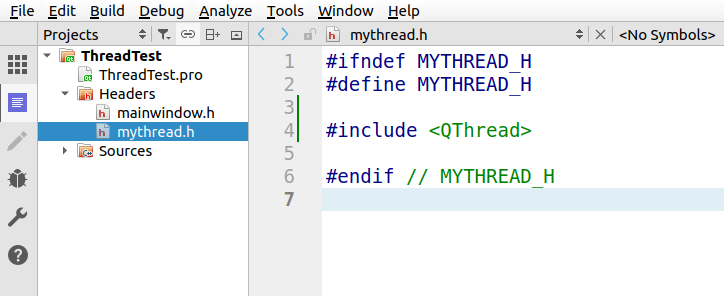
在mythread.h中包含QThread头文件:
按住Ctrl键, 点击QThread, 再按住Ctrl键点击qthread.h进入到qthread.h文件, 源码就在这里了, 随便看看就好。哪里不懂就鼠标点一下不懂的地方, 然后按F1, 会跳转到相应的帮助文档,里面讲得很详细, 里面的英文也比较简单。

三、QThread相关方法介绍
3.1 启动线程
void start(Priority = InheritPriority);-
通过调用
start()方法来启动线程,该方法会调用run()函数(可以看到QThread中run()为虚函数, 需要我们来重载)。
-
run()函数可调用exec()让该线程进入事件循环。 -
Priority为线程优先级(下面会讲)。
-
3.2 关闭线程
void exit(int retcode = 0);- 使线程退出事件循环, 如果该线程没有事件循环, 不做任何操作。
- retcode默认为0, 表示正常返回。而非0值表示异常退出。
void quit();- 相当于exit(0)
void terminate();- 由操作系统强行终止该线程, 可能会导致无法完成一些清理工作, 不推荐使用。
void requestInterruption();+bool isInterruptionRequested();- Qt5的新接口,
requestInterruption用于请求线程进行中断。isInterruptionRequested返回true/false, 用于判断是否有终止线程的请求。
- Qt5的新接口,
3.3 阻塞线程
bool wait(unsigned long time = ULONG_MAX);- 阻塞线程time毫秒, 默认永久阻塞;
- 只有当线程结束(从run函数返回), 或阻塞超时才会返回;
- 线程结束或还未启动, wait返回值为true, 超时的返回值为false。
static void sleep(unsigned long);- 阻塞xx秒, 无返回值。
static void msleep(unsigned long);- 阻塞xx毫秒, 无返回值。
static void usleep(unsigned long);- 阻塞xx微秒, 无返回值。
3.4线程状态判断
bool isFinished() const;- 如果线程结束返回true, 否则返回false。
bool isRunning() const;- 如果线程正在运行返回true, 否则返回false。
bool isInterruptionRequested() const;- 如果有终止线程的请求返回true, 否则返回false; 请求可由
requestInterruption()发出。
- 如果有终止线程的请求返回true, 否则返回false; 请求可由
3.5 设置优先级
-
void setPriority(Priority priority);-
用于设置正在运行的线程的优先级, 如果线程未运行, 则该返回不会执行任何操作并立刻返回。可用
start(priority)启动带优先级的线程。 -
指定的优先级是否生效取决于操作系统的调度, 如果是不支持线程优先级的系统上, 优先级的设置将被忽略。
-
优先级可以设置为QThread::Priority内除InheritPriortyd的任何值:
QThread::Priority枚举元素 值 描述 QThread::IdlePriority 0 没有其它线程运行时才调度 QThread::LowestPriority 1 比LowPriority调度频率低 QThread::LowPriority 2 比NormalPriority调度频率低 QThread::NormalPriority 3 操作系统的默认优先级 QThread::HighPriority 4 比NormalPriority调度频繁 QThread::HighestPriority 5 比HighPriority调度频繁 QThread::TimeCriticalPriority 6 尽可能频繁的调度 QThread::InheritPriority 7 使用和创建线程同样的优先级(这是默认值)
-
3.6 信号
void started(QPrivateSignal);- 在线程
start后, 执行run前发出该信号。
- 在线程
void finished(QPrivateSignal);- 在线程结束, 完全退出前发送此信号。
四、创建线程
4.1 继承QThread方式
a. 定义MyThread类
在mythread.h中定义MyThread类, 并继承QThread, 然后把框架写好:
#ifndef MYTHREAD_H
#define MYTHREAD_H#include <QThread>class MyThread : public QThread
{Q_OBJECTpublic:MyThread();private:protected:void run();signals:public slots:};#endif // MYTHREAD_H
b. 重载run()
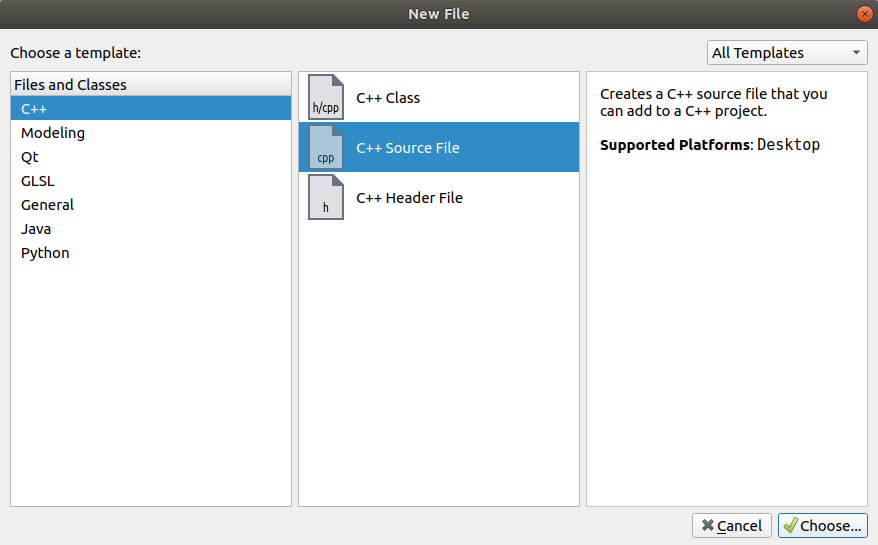
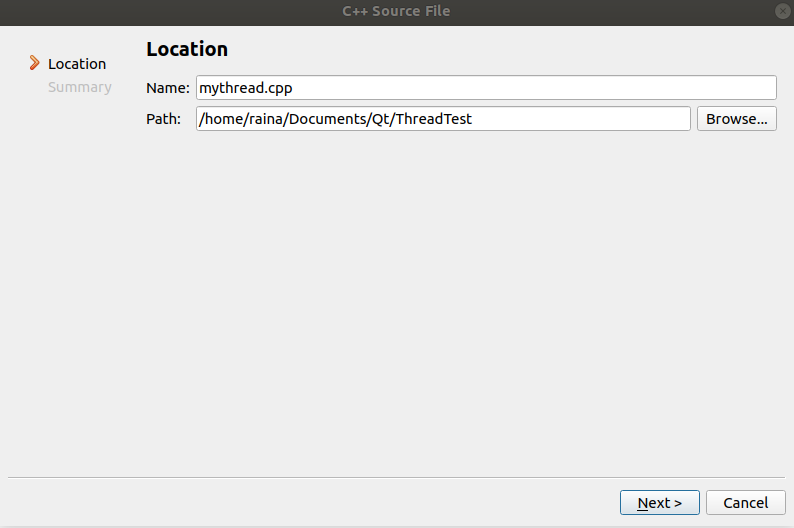
新建一个C++ Source File, 命名为mythread.cpp
mythread.cpp代码如下, run()函数中我们让它每隔1秒打印一次字符串:
#include "mythread.h"// 构造函数
MyThread::MyThread()
{}void MyThread::run()
{while (!isInterruptionRequested()){qDebug() << "Running...";sleep(1);}qDebug() << "Get Interruption Request, I'll exit.";
}因为用到了qDebug(), 别忘了在mythread.h中添加<QDebug>头文件:
#include <QDebug>
c. 开始和结束线程
在mainwindow.h中添加头文件和声明变量:
#ifndef MAINWINDOW_H
#define MAINWINDOW_H#include <QMainWindow>
#include "mythread.h"  // 添加头文件class MainWindow : public QMainWindow
{Q_OBJECTpublic:MainWindow(QWidget *parent = 0);~MainWindow();private:MyThread *my_thread;  // 声明变量
};#endif // MAINWINDOW_H
在mainwindow.cpp中开启和结束线程:
#include "mainwindow.h"MainWindow::MainWindow(QWidget *parent): QMainWindow(parent)
{my_thread = new MyThread;  // 实例化my_thread->start();  // 开启线程// 主线程阻塞5秒QDateTime start = QDateTime::currentDateTime();QDateTime now;do {now = QDateTime::currentDateTime();} while(start.secsTo(now) < 5);// 关闭线程my_thread->requestInterruption();my_thread->wait();}MainWindow::~MainWindow()
{}
因为用到了<QDateTime>, 别忘了在mainwindow.h中添加头文件:
#include <QDateTime>
运行结果:

可以看到主线程被阻塞了5秒, 之后才弹出窗口。但是在主线程阻塞期间, 我们的my_thread线程仍在运行, 直到线程被关闭。
附: Qt4适用写法
上面我们结束线程使用的是requestInterruption()和isInterruptionRequested(), 这是Qt5新增的, 那么Qt4要如何结束线程呢?
- 首先需要使用一个flag来标识线程的状态(执行还是停止), 比如定义一个变量
bool is_stopped初值赋为false; - 然后自己写一个结束线程的函数, 比如
stop(), 当调用my_thread->stop();时将is_stopped改为true; - 在
run()中判断, 如果is_stopped为false线程继续执行, 如果为true线程退出; 别忘了退出前再将is_stopped改为false, 不然线程没法再次开启了。
代码如下:
mythread.h
#ifndef MYTHREAD_H
#define MYTHREAD_H#include <QThread>
#include <QDebug>class MyThread : public QThread
{Q_OBJECTpublic:MyThread();void stop();  // 添加stop()方法private:volatile bool is_stopped;  // 添加标识变量protected:void run();signals:public slots:};#endif // MYTHREAD_H
mythread.cpp
#include "mythread.h"// 构造函数
MyThread::MyThread()
{is_stopped = false;  // 初始化标识变量
}void MyThread::run()
{while (!is_stopped)  // 更改判断条件{qDebug() << "Running...";sleep(1);}qDebug() << "is_stopped is true, I'll exit.";is_stopped = false;  // 重置变量值
}// 关闭线程
void MyThread::stop()
{is_stopped = true;
}
mainwindow.cpp
#include "mainwindow.h"MainWindow::MainWindow(QWidget *parent): QMainWindow(parent)
{my_thread = new MyThread;  // 实例化my_thread->start();  // 开启线程// 主线程阻塞5秒QDateTime start = QDateTime::currentDateTime();QDateTime now;do {now = QDateTime::currentDateTime();} while(start.secsTo(now) < 5);// 关闭线程my_thread->stop();  // 用自己定义的方法关闭线程my_thread->wait();}MainWindow::~MainWindow()
{}
附: exit()和requestInterruption()区别
看例子, 我们修改一下run()函数和关闭线程部分的代码:
mythread.cpp
void MyThread::run()
{while (!isInterruptionRequested()){qDebug() << "Running...";sleep(1);}qDebug() << "子线程: 我只退出了while循环, 没有真正结束";exec();  // 事件循环qDebug() << "子线程: 我真的要结束了";
}
mainwindow.cpp
// 关闭线程my_thread->requestInterruption();qDebug() << "主线程: 发起中断请求";my_thread->wait(3000);my_thread->quit();qDebug() << "主线程: 请求退出线程的事件循环";my_thread->wait(); // 等待线程结束
运行结果:

在主进程requestInterruption()后, 只是使得isInterruptionRequested()变为true, 退出了while循环, 在主线程中调用wait(3000), 并没有立刻返回, 而是3秒超时后才返回, 说明子线程没有真正结束, 而是执行到了exec()处进行事件循环。通过调用quit()或exit()来结束子线程的事件循环, 子线程才真的结束了。
3.2 moveToThread方式(Qt5新增 官方推荐)
a. 定义一个继承QObject的类
- 首先, 创建一个类并继承
QObject, 把要在线程中执行的工作作为类的槽函数:
dowork.h
#ifndef DOWORK_H
#define DOWORK_H#include <QObject>
#include <QDateTime>
#include <QDebug>class DoWork : public QObject
{Q_OBJECT
public:explicit DoWork(QObject *parent = nullptr);public slots:void do_something();
};#endif // DOWORK_H
dowork.cpp
#include "dowork.h"DoWork::DoWork(QObject *parent) : QObject(parent)
{}void DoWork::do_something()
{int a = 5;while(a--){qDebug() << "Doing something ...";QDateTime start = QDateTime::currentDateTime();QDateTime now;do {now = QDateTime::currentDateTime();} while(start.secsTo(now) < 1);}qDebug() << "Done";
}
b. moveToThread
- 然后, 创建一个线程对象, 把
work1对象移到新线程下:
mainwindow.h
#ifndef MAINWINDOW_H
#define MAINWINDOW_H#include <QMainWindow>
#include <QThread>
#include "dowork.h"class MainWindow : public QMainWindow
{Q_OBJECTpublic:MainWindow(QWidget *parent = 0);~MainWindow();private:DoWork *work1;  // 自定义的类QThread *new_thread;  // 新线程
};#endif // MAINWINDOW_H
mainwindow.cpp
MainWindow::MainWindow(QWidget *parent): QMainWindow(parent)
{// 实例化work1 = new DoWork;new_thread = new QThread;work1->moveToThread(new_thread);  // 搬到线程下
}
c. 启动线程
-
绑定线程启动后要做的工作:
connect(new_thread, &QThread::started, work1, &DoWork::do_something);使用
moveToThread的方法非常灵活, 你不一定要用&QThread::started来触发do_something, 也可以使用自定义的信号, 为了例程简单明了, 这里不举例了。 -
启动线程
new_thread->start();
d. 结束后的清理工作
-
为了更安全, 线程结束后别忘了释放资源:
connect(new_thread, &QThread::finished, work1, &QObject::deleteLater);MainWindow::~MainWindow() {new_thread->requestInterruption();new_thread->quit();new_thread->wait(); }
附: mainwindow.cpp 完整代码
mainwindow.cpp
#include "mainwindow.h"MainWindow::MainWindow(QWidget *parent): QMainWindow(parent)
{// 实例化work1 = new DoWork;new_thread = new QThread;work1->moveToThread(new_thread);  // 搬到线程下connect(new_thread, &QThread::started, work1, &DoWork::do_something);connect(new_thread, &QThread::finished, work1, &QObject::deleteLater);new_thread->start();
}MainWindow::~MainWindow()
{new_thread->requestInterruption();new_thread->quit();new_thread->wait();
}
运行结果如下:

本文福利, 免费领取Qt开发学习资料包、技术视频,内容包括(C++语言基础,Qt编程入门,QT图像,QT网络,QT数据库编程,QT项目实战,QT嵌入式开发,Quick模块等等)↓↓↓↓↓↓见下面↓↓文章底部点击免费领取↓↓