Vue实例的生命周期
简介
此篇文章说的是最简单的单个VUE组件的生命周期。
官网中的长图诠释了Vue实例从创建,运行到销毁的整个过程。从vue实例的创建,运行,销毁期间,总是伴随着各种各样的事件,这些事件统称为生命周期

为了便于理解,再代码中创建vue实例,并在每个钩子函数中console出每个生命周期的el,data和message。此段代码可以直接复制。
<!DOCTYPE html>
<html>
<head><meta charset="UTF-8"><title></title><script type="text/javascript" src="https://cdn.bootcss.com/vue/2.6.10/vue.js"></script>
</head>
<body><div id="app"><p>{{ message }}</p><h1>{{message + '这是在outer HTML中的'}}</h1>
</div><script type="text/javascript">var app = new Vue({el: '#app',data: {message : "xuxiao is boy"},template:"<h1>{{message +'这是在template中的'}}</h1>",// render: function(createElement) {//     return createElement('h1', 'this is createElement')// },beforeCreate: function () {console.group('beforeCreate 创建前状态===============》');console.log("%c%s", "color:red" , "el     : " + this.$el); //undefinedconsole.log("%c%s", "color:red","data   : " + this.$data); //undefinedconsole.log("%c%s", "color:red","message: " + this.message)},created: function () {console.group('created 创建完毕状态===============》');console.log("%c%s", "color:red","el     : " + this.$el); //undefinedconsole.log("%c%s", "color:red","data   : " + this.$data); //已被初始化console.log("%c%s", "color:red","message: " + this.message); //已被初始化},beforeMount: function () {console.group('beforeMount 挂载前状态===============》');console.log("%c%s", "color:red","el     : " + (this.$el)); //已被初始化console.log(this.$el);console.log("%c%s", "color:red","data   : " + this.$data); //已被初始化console.log("%c%s", "color:red","message: " + this.message); //已被初始化},mounted: function () {console.group('mounted 挂载结束状态===============》');console.log("%c%s", "color:red","el     : " + this.$el); //已被初始化console.log(this.$el);console.log("%c%s", "color:red","data   : " + this.$data); //已被初始化console.log("%c%s", "color:red","message: " + this.message); //已被初始化},beforeUpdate: function () {console.group('beforeUpdate 更新前状态===============》');console.log("%c%s", "color:red","el     : " + this.$el);console.log(this.$el);console.log("%c%s", "color:red","data   : " + this.$data);console.log("%c%s", "color:red","message: " + this.message);},updated: function () {console.group('updated 更新完成状态===============》');console.log("%c%s", "color:red","el     : " + this.$el);console.log(this.$el);console.log("%c%s", "color:red","data   : " + this.$data);console.log("%c%s", "color:red","message: " + this.message);},beforeDestroy: function () {console.group('beforeDestroy 销毁前状态===============》');console.log("%c%s", "color:red","el     : " + this.$el);console.log(this.$el);console.log("%c%s", "color:red","data   : " + this.$data);console.log("%c%s", "color:red","message: " + this.message);},destroyed: function () {console.group('destroyed 销毁完成状态===============》');console.log("%c%s", "color:red","el     : " + this.$el);console.log(this.$el);console.log("%c%s", "color:red","data   : " + this.$data);console.log("%c%s", "color:red","message: " + this.message)}})
</script>
</body>
</html>
输出结果分析


详细分析流程图
通过代码大概了解整个流程之后再回头拆开来看官网流程图。生命周期可以分为四个阶段,初始化阶段,模板编译阶段,挂在阶段,已挂载和卸载阶段。
初始化阶段

模板编译阶段

这块比较复杂,观察刚才那段代码前面部分
var app = new Vue({el: '#app',data: {message : "xuxiao is boy"},template:"<h1>{{message +'这是在template中的'}}</h1>",// render: function(createElement) {// return createElement('h1', 'this is createElement')// },
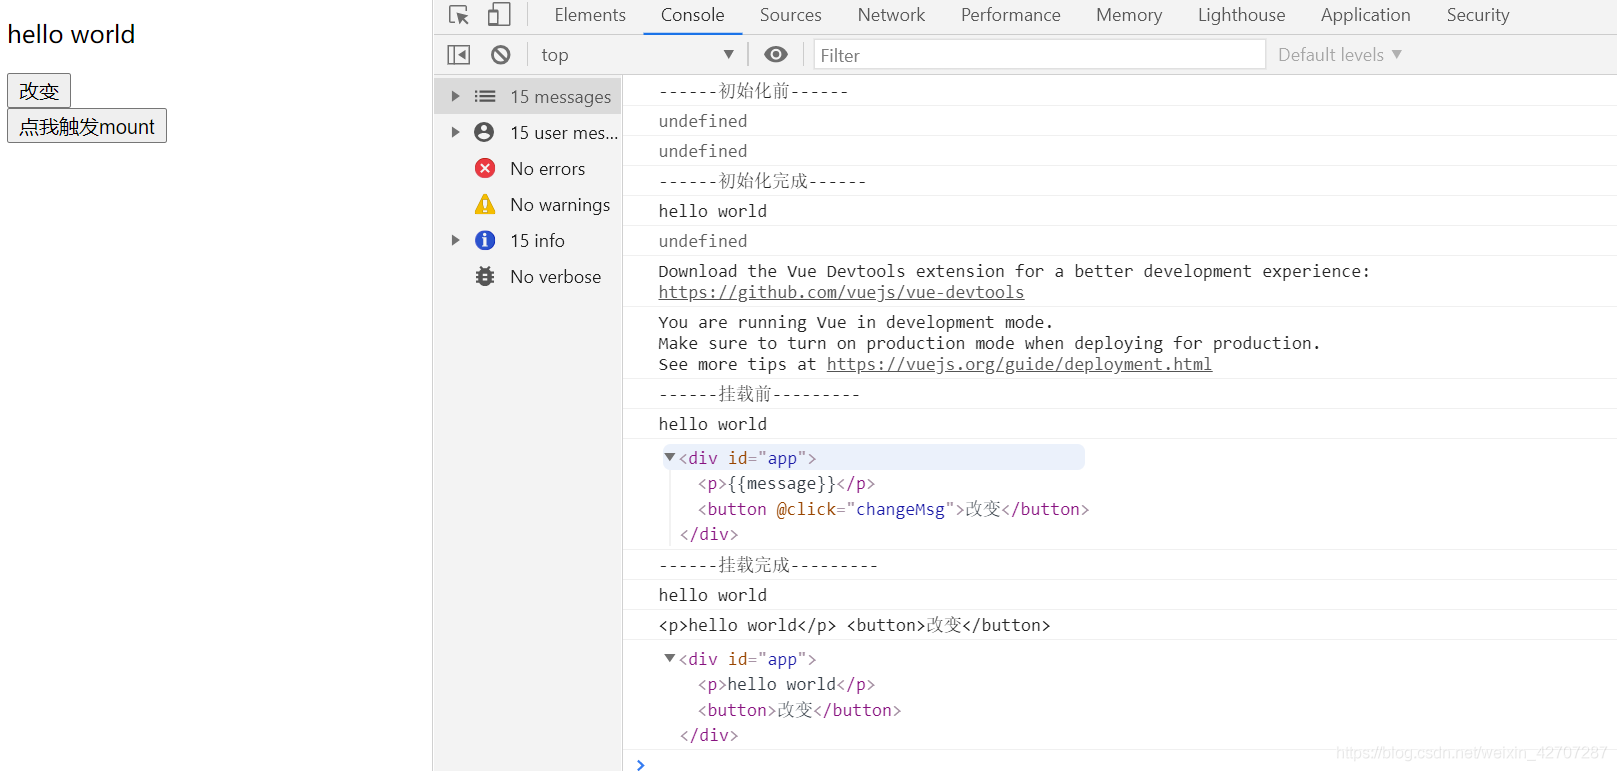
首先会判断有没有el选项,如果有就继续,没有就停止生命周期。随后判断是否有template选项(此段代码中有),于是就编译template选项为render function。运行代码得到网页如下

若没有template选项,就把outerHTML当做template编译为render function。(把此段代码中的template选项注释掉),得到网页如下

这是把outerHTML当作模板编译了
<div id="app"><p>{{ message }}</p><h1>{{message + '这是在outer HTML中的'}}</h1>
</div>
如果把实例中render function选项的注释去掉,则直接用render function里的,得到网页如下

所以按优先级来说 render function>template>outerHTML
挂载阶段

已挂载和卸载

具体使用


平时用的比较多的是mouted和created

因为在created时还没完成挂载,无法通过id获得DOM元素,所以chart.js里的该操作要使用在mounted下