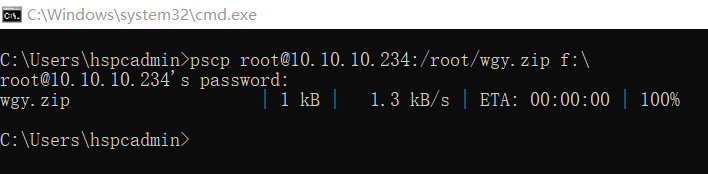
pscp command is an SCP protocol implementation where we can transfer and copy files and folders securely over a network with the SSH connection. In this tutorial, we will learn how to install and use pscp tool on Windows operating system.
pscp命令是SCP协议的实现,我们可以使用SSH连接在网络上安全地传输和复制文件和文件夹。 在本教程中,我们将学习如何在Windows操作系统上安装和使用pscp工具。
下载Pscp (Download Pscp)
pscp command can be downloaded from the following link. There are different installation types. pscp can be installed in standalone or with the putty installer package. I prefer Putty installation package where path environment configuration also done automatically.
可以从以下链接下载pscp命令。 有不同的安装类型。 pscp可以独立安装,也可以与腻子安装程序一起安装。 我更喜欢Putty安装软件包,其中路径环境配置也会自动完成。
https://www.chiark.greenend.org.uk/~sgtatham/putty/latest.html
https://www.chiark.greenend.org.uk/~sgtatham/putty/latest.html
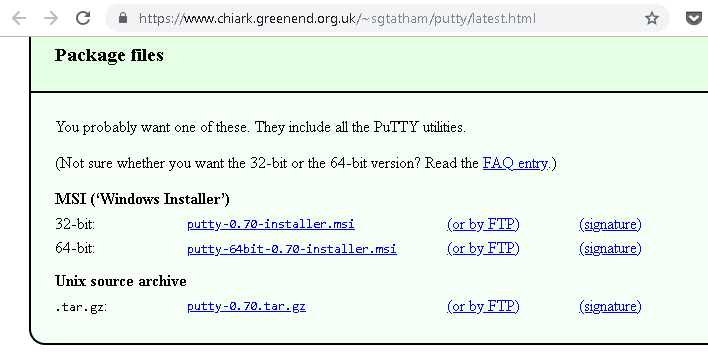
As we can see there is 32 and 64 bit versions. I will use 64 bit because my Windows is 64 bit.
我们可以看到有32位和64位版本。 我将使用64位,因为我的Windows是64位。
安装Pscp (Install Pscp)
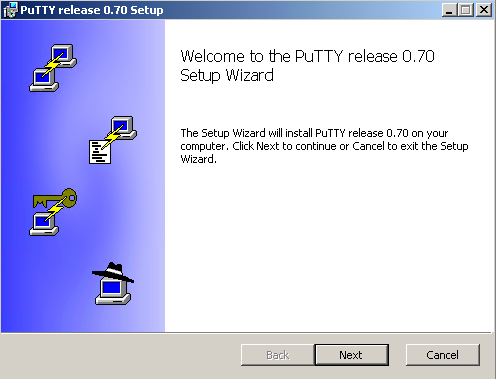
We will install the downloaded putty 64 bit msi package regular Windows Next->Next style like below.
我们将安装下载的普通腻子64位msi软件包,常规Windows Next-> Next样式如下。
帮助和选项 (Help and Options)
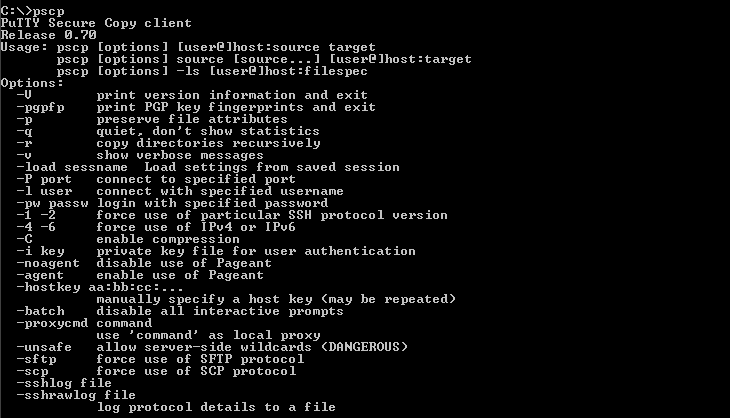
If we need to list all available options and help information we can just issue pscp command to the command line or MSDOS like below.
如果我们需要列出所有可用的选项和帮助信息,我们可以将pscp命令发布到命令行或MSDOS,如下所示。
> pscp