官网连接:https://docs.rt-thread.org/#/rt-thread-version/rt-thread-standard/programming-manual/device/adc/adc
一、配置步骤:
1、用cubemx配置底层;
2、cubemx配置好的文件替换之前的配置文件;
3、修改Kconfig文件,添加adc配置选项;
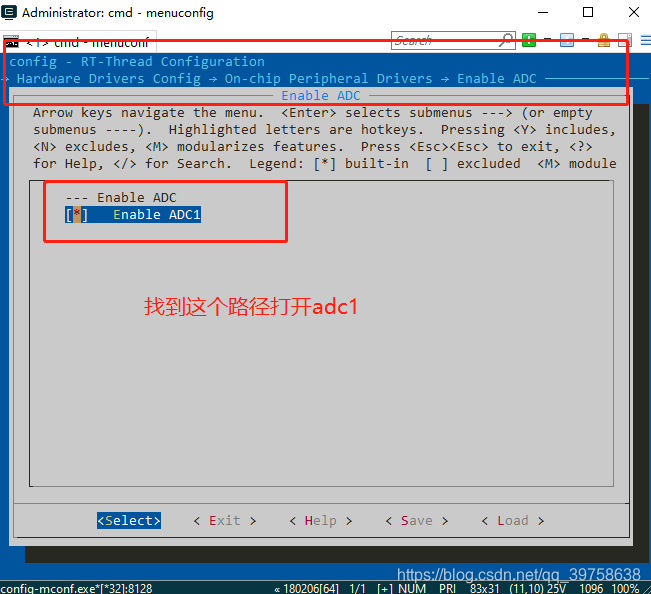
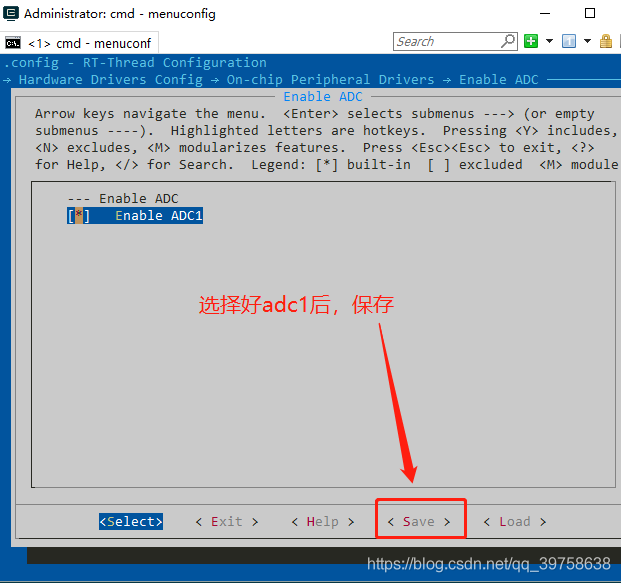
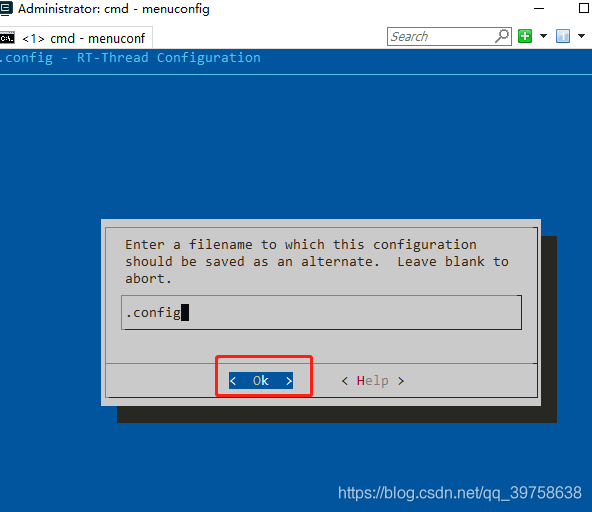
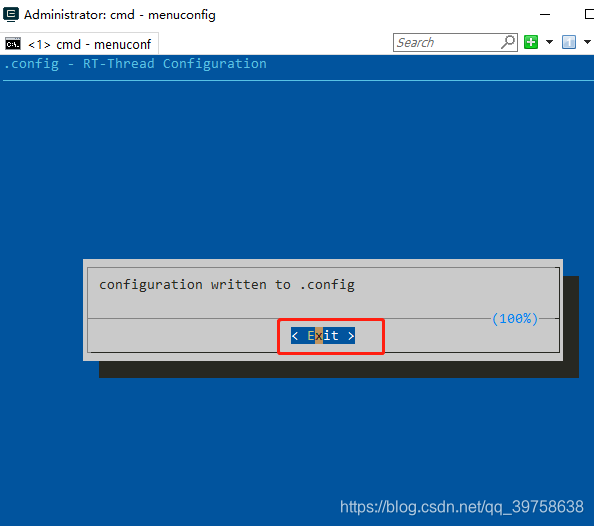
4、用env配置工程,打开adc;
5、打开mdk工程,打开adc功能配置选项宏定义;
6、添加测试函数;
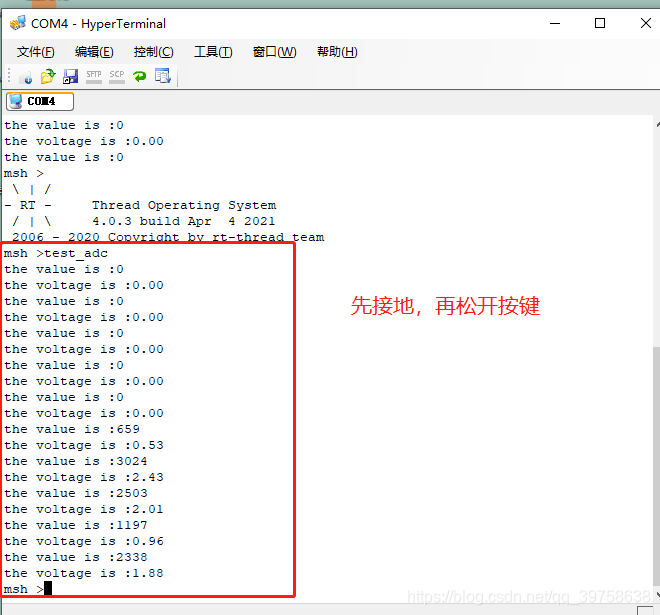
7、测试展示;
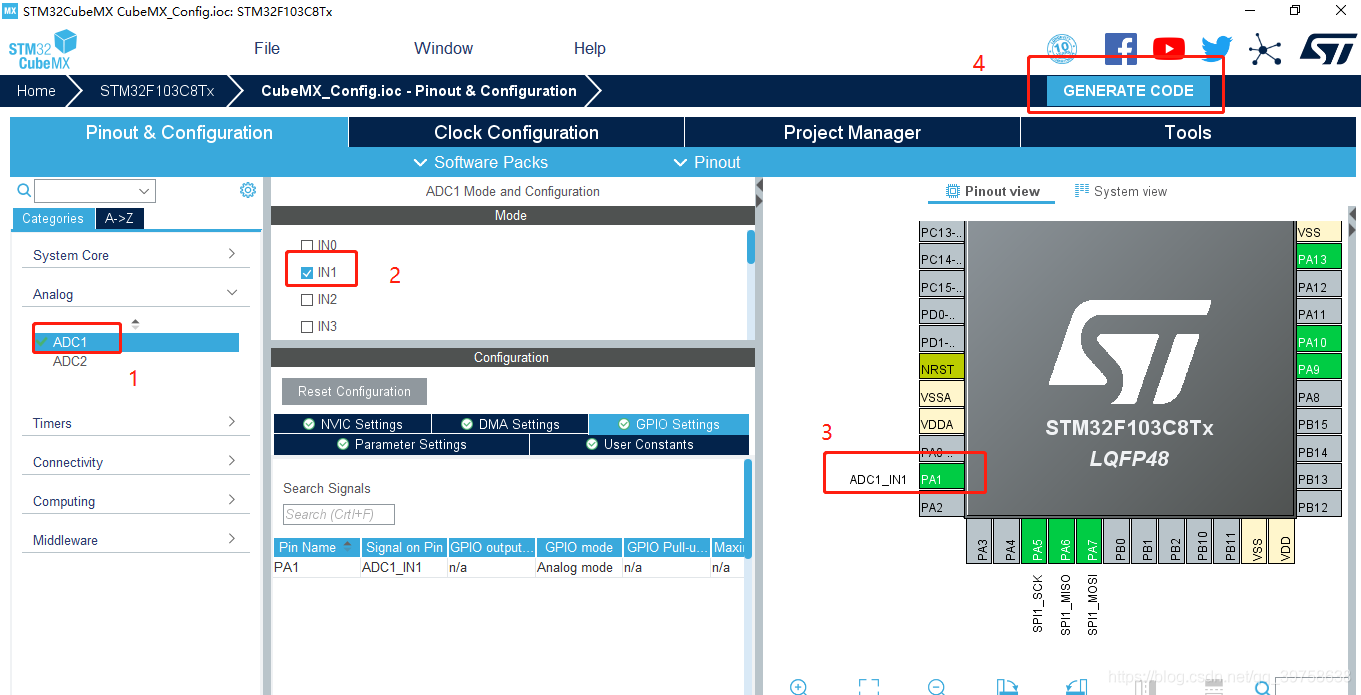
二、用cubemx配置底层:
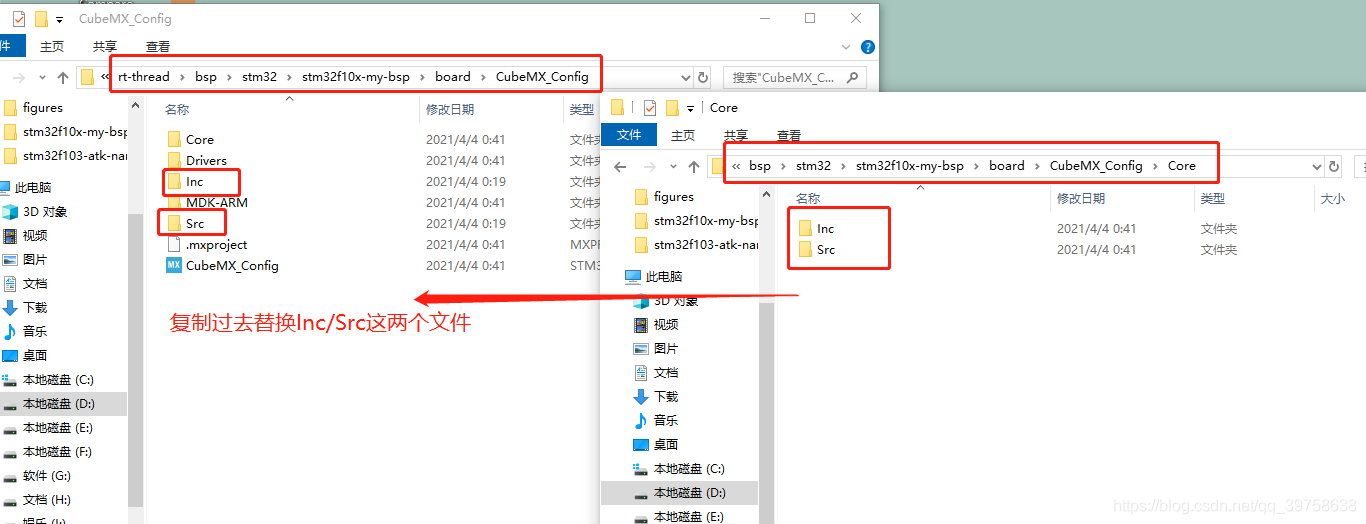
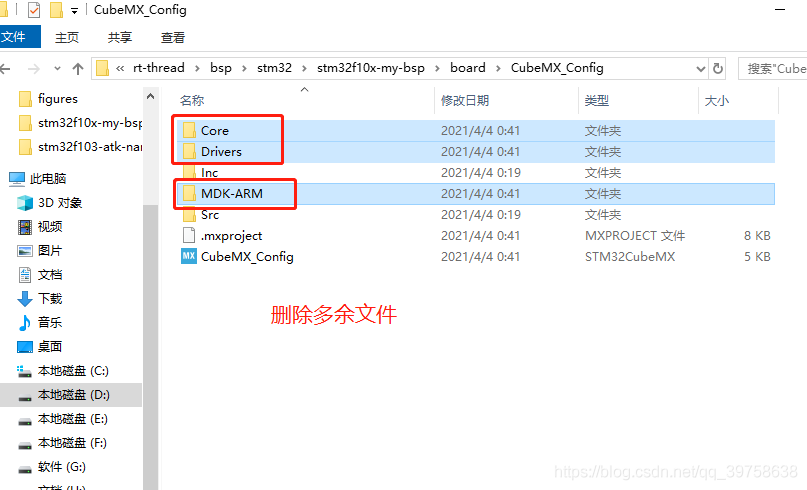
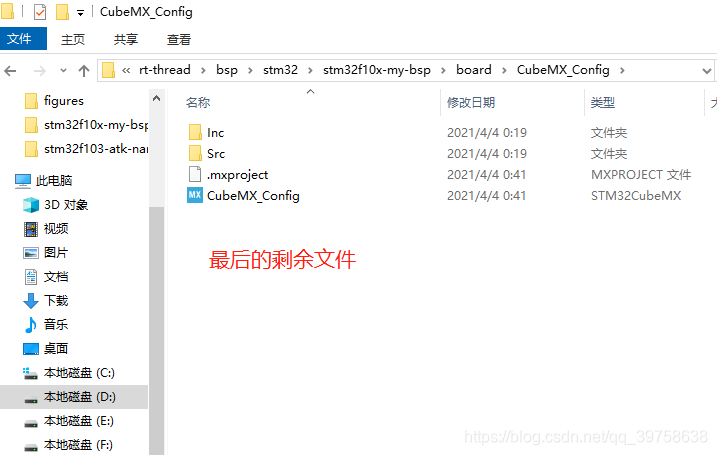
三、cubemx配置好的文件替换之前的配置文件:
四、修改Kconfig文件,添加adc配置选项:
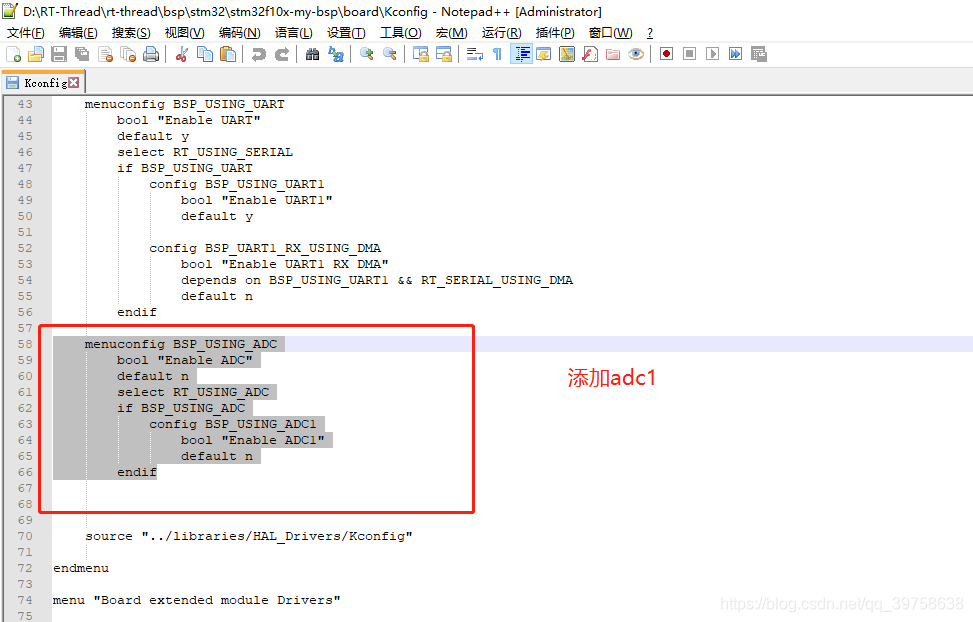
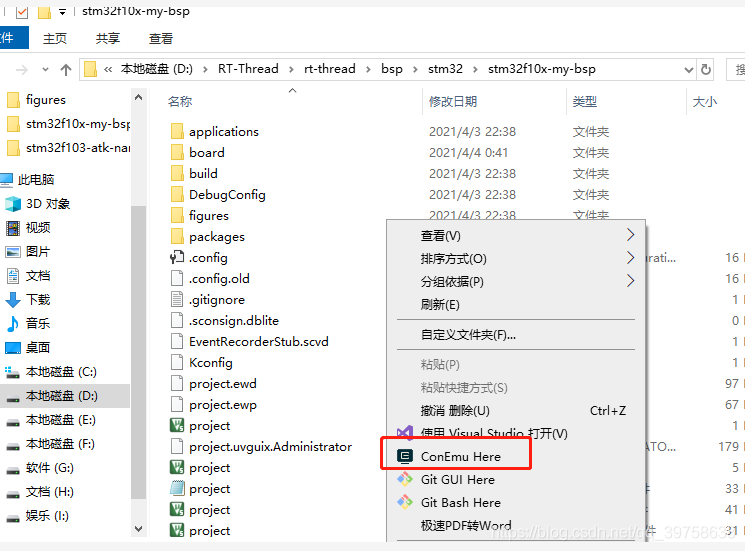
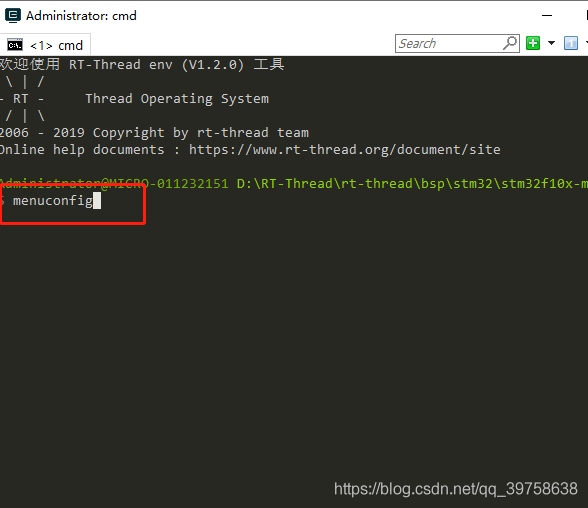
menu "On-chip Peripheral Drivers"********** 其他 ***********menuconfig BSP_USING_ADCbool "Enable ADC"default nselect RT_USING_ADCif BSP_USING_ADCconfig BSP_USING_ADC1bool "Enable ADC1"default nendif********** 其他 ***********endmenu五、用env工具配置:
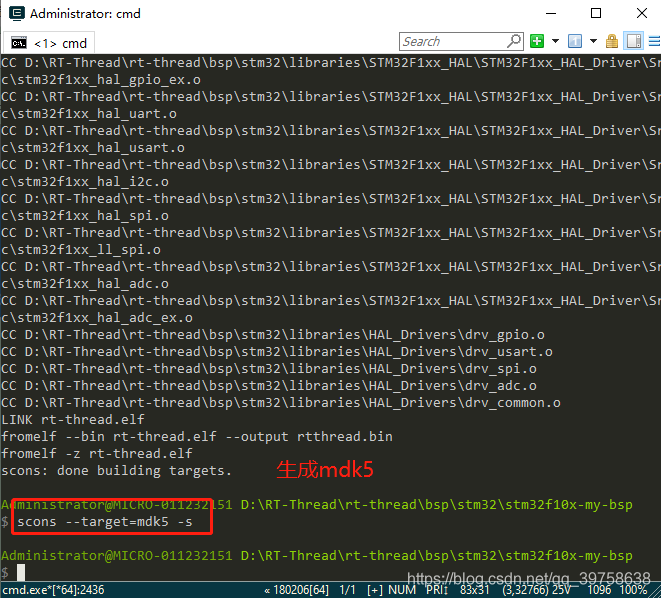
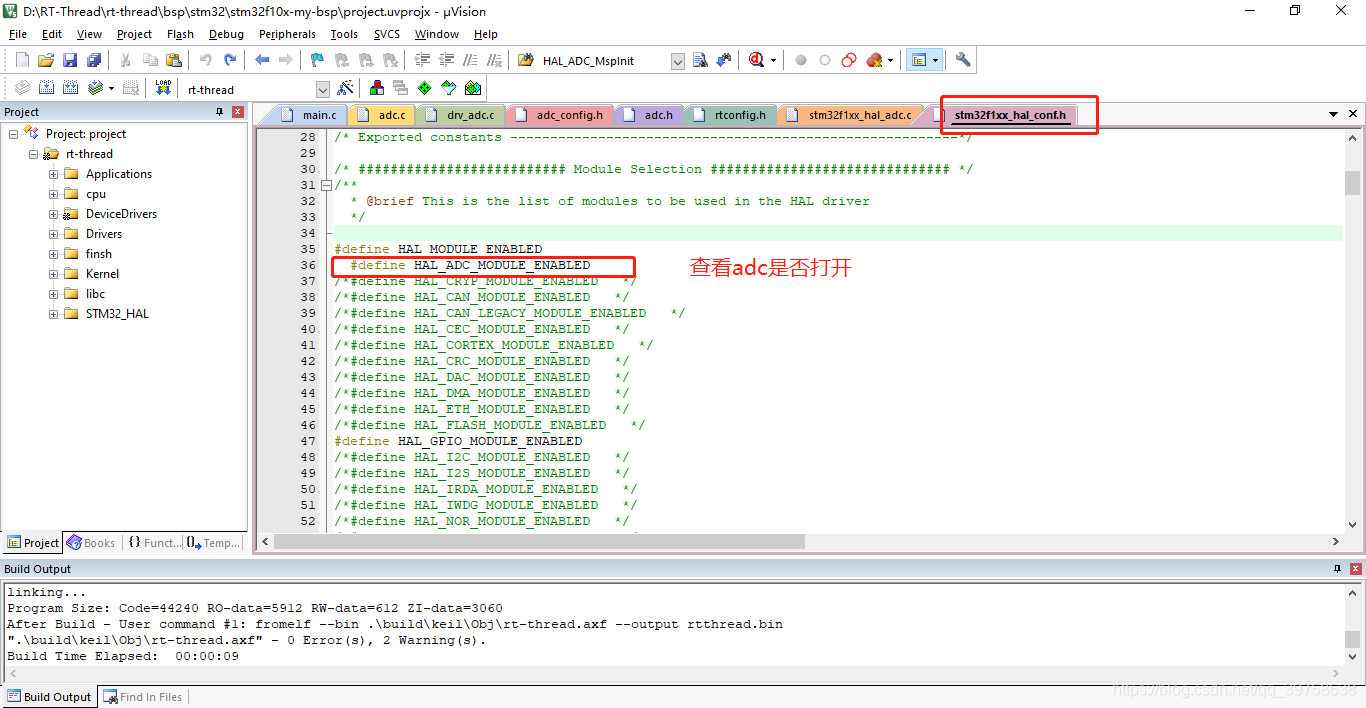
六、打开mdk工程,打开adc功能配置选项宏定义:
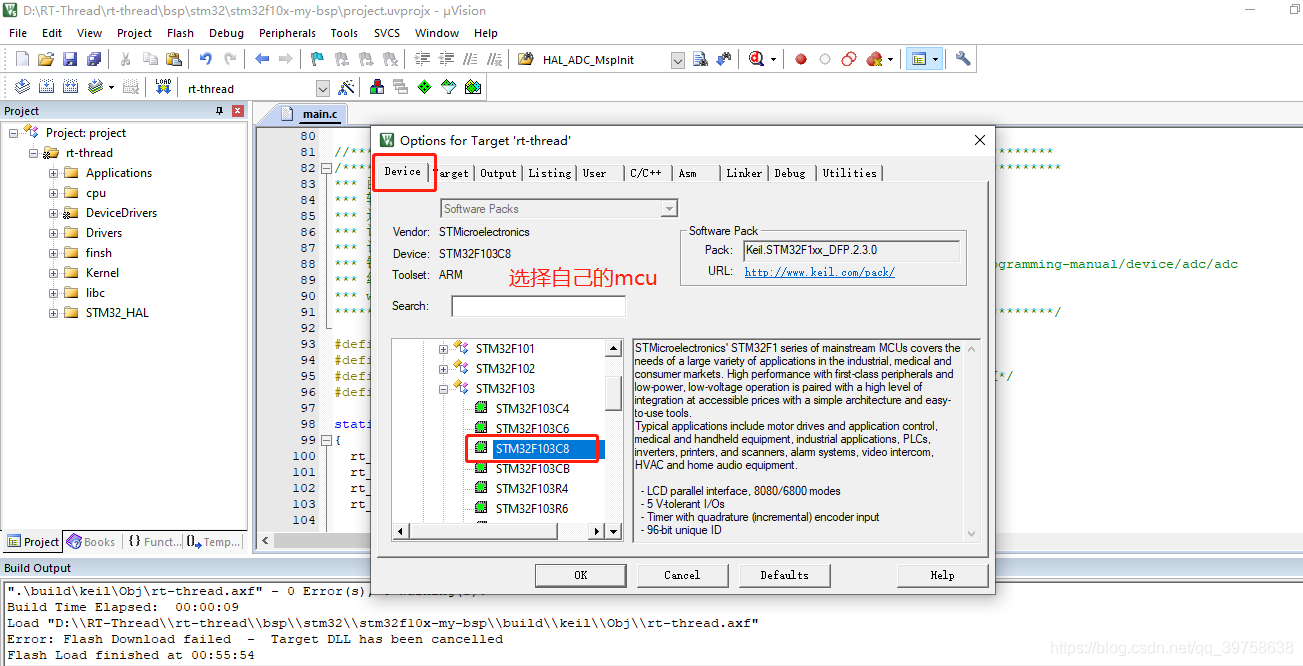
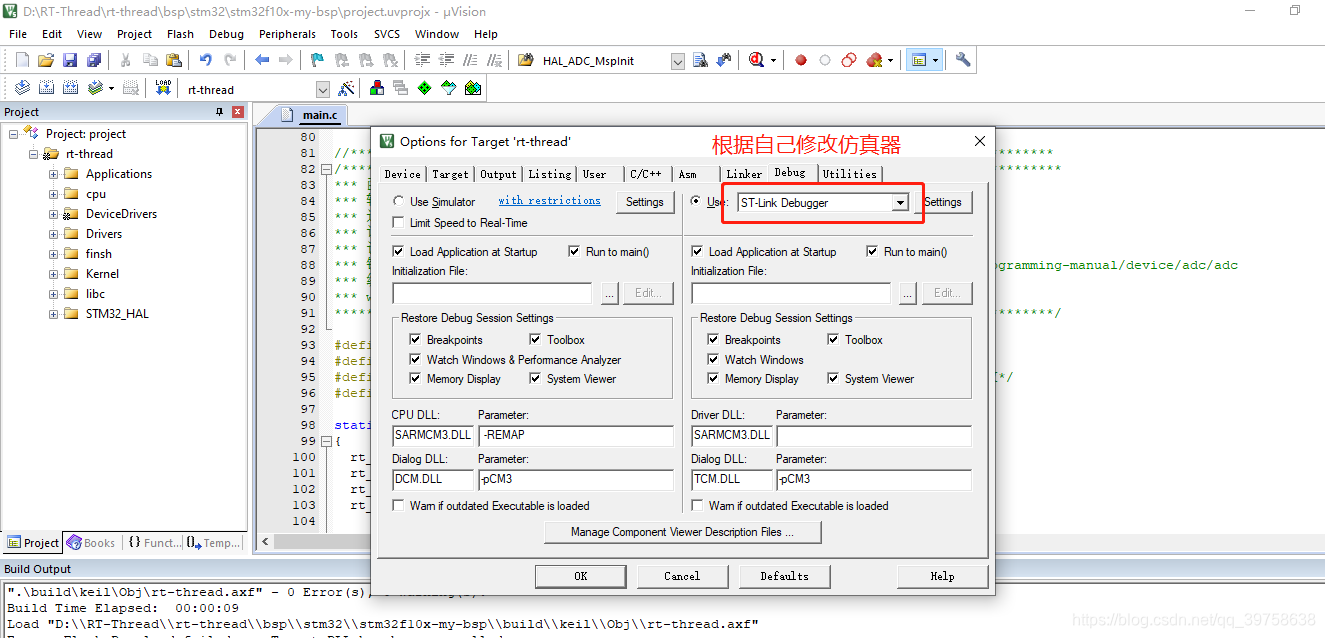
七、添加测试代码,配置debug:
adc测试代码:
//******************************* adc 应用示例 *******************************************
/******************************************************************************************
*** 函数名称: test_adc
*** 输入参数: 无
*** 返 回 值: 无
*** 调度周期:无
*** 说    明:adc电压采集测试函数
***	链		接:https://docs.rt-thread.org/#/rt-thread-version/rt-thread-standard/programming-manual/device/adc/adc
***	编者										时间										版本
***	wagnlu									2021/04/04							V0.1
******************************************************************************************/#define ADC_DEV_NAME        "adc1"      /* ADC 设备名称 */
#define ADC_DEV_CHANNEL     1           /* ADC 通道 */
#define REFER_VOLTAGE       330         /* 参考电压 3.3V,数据精度乘以100保留2位小数*/
#define CONVERT_BITS        (1 << 12)   /* 转换位数为12位 */static int test_adc(void)
{rt_adc_device_t adc_dev;rt_uint32_t value, vol;rt_err_t ret = RT_EOK;rt_uint8_t count =0;/* 查找设备 */adc_dev = (rt_adc_device_t)rt_device_find(ADC_DEV_NAME);if(adc_dev == RT_NULL){rt_kprintf("adc smaple run failed! can't find %s device!\n", ADC_DEV_NAME);return RT_ERROR;}/* 使能设备 */ret  = rt_adc_enable(adc_dev, ADC_DEV_CHANNEL);while(count <10){count ++;/* 读取采集值 */value = rt_adc_read(adc_dev, ADC_DEV_CHANNEL);rt_kprintf("the value is :%d \n", value);/* 转换为对应电压值 */vol = value * REFER_VOLTAGE / CONVERT_BITS;rt_kprintf("the voltage is :%d.%02d \n", vol / 100, vol % 100);		rt_thread_mdelay(500);}}MSH_CMD_EXPORT(test_adc, function test adc);
整个main.c文件:
/** Copyright (c) 2006-2018, RT-Thread Development Team** SPDX-License-Identifier: Apache-2.0** Change Logs:* Date           Author       Notes* 2018-11-06     SummerGift   first version*/#include <rtthread.h>
#include <rtdevice.h>
#include <board.h>//******************************* main function *******************************************
/******************************************************************************************
*** 函数名称: main
*** 输入参数: 无
*** 返 回 值: 无
*** 调度周期:无
*** 说    明:main函数
***	链		接:无
***	编者										时间										版本
***	wagnlu									2021/04/02							V0.1
******************************************************************************************/
int main(void)
{int count = 1;while (count++){rt_thread_mdelay(100);}return RT_EOK;
}//******************************* GPIO 应用示例 *******************************************
/******************************************************************************************
*** 函数名称: functest
*** 输入参数: 无
*** 返 回 值: 无
*** 调度周期:无
*** 说    明:led测试函数
***	链		接:https://docs.rt-thread.org/#/rt-thread-version/rt-thread-standard/programming-manual/device/pin/pin
***	编者										时间										版本
***	wagnlu									2021/04/02							V0.1
******************************************************************************************//* defined the LED0 pin: PC13 */
#define LED0_PIN_NUM	GET_PIN(C,  13)		void test_led(void)
{uint8_t count =0;		//tset count/* set LED0 pin mode to output */rt_pin_mode(LED0_PIN_NUM, PIN_MODE_OUTPUT);while(count <5){count++;rt_kprintf("LED计数:%d \t", count);rt_pin_write(LED0_PIN_NUM, PIN_HIGH);		//输出高rt_kprintf("引脚输出高电平 \t");rt_thread_mdelay(500);rt_pin_write(LED0_PIN_NUM, PIN_LOW);		//输出低rt_kprintf("引脚输出底电平\r\n");rt_thread_mdelay(500);}
}MSH_CMD_EXPORT(test_led, function test led control 5 times );//******************************* adc 应用示例 *******************************************
/******************************************************************************************
*** 函数名称: test_adc
*** 输入参数: 无
*** 返 回 值: 无
*** 调度周期:无
*** 说    明:adc电压采集测试函数
***	链		接:https://docs.rt-thread.org/#/rt-thread-version/rt-thread-standard/programming-manual/device/adc/adc
***	编者										时间										版本
***	wagnlu									2021/04/04							V0.1
******************************************************************************************/#define ADC_DEV_NAME        "adc1"      /* ADC 设备名称 */
#define ADC_DEV_CHANNEL     1           /* ADC 通道 */
#define REFER_VOLTAGE       330         /* 参考电压 3.3V,数据精度乘以100保留2位小数*/
#define CONVERT_BITS        (1 << 12)   /* 转换位数为12位 */static int test_adc(void)
{rt_adc_device_t adc_dev;rt_uint32_t value, vol;rt_err_t ret = RT_EOK;rt_uint8_t count =0;/* 查找设备 */adc_dev = (rt_adc_device_t)rt_device_find(ADC_DEV_NAME);if(adc_dev == RT_NULL){rt_kprintf("adc smaple run failed! can't find %s device!\n", ADC_DEV_NAME);return RT_ERROR;}/* 使能设备 */ret  = rt_adc_enable(adc_dev, ADC_DEV_CHANNEL);while(count <10){count ++;/* 读取采集值 */value = rt_adc_read(adc_dev, ADC_DEV_CHANNEL);rt_kprintf("the value is :%d \n", value);/* 转换为对应电压值 */vol = value * REFER_VOLTAGE / CONVERT_BITS;rt_kprintf("the voltage is :%d.%02d \n", vol / 100, vol % 100);		rt_thread_mdelay(500);}}MSH_CMD_EXPORT(test_adc, function test adc);
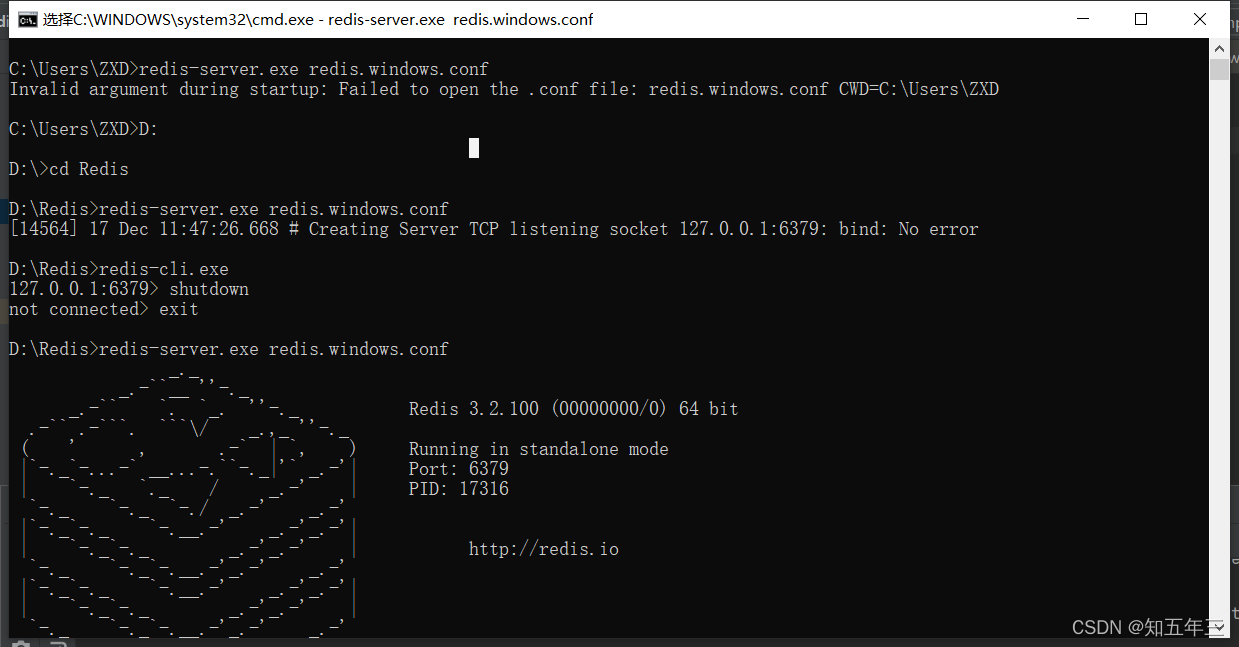
八、展示效果: