基于ROS2和科大讯飞的语音转文字入门教程
- 基于ROS2和科大讯飞的文字转语音TTS入门教程
- 1.环境搭建
- 2.创建工程
- 3.编译和执行
基于ROS2和科大讯飞的文字转语音TTS入门教程
本文将展示,如何利用ROS2和科大讯飞的TTS模块,实现简单的文字转语音功能。利用ROS2,实现listener和talker,当talker发送以‘topic’为主题的消息时,listener接收并处理消息内容,并调用科大讯飞的TTS模块,将某些文字转换成语音文件。
1.环境搭建
操作系统:ubuntu22.04
ROS2版本:humble
1.1.安装ubuntu
本文使用的操作系统为vm虚拟机,安装的ubuntu22.04,请大家自行百度安装。
注:先不要着急改源地址。
1.2.安装humble
本文使用的ROS2 humble,百度搜索的一键安装ROS2,具体链接如下:
https://www.pudn.com/news/62deb7e055398e076bda404f.html#_6
采用一键安装脚本,妈妈再也不用担心你装不好 ROS2 humble。
安装好环境前后,建议各做1个快照,方便恢复环境状态。
1.3.安装VSCODE
在上一步中,可以直接通过选项安装vscode,也可以直接在ubuntu软件商店里安装,区别是软件商店里的版本更新。
文章来到此处,证明ros2环境已经搭建好,开始上指令操作项目。
2.创建工程
首先打开linux指令终端,使用linux标准指令创建工作空间(linux中的文件夹)。
mkdir -p /home/toycar/robot_ws/src
cd /home/toycar/robot_ws/
然后,使用ROS2指令创建项目
ros2 pkg create toycar_voice --build-type ament_cmake --node-name my_publish --dependencies std_msgs rclcpp
指令解析
工程名称:toycar_voice
编译类型:ament_cmake
节点名称:my_publish (创建项目后某人创建的节点源码,后来才知道,可以不写这个,可以自行创建节点代码。)
项目依赖:std_msgs rclcpp
创建项目后目录下文件内容:
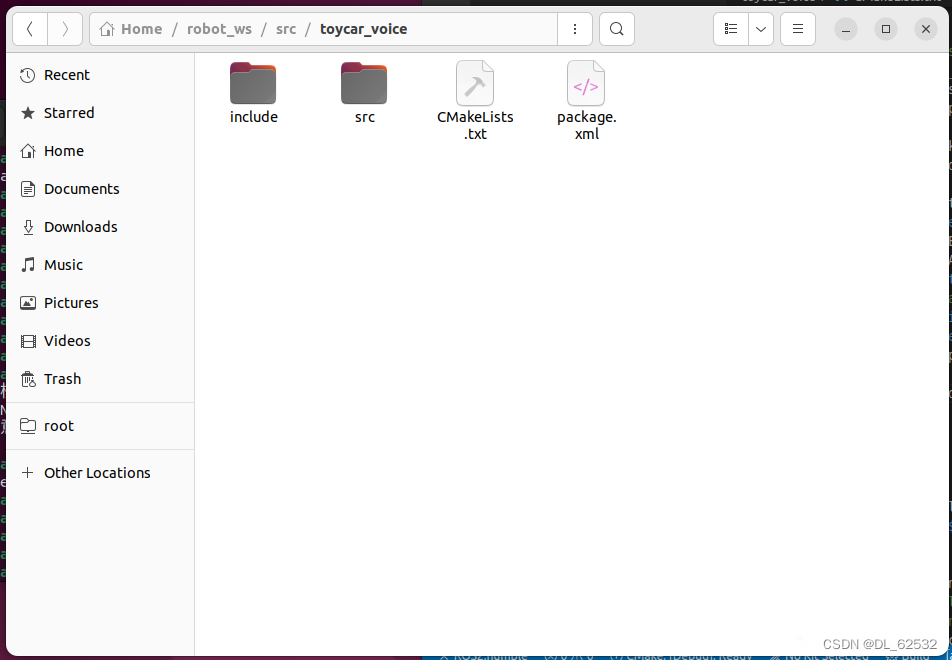
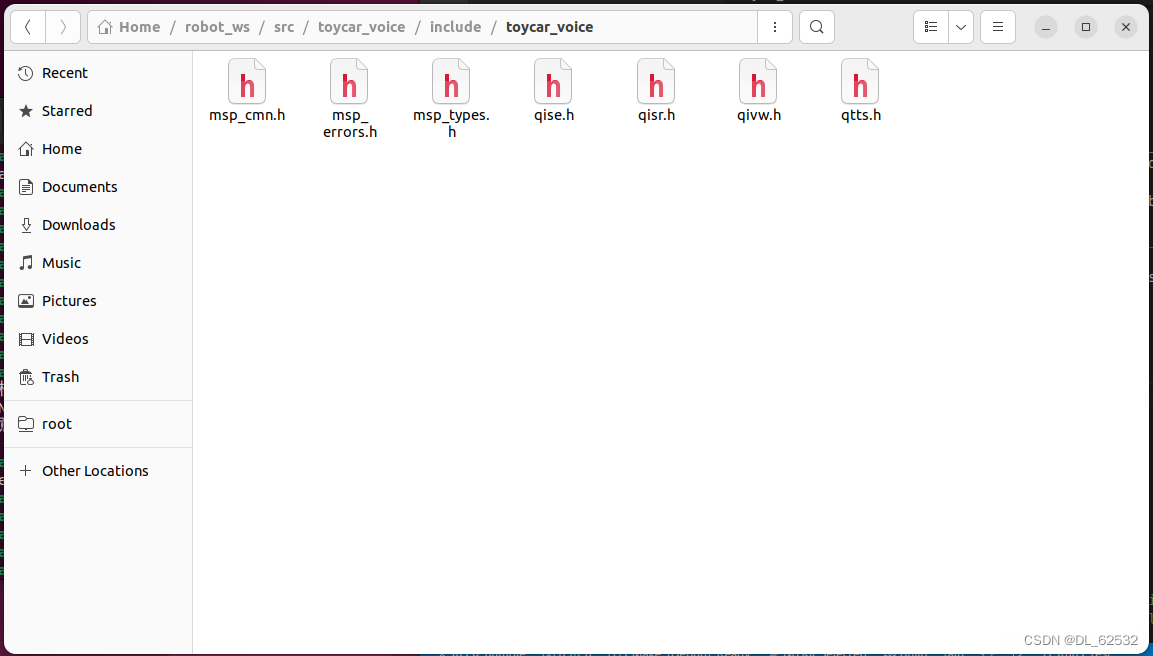
再然后,将科大讯飞中的include文件,放入项目的include目录内,如下图:
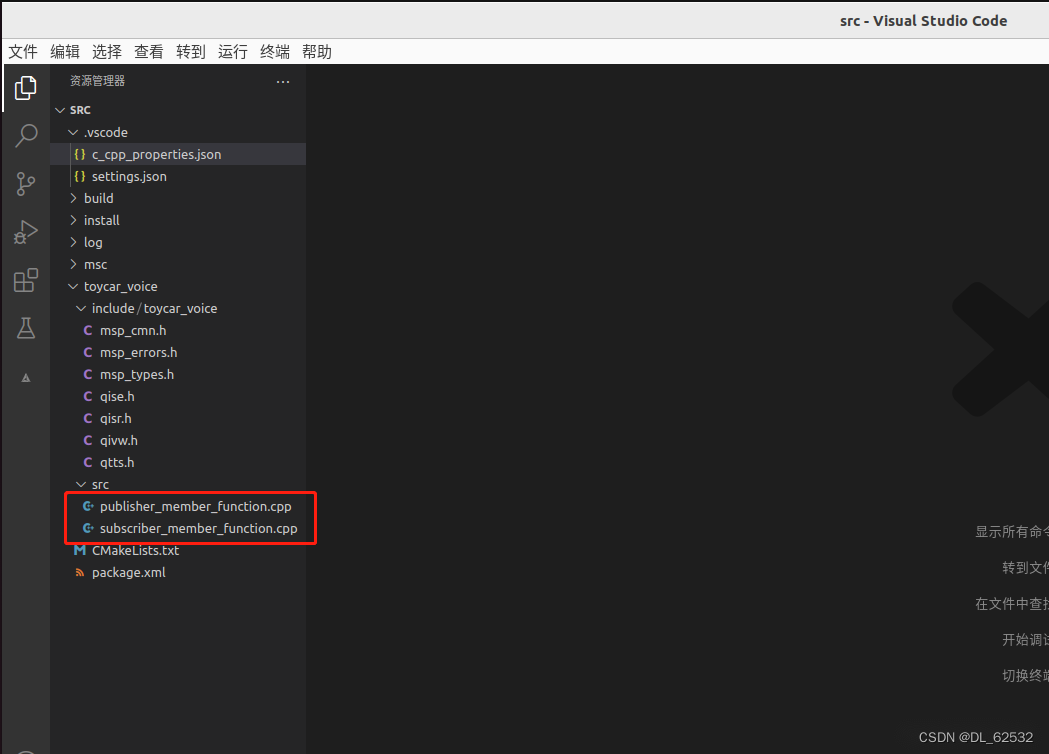
接着,使用指令打开vscode进行项目开发
code .
随后,在vscode中,添加2个cpp文件
publisher_member_function.cpp
subscriber_member_function.cpp
/home/toycar/robot_ws/src/toycar_voice/src/publisher_member_function.cpp
这里利用定时器作为消息源,通过publisher_定时向接收者发送消息,实际开发中,可以替换成相应的业务逻辑。
#include <chrono>
#include <functional>
#include <memory>
#include <string>#include "rclcpp/rclcpp.hpp"
#include "std_msgs/msg/string.hpp"using namespace std::chrono_literals;class MinimalPublisher : public rclcpp::Node
{public:MinimalPublisher(): Node("minimal_publisher"), count_(0){//实例化时,先创建publisher_对象,主题为“topic”,然后创建定时器并绑定回调函数timer_callbackpublisher_ = this->create_publisher<std_msgs::msg::String>("topic", 10);timer_ = this->create_wall_timer(5000ms, std::bind(&MinimalPublisher::timer_callback, this));}private:void timer_callback(){auto message = std_msgs::msg::String();// message.data = "Hello, world! " + std::to_string(count_++);message.data = "你好,世界!";RCLCPP_INFO(this->get_logger(), "Publishing: '%s'", message.data.c_str());publisher_->publish(message);}rclcpp::TimerBase::SharedPtr timer_;rclcpp::Publisher<std_msgs::msg::String>::SharedPtr publisher_;size_t count_;
};
//主函数中实例化自定义的MinimalPublisher类
int main(int argc, char * argv[])
{rclcpp::init(argc, argv);rclcpp::spin(std::make_shared<MinimalPublisher>());rclcpp::shutdown();return 0;
}
/home/toycar/robot_ws/src/toycar_voice/src/subscriber_member_function.cpp
这里通过创建消息的消费者,对某个主题进行监听并回调处理函数,来实现将接收到的消息中的文字转换成语音文件。
#include <memory>
#include "rclcpp/rclcpp.hpp"
#include "std_msgs/msg/string.hpp"#include "toycar_voice/qtts.h"
#include "toycar_voice/msp_cmn.h"
#include "toycar_voice/msp_errors.h"using std::placeholders::_1;typedef int SR_DWORD;
typedef short int SR_WORD ;/* wav音频头部格式 */
typedef struct _wave_pcm_hdr
{char            riff[4];                // = "RIFF"int				size_8;                 // = FileSize - 8char            wave[4];                // = "WAVE"char            fmt[4];                 // = "fmt "int				fmt_size;				// = 下一个结构体的大小 : 16short int       format_tag;             // = PCM : 1short int       channels;               // = 通道数 : 1int				samples_per_sec;        // = 采样率 : 8000 | 6000 | 11025 | 16000int				avg_bytes_per_sec;      // = 每秒字节数 : samples_per_sec * bits_per_sample / 8short int       block_align;            // = 每采样点字节数 : wBitsPerSample / 8short int       bits_per_sample;        // = 量化比特数: 8 | 16char            data[4];                // = "data";int				data_size;              // = 纯数据长度 : FileSize - 44
} wave_pcm_hdr;/* 默认wav音频头部数据 */
wave_pcm_hdr default_wav_hdr =
{{ 'R', 'I', 'F', 'F' },0,{'W', 'A', 'V', 'E'},{'f', 'm', 't', ' '},16,1,1,16000,32000,2,16,{'d', 'a', 't', 'a'},0
};
/* 文本合成 */
int text_to_speech(const char* src_text, const char* des_path, const char* params)
{int          ret          = -1;FILE*        fp           = NULL;const char*  sessionID    = NULL;unsigned int audio_len    = 0;wave_pcm_hdr wav_hdr      = default_wav_hdr;int          synth_status = MSP_TTS_FLAG_STILL_HAVE_DATA;if (NULL == src_text || NULL == des_path){printf("params is error!\n");return ret;}fp = fopen(des_path, "wb");if (NULL == fp){printf("open %s error.\n", des_path);return ret;}/* 开始合成 */sessionID = QTTSSessionBegin(params, &ret);if (MSP_SUCCESS != ret){printf("QTTSSessionBegin failed, error code: %d.\n", ret);fclose(fp);return ret;}ret = QTTSTextPut(sessionID, src_text, (unsigned int)strlen(src_text), NULL);if (MSP_SUCCESS != ret){printf("QTTSTextPut failed, error code: %d.\n",ret);QTTSSessionEnd(sessionID, "TextPutError");fclose(fp);return ret;}printf("正在合成 ...\n");fwrite(&wav_hdr, sizeof(wav_hdr) ,1, fp); //添加wav音频头,使用采样率为16000while (1) {/* 获取合成音频 */const void* data = QTTSAudioGet(sessionID, &audio_len, &synth_status, &ret);if (MSP_SUCCESS != ret)break;if (NULL != data){fwrite(data, audio_len, 1, fp);wav_hdr.data_size += audio_len; //计算data_size大小}if (MSP_TTS_FLAG_DATA_END == synth_status)break;}printf("\n");if (MSP_SUCCESS != ret){printf("QTTSAudioGet failed, error code: %d.\n",ret);QTTSSessionEnd(sessionID, "AudioGetError");fclose(fp);return ret;}/* 修正wav文件头数据的大小 */wav_hdr.size_8 += wav_hdr.data_size + (sizeof(wav_hdr) - 8);/* 将修正过的数据写回文件头部,音频文件为wav格式 */fseek(fp, 4, 0);fwrite(&wav_hdr.size_8,sizeof(wav_hdr.size_8), 1, fp); //写入size_8的值fseek(fp, 40, 0); //将文件指针偏移到存储data_size值的位置fwrite(&wav_hdr.data_size,sizeof(wav_hdr.data_size), 1, fp); //写入data_size的值fclose(fp);fp = NULL;/* 合成完毕 */ret = QTTSSessionEnd(sessionID, "Normal");if (MSP_SUCCESS != ret){printf("QTTSSessionEnd failed, error code: %d.\n",ret);}return ret;
}class MinimalSubscriber : public rclcpp::Node
{public:MinimalSubscriber(): Node("minimal_subscriber"){//实例化时创建subscription_ ,主题为“topic”,并绑定接收到消息后的回调函数topic_callbacksubscription_ = this->create_subscription<std_msgs::msg::String>("topic", 10, std::bind(&MinimalSubscriber::topic_callback, this, _1));}private:void topic_callback(const std_msgs::msg::String::SharedPtr msg) const{RCLCPP_INFO(this->get_logger(), "I heard: '%s'", msg->data.c_str());//   char cmd[2000];const char* text;int         ret                  = MSP_SUCCESS;const char* session_begin_params = "voice_name = xiaoyan, text_encoding = utf8, sample_rate = 16000, speed = 50, volume = 50, pitch = 50, rdn = 2";const char* filename             = "/home/toycar/tts_sample.wav"; //合成的语音文件名      text = msg->data.c_str();      /* 文本合成,将发送来的消息读取其中的文本 */printf("开始合成 ...\n");//调用静态方法进行转换ret = text_to_speech(text, filename, session_begin_params);if (MSP_SUCCESS != ret){printf("text_to_speech failed, error code: %d.\n", ret);}printf("合成完毕\n");sleep(1);}rclcpp::Subscription<std_msgs::msg::String>::SharedPtr subscription_;};int main(int argc, char * argv[])
{int         ret                  = MSP_SUCCESS;const char* login_params         = "appid = xxxxxxx, work_dir = .";//登录参数,appid与msc库绑定,请勿随意改动/* 用户登录 */ret = MSPLogin(NULL, NULL, login_params); //第一个参数是用户名,第二个参数是密码,第三个参数是登录参数,用户名和密码可在http://www.xfyun.cn注册获取if (MSP_SUCCESS != ret){printf("MSPLogin failed, error code: %d.\n", ret);//登录失败,退出登录printf("按任意键退出 ...\n");getchar();MSPLogout(); //退出登录}printf("语音模块初始化成功,请说话... ...\n");rclcpp::init(argc, argv);rclcpp::spin(std::make_shared<MinimalSubscriber>());rclcpp::shutdown();printf("按任意键退出 ...\n");getchar();MSPLogout(); //退出登录return 0;
}
修改CMakeLists.txt文件内容,增加节点源码文件及相关依赖配置
add_executable(talker src/publisher_member_function.cpp)
ament_target_dependencies(talker rclcpp std_msgs)add_executable(listener src/subscriber_member_function.cpp)
target_include_directories(listener PUBLIC$<BUILD_INTERFACE:${CMAKE_CURRENT_SOURCE_DIR}/include>$<INSTALL_INTERFACE:include>)
target_compile_features(listener PUBLIC c_std_99 cxx_std_17)  # Require C99 and C++17
# target_link_libraries("libmsc.so" msc)
target_link_libraries(listener${link_directories}libmsc.so -ldl -pthread
)
修改配置文件c_cpp_properties.json
{"configurations": [{"browse": {"databaseFilename": "${default}","limitSymbolsToIncludedHeaders": false},"includePath": ["/opt/ros/humble/include/**","/home/toycar/robot_ws/src/toycar_voice/include/**","/usr/include/**"],"name": "ROS","intelliSenseMode": "gcc-x64","compilerPath": "/usr/bin/gcc","cStandard": "gnu11","cppStandard": "c++14"}],"version": 4
}
3.编译和执行
最后,到了编译阶段,使用指令编译
//colcon build --packages-select toycar_voice/
colcon build
如上两个指令都行,这里都打出来是记录可以使用参数选择要编译的具体工程,毕竟当前目录可能有很多工程
最最后,执行程序
. install/setup.bash
ros2 run toycar_voice listener
ros2 run toycar_voice talker
执行前要执行install,这里不懂,抄的。
先运行talker,然后打开另一个终端,运行talker。