文章目录
- 首页效果以及实现步骤
- 接口地址
- 新建项目并梳理项目结构
- 配置导航栏效果
- 配置 tabBar 效果
- 实现轮播图效果
- 实现九宫格效果
- 实现图片布局
- 本地生活(列表页面)
- 演示页面效果以及主要功能
- 列表页面的 API 接口
- 页面导航并传参
- 获取并渲染列表数据
- 上拉触底时加载下一页数据
- 下拉刷新列表数据
- 使用wxs处理手机号
- 整个项目的获取途径
首页效果以及实现步骤
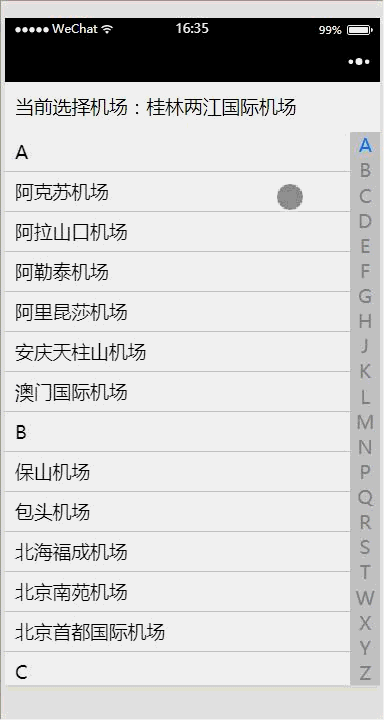
首页效果图:
接口地址
获取轮播图数据列表的接口
【GET】https://www.escook.cn/slides
获取九宫格数据列表的接口
【GET】https://www.escook.cn/categories
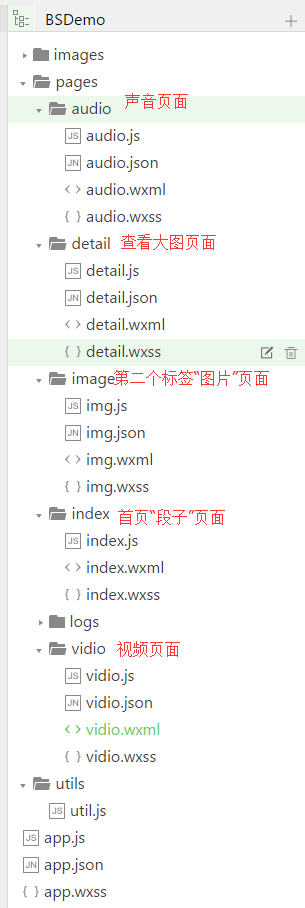
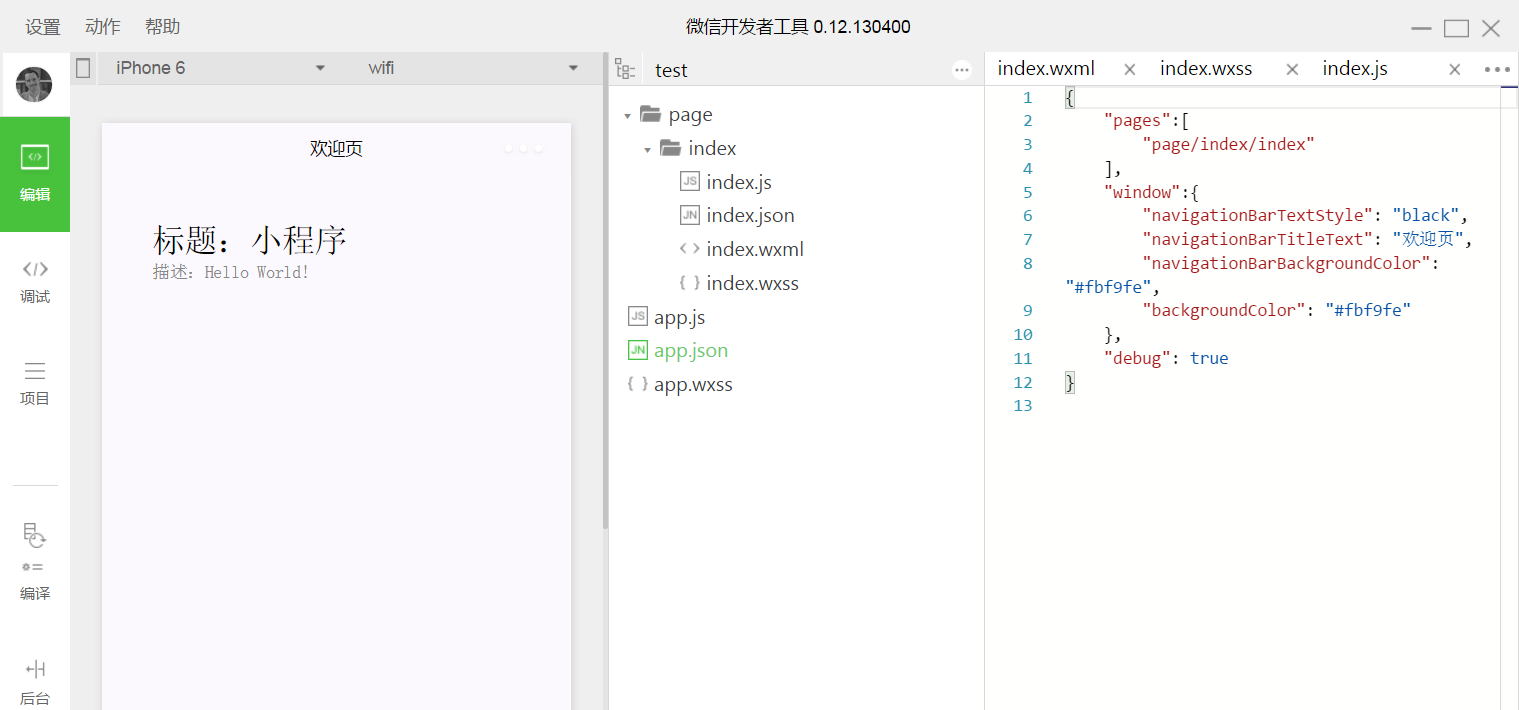
新建项目并梳理项目结构
新建项目:
在app.json文件中新建home、message、contact、shoplist四个页面
"pages":["pages/home/home",// 首页"pages/message/message",// 消息页"pages/contact/contact",// 联系我们页"pages/shoplist/shoplist"// 列表页],
输入以上代码后按下enter键自动创建四个页面目录
项目结构图:
配置导航栏效果
修改app.js文件中的window
"window":{"backgroundTextStyle":"light","navigationBarBackgroundColor": "#2b4b6b",// 导航栏颜色"navigationBarTitleText": "本地生活",// 导航栏标题"navigationBarTextStyle":"white"// 导航栏字体颜色
},
配置 tabBar 效果
在app.json文件中加入以下代码:
"tabBar": {"list": [{"pagePath": "pages/home/home","text": "首页","iconPath": "./images/tabs/home.png","selectedIconPath": "./images/tabs/home-active.png"},{"pagePath": "pages/message/message","text": "消息","iconPath": "./images/tabs/message.png","selectedIconPath": "./images/tabs/message-active.png"},{"pagePath": "pages/contact/contact","text": "联系我们","iconPath": "./images/tabs/contact.png","selectedIconPath": "./images/tabs/contact-active.png"}]},
实现轮播图效果
在home.wxml文件中加入以下代码:
<!-- 轮播图区域 -->
<swiper indicator-dots circular autoplay interval="2000"><swiper-item wx:for="{{swiperList}}" wx:key="id"><image src="{{item.image}}"></image></swiper-item>
</swiper>
在home.wxss文件中加入以下代码:
/* 轮播图 */
swiper{height: 350rpx;
}
swiper image{width: 100%;height: 100%;
}
在home.js文件中加入以下代码:
/*** 页面的初始数据*/data: {// 存放轮播图数据的列表swiperList:[],},
/*** 生命周期函数--监听页面加载*/onLoad(options) {this.getSwiperList()// 加载轮播图数据},// 获取轮播图数据的方法getSwiperList () {wx.request({url: 'https://www.escook.cn/slides',method:'GET',success:(res)=>{//   console.log(res);this.setData({swiperList:res.data})}})},
实现九宫格效果
在home.wxml文件中加入以下代码:
<!-- 九宫格区域 -->
<view class="grid-list"><view class="grid-item" wx:for="{{gridList}}" wx:key="id"><image src="{{item.icon}}"></image><text>{{item.name}}</text></view>
</view>
在home.wxss文件中加入以下代码:
/* 九宫格 */
.grid-list{display: flex;flex-wrap: wrap;border-left: 1rpx solid #efefef;border-top: 1rpx solid #efefef;
}
.grid-item{width: 33.33%;height: 200rpx;display: flex;flex-direction: column;align-items: center;justify-content: center;border-bottom: 1rpx solid #efefef;border-right: 1rpx solid #efefef;box-sizing: border-box;
}
.grid-item image{width: 60rpx;height: 60rpx;
}
.grid-item text{font-size: 24rpx;margin-top: 10rpx;
}
在home.js文件中加入以下代码:
/*** 页面的初始数据*/data: {// 存放九宫格数据gridList:[],},
/*** 生命周期函数--监听页面加载*/onLoad(options) {this.getGrideList()// 加载九宫格数据},
// 获取九宫格数据的方法   getGrideList() {wx.request({url: 'https://www.escook.cn/categories',method:'GET',success:(res)=>{// console.log(res);this.setData({gridList:res.data})}})},
实现图片布局
在home.wxml文件中加入以下代码:
<!-- 图片区域 -->
<view class="img-box"><image src="/images/link-01.png" mode="widthFix"></image><image src="/images/link-02.png" mode="widthFix"></image>
</view>
在home.wxss文件中加入以下代码:
/* 图片区域 */
.img-box{display: flex;padding: 20rpx 10rpx;justify-content: space-around;
}
.img-box image{width: 45%;
}
本地生活(列表页面)
演示页面效果以及主要功能
主要功能:
- 页面导航并传参
- 上拉触底时加载下一页数据
- 下拉刷新列表数据
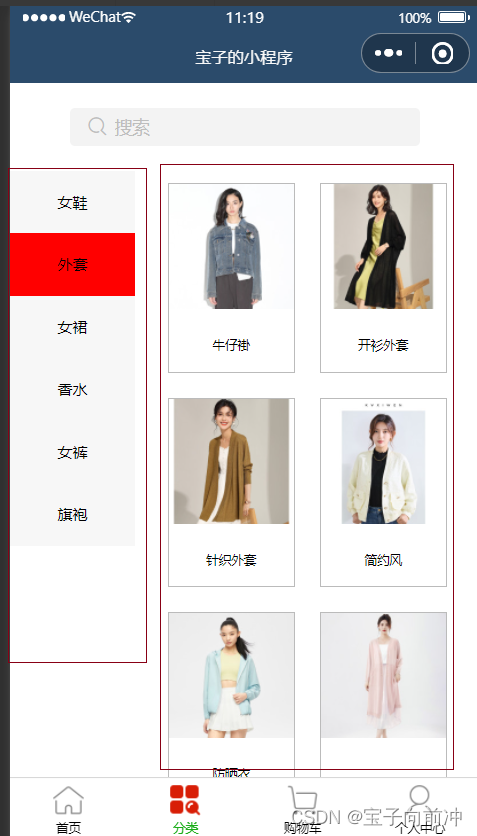
演示页面效果:
列表页面的 API 接口
以分页的形式,加载指定分类下商铺列表的数据:
- 接口地址:https://www.escook.cn/categories/:cate_id/shopsURL
- 地址中的 :cate_id 是动态参数,表示分类的 Id
请求方式
- GET 请求
请求参数
- _ page 表示请求第几页的数据
- _ limit 表示每页请求几条数据
页面导航并传参
在app.json文件下的pages中创建列表页:
"pages":["pages/shoplist/shoplist"],
修改home.wxml文件中的九宫格代码(变为链接):
<!-- 九宫格区域 -->
<view class="grid-list"><navigator class="grid-item" wx:for="{{gridList}}" wx:key="id" url="/pages/shoplist/shoplist?id={{item.id}}&title={{item.name}}"><!--添加url属性:跳转路径并携带九宫格数据中的id和title参数--><image src="{{item.icon}}"></image><text>{{item.name}}</text></navigator>
</view>
在shoplist.js文件中动态添加列表页的标题
    /*** 页面的初始数据*/data: {query:{},// 对首页传递参数进行转存},
/**/*** 生命周期函数--监听页面加载*/onLoad(options) {this.setData({query:options})},/*** 生命周期函数--监听页面初次渲染完成*/onReady() {wx.setNavigationBarTitle({title: this.data.query.title})},
获取并渲染列表数据
在shoplist.js文件中初始化数据
/*** 页面的初始数据*/data: {query:{},shopList:[],page:1,pageSize:10,total:0,isloading:false},
获取列表数据
/*** 生命周期函数--监听页面加载*/onLoad(options) {this.getShopList()}, // 获取列表数据getShopList(){wx.request({url: `https://www.escook.cn/categories/${this.data.query.id}/shops`,method:'GET',data:{_page:this.data.page,_limit:this.data.pageSize},success:(res)=>{// console.log(res);this.setData({shopList:[...this.data.shopList,...res.data],total:res.header['X-Total-Count']-0})},
渲染页面,在shoplist.wxml文件中添加以下代码
<view class="shop-item" wx:for="{{shopList}}" wx:key="id"><view class="thumb"><image src="{{item.images[0]}}"></image></view><view class="info"><text class="shop-title">{{item.name}}</text><text>电话:{{item.phone}}</text><text>地址:{{item.address}}</text><text>营业时间:{{item.businessHours}}</text></view>
</view>
添加列表页面样式
.shop-item{display: flex;padding: 15rpx;border: 1rpx solid #efefef;border-radius: 8rpx;margin: 15rpx;box-shadow: 1rpx 1rpx 15rpx #dddddd;
}
.thumb image{width: 250rpx;height: 250rpx;display: block;margin-right: 15rpx;
}
.info{display: flex;flex-direction: column;justify-content: space-around;font-size: 24rpx;
}
.shop-title{font-weight: bold;
}
上拉触底时加载下一页数据
加载下一页数据处理
getShopList(cb){this.setData({isLoading:true})// 展示roading效果wx.showLoading({title: '数据加载中...',})// 请求数据wx.request({url: `https://www.escook.cn/categories/${this.data.query.id}/shops`,method:'GET',data:{_page:this.data.page,_limit:this.data.pageSize},success:(res)=>{// console.log(res);this.setData({shopList:[...this.data.shopList,...res.data],total:res.header['X-Total-Count']-0})},complete:()=>{// 隐藏loading效果wx.hideLoading(),this.setData({isLoading:false})cb && cb()// cb回调函数}})},
/*** 页面上拉触底事件的处理函数*/onReachBottom() {if(this.data.page * this.data.pageSize >= this.data.total){// 没有下一页数据(判断所有数据是否显示完)return wx.showToast({title: '数据加载完毕!',icon:'none'})}if(this.data.isLoading)return // 判断当前是否在请求数据this.setData({// 页码值+1page:this.data.page + 1})this.getShopList()// 获取下一组数据},
在shoplist.json文件中添加以下代码:
{"usingComponents": {},// 引入自定义组件"onReachBottomDistance": 200,// 设置上拉触发距离
}
下拉刷新列表数据
在shoplist.json文件中添加以下代码:
{"enablePullDownRefresh": true,// 开启下拉刷新"backgroundColor": "#efefef",// 下拉刷新背景颜色"backgroundTextStyle": "dark"// 下拉刷新背景样式
}
下拉刷新重新获取第一页数据
/*** 页面相关事件处理函数--监听用户下拉动作*/onPullDownRefresh() {// 需要重置关键的数据this.setData({page:1,shopList:[],total:0})// 重新发起数据请求this.getShopList(()=>{wx.stopPullDownRefresh()})},
使用wxs处理手机号
在util.js文件中创建tools.wxs文件,并添加下列代码:
function splitPhone(str){if(str.length!=11) return strvar arr = str.split('')arr.splice(3,0,'-')arr.splice(8,0,'-')return arr.join('')
}
// 对外暴露splitPhone()方法
module.exports = {splitPhone:splitPhone
}
在shoplist.wxml文件中引入wxs脚本
<wxs src="../../utils/tools.wxs" module="tools"></wxs>
在shoplist.wxml文件中使用wxs脚本(修改电话格式)
<text>电话:{{tools.splitPhone(item.phone)}}</text>
整个项目的获取途径
项目中图片获取链接
整个项目下载链接