在Qt开发过程中,QWidget是经常作为主窗体的父窗口,有时我们需要对主窗口设置背景,设置圆角以达到美观的效果,通常的有以下三种方法:qss, QPalette设置以及paintEvent绘制。下面介绍这三种方法。
背景设置介绍
方法一:
setStyleSheet("{background-color:#ff0000;color:#ffffff;border-radius:4px;}");方法二:
QPalette p = palette();//p.setColor(QPalette::Window, QColor(255, 0, 0));p.setBrush(QPalette::Window, QBrush(QPixmap(":/image/test.png").scaled(this->size(), Qt::IgnoreAspectRatio,Qt::SmoothTransformation)));setPalette(p);void CustomWidget::initView()
{//方式一://setStyleSheet("{background-color:#ff0000;color:#ffffff;border-radius:4px;}");//方式二:setWindowFlag(Qt::FramelessWindowHint);QPalette p = palette();//p.setColor(QPalette::Window, QColor(255, 0, 0));p.setBrush(QPalette::Window, QBrush(QPixmap(":/image/test.png").scaled(this->size(), Qt::IgnoreAspectRatio,Qt::SmoothTransformation)));setPalette(p);QPushButton *button = new QPushButton(this);button->setText("hello");button->setMinimumSize(QSize(50, 25));button->setMaximumSize(QSize(50, 25));button->show();
}void MainWindow::initView()
{CustomWidget *custom = new CustomWidget(this);custom->resize(100, 50);custom->move(20, 20);custom->show();
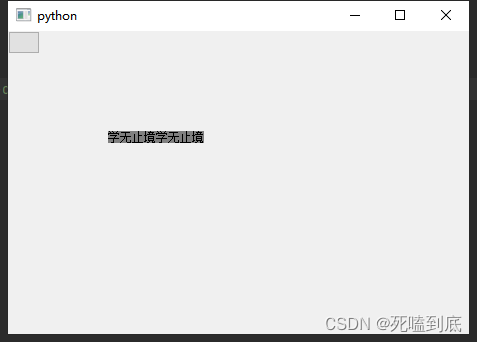
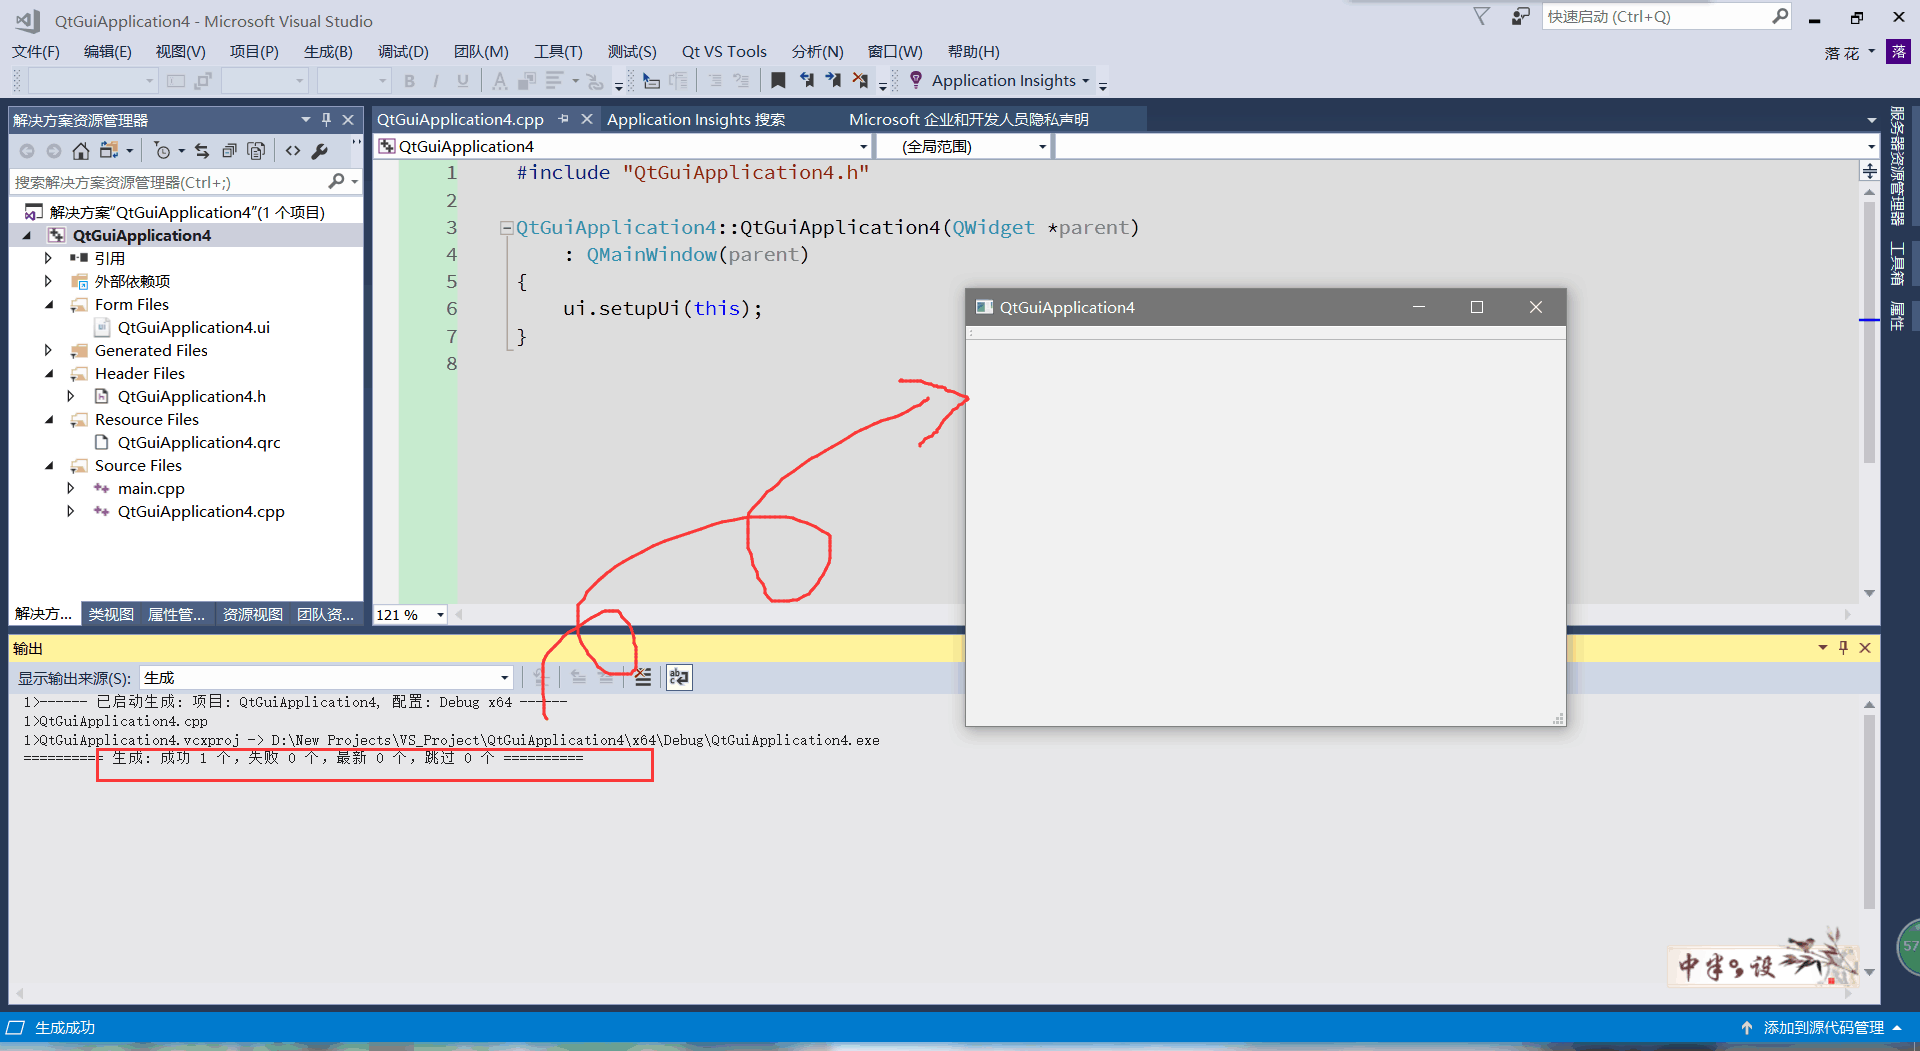
}运行结果:
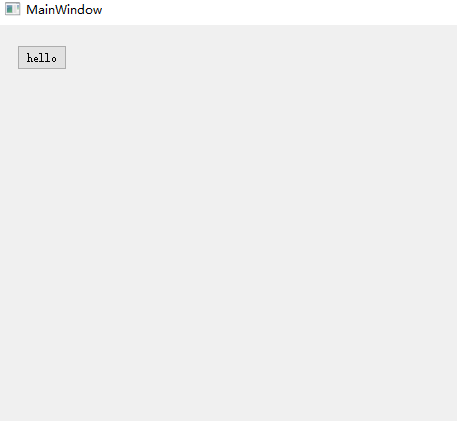
这两种方法设置父窗口为QWidget的类中,不生效。因此只能采用第三种绘制的方式:
方法三:
重写paintEvent方法:
一、画圆角
#ifndef CUSTOMWIDGET1_H
#define CUSTOMWIDGET1_H#include <QWidget>class CustomWidget1 : public QWidget
{Q_OBJECT
public:explicit CustomWidget1(QWidget *parent = nullptr);void initView();
protected:void paintEvent(QPaintEvent *event) override;signals:};#endif // CUSTOMWIDGET1_H
#include "customwidget1.h"
#include <QStyleOption>
#include <QPainter>
#include <QBitmap>CustomWidget1::CustomWidget1(QWidget *parent) : QWidget(parent)
{QPushButton *button = new QPushButton(this);button->setText("hello");button->setMinimumSize(QSize(50, 25));button->setMaximumSize(QSize(50, 25));button->show();
}void CustomWidget1::paintEvent(QPaintEvent *event)
{//绘制样式QStyleOption opt;opt.initFrom(this);QPainter p(this);style()->drawPrimitive(QStyle::PE_Widget, &opt, &p, this);//绘制样式QBitmap bmp(this->size());bmp.fill();QPainter painter(&bmp);painter.setPen(Qt::NoPen);painter.setBrush(Qt::black);painter.setRenderHint(QPainter::Antialiasing);//设置边框为圆角12pxpainter.drawRoundedRect(bmp.rect(), 12, 12);setMask(bmp);//再画颜色块QRect tmpRect = QRect(0, 0, this->width(), this->height());QBrush brush = QBrush(QColor("#ff0000"));p.setPen(Qt::NoPen); //去掉边框线p.setBrush(brush);p.drawRect(tmpRect);
}
测试代码:
void MainWindow::initView()
{CustomWidget1 *custom1 = new CustomWidget1(this);custom1->resize(100, 50);custom1->move(20, 20);custom1->show();
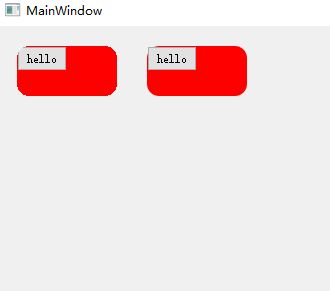
}运行效果:
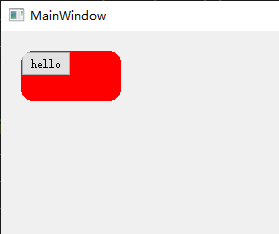
这种绘制的四个角有毛刺的感觉,下面再用另外一种方式绘制:
#ifndef CUSTOMWIDGET2_H
#define CUSTOMWIDGET2_H#include <QWidget>class CustomWidget2 : public QWidget
{Q_OBJECT
public:explicit CustomWidget2(QWidget *parent = nullptr);protected:void paintEvent(QPaintEvent *event) override;signals:};#endif // CUSTOMWIDGET2_H
#include "customwidget2.h"
#include <QStyleOption>
#include <QPainter>
#include <QBitmap>CustomWidget2::CustomWidget2(QWidget *parent) : QWidget(parent)
{QPushButton *button = new QPushButton(this);button->setText("hello");button->setMinimumSize(QSize(50, 25));button->setMaximumSize(QSize(50, 25));button->show();
}void CustomWidget2::paintEvent(QPaintEvent *event)
{//绘制路径QPainter painter(this);painter.setPen(Qt::NoPen);painter.setBrush(Qt::black);painter.setRenderHint(QPainter::Antialiasing);//设置边框为圆角12pxQPainterPath path;path.addRoundedRect(rect(), 12, 12);painter.setClipPath(path);QBrush brush = QBrush(QColor("#ff0000"));painter.setBrush(brush);painter.drawRect(rect());
}
测试代码:
void MainWindow::initView()
{CustomWidget1 *custom1 = new CustomWidget1(this);custom1->resize(100, 50);custom1->move(20, 20);custom1->show();CustomWidget2 *custom2 = new CustomWidget2(this);custom2->resize(100, 50);custom2->move(150, 20);custom2->show();
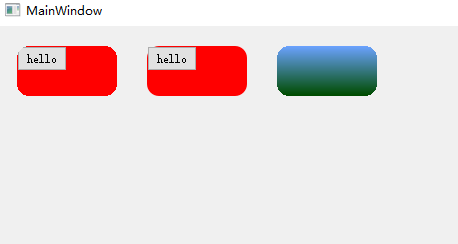
}运行效果:
上面是绘制QWidget的背景为圆角模式,要绘制一个圆角带渐变的背景呢
二、画渐变
#ifndef CUSTOMWIDGET3_H
#define CUSTOMWIDGET3_H#include <QWidget>class CustomWidget3 : public QWidget
{Q_OBJECT
public:explicit CustomWidget3(QWidget *parent = nullptr);protected:void paintEvent(QPaintEvent *event) override;signals:};#endif // CUSTOMWIDGET3_H
#include "customwidget3.h"
#include <QStyleOption>
#include <QPainter>
#include <QBitmap>CustomWidget3::CustomWidget3(QWidget *parent) : QWidget(parent)
{}void CustomWidget3::paintEvent(QPaintEvent *event)
{//绘制样式QStyleOption opt;opt.initFrom(this);QPainter p(this);style()->drawPrimitive(QStyle::PE_Widget, &opt, &p, this);//绘制样式QBitmap bmp(this->size());bmp.fill();QPainter painter(&bmp);painter.setPen(Qt::NoPen);painter.setBrush(Qt::black);painter.setRenderHint(QPainter::Antialiasing);//设置边框为圆角12pxpainter.drawRoundedRect(bmp.rect(), 12, 12);setMask(bmp);//再画一个渐变区域QRect tmpRect = QRect(0, 0, this->width(), this->height());QLinearGradient linearGradient = QLinearGradient(tmpRect.topLeft(), tmpRect.bottomLeft());linearGradient.setColorAt(0.0, QColor("#6BA2FF"));linearGradient.setColorAt(1.0, QColor("#004C00"));QBrush brush = QBrush(linearGradient);p.setPen(Qt::NoPen); //去掉边框线p.setBrush(brush);p.drawRect(tmpRect);
}
测试代码:
这个有毛刺,下面绘制一个平滑的
#ifndef CUSTOMWIDGET4_H
#define CUSTOMWIDGET4_H#include <QWidget>class CustomWidget4 : public QWidget
{Q_OBJECT
public:explicit CustomWidget4(QWidget *parent = nullptr);protected:void paintEvent(QPaintEvent *event) override;signals:};#endif // CUSTOMWIDGET4_H
#include "customwidget4.h"
#include <QStyleOption>
#include <QPainter>
#include <QBitmap>CustomWidget4::CustomWidget4(QWidget *parent) : QWidget(parent)
{}void CustomWidget4::paintEvent(QPaintEvent *event)
{QPainter painter(this);painter.setPen(Qt::NoPen);painter.setBrush(Qt::black);painter.setRenderHint(QPainter::Antialiasing);//设置边框为圆角12pxQPainterPath path;path.addRoundedRect(rect(), 12, 12);painter.setClipPath(path);//再画一个渐变区域QRect tmpRect = QRect(0, 0, this->width(), this->height());QLinearGradient linearGradient = QLinearGradient(tmpRect.topLeft(), tmpRect.bottomLeft());linearGradient.setColorAt(0.0, QColor("#6BA2FF"));linearGradient.setColorAt(1.0, QColor("#004C00"));QBrush brush = QBrush(linearGradient);painter.setPen(Qt::NoPen); //去掉边框线painter.setBrush(brush);painter.drawRect(tmpRect);
}
测试代码:
void MainWindow::initView()
{CustomWidget1 *custom1 = new CustomWidget1(this);custom1->resize(100, 50);custom1->move(20, 20);custom1->show();CustomWidget2 *custom2 = new CustomWidget2(this);custom2->resize(100, 50);custom2->move(150, 20);custom2->show();CustomWidget3 *custom3 = new CustomWidget3(this);custom3->resize(100, 50);custom3->move(280, 20);custom3->show();CustomWidget4 *custom4 = new CustomWidget4(this);custom4->resize(100, 50);custom4->move(420, 20);custom4->show();
}
运行效果:
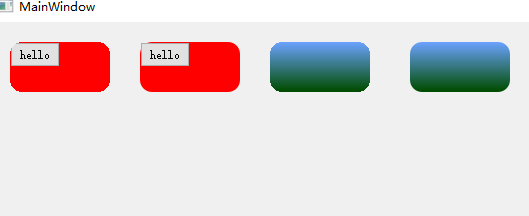
右边的为平滑的圆角,上面的背景为圆角和渐变,如果要带一个带圆角的背景图呢
三、画背景图
#ifndef CUSTOMWIDGET5_H
#define CUSTOMWIDGET5_H#include <QWidget>class CustomWidget5 : public QWidget
{Q_OBJECT
public:explicit CustomWidget5(QWidget *parent = nullptr);protected:void paintEvent(QPaintEvent *event) override;signals:};#endif // CUSTOMWIDGET5_H
#include "customwidget5.h"
#include <QStyleOption>
#include <QPainter>
#include <QBitmap>CustomWidget5::CustomWidget5(QWidget *parent) : QWidget(parent)
{}void CustomWidget5::paintEvent(QPaintEvent *event)
{//绘制样式QStyleOption opt;opt.initFrom(this);QPainter p(this);style()->drawPrimitive(QStyle::PE_Widget, &opt, &p, this);//绘制样式QBitmap bmp(this->size());bmp.fill();QPainter painter(&bmp);painter.setPen(Qt::NoPen);painter.setBrush(Qt::black);painter.setRenderHint(QPainter::Antialiasing);//设置边框为圆角12pxpainter.drawRoundedRect(bmp.rect(), 12, 12);setMask(bmp);//再画图片 338X247p.drawPixmap(rect(), QPixmap(":/image/test.png"));
}
测试代码:
void MainWindow::initView()
{CustomWidget1 *custom1 = new CustomWidget1(this);custom1->resize(100, 50);custom1->move(20, 20);custom1->show();CustomWidget2 *custom2 = new CustomWidget2(this);custom2->resize(100, 50);custom2->move(150, 20);custom2->show();CustomWidget3 *custom3 = new CustomWidget3(this);custom3->resize(100, 50);custom3->move(280, 20);custom3->show();CustomWidget4 *custom4 = new CustomWidget4(this);custom4->resize(100, 50);custom4->move(420, 20);custom4->show();//338X247CustomWidget5 *custom5 = new CustomWidget5(this);custom5->resize(338, 247);custom5->move(20, 100);custom5->show();
}
运行效果:
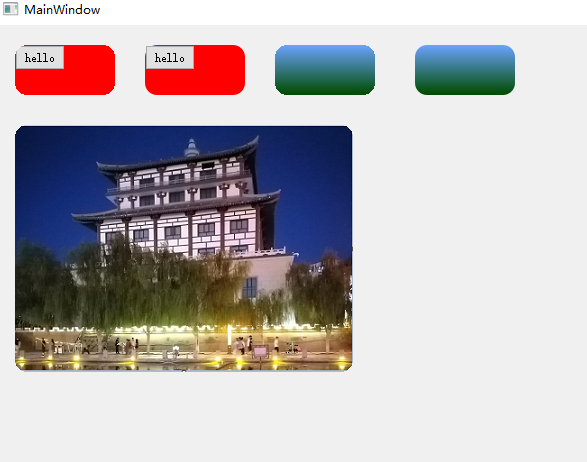
去除毛刺的绘制方式:
#ifndef CUSTOMWIDGET6_H
#define CUSTOMWIDGET6_H#include <QWidget>class CustomWidget6 : public QWidget
{Q_OBJECT
public:explicit CustomWidget6(QWidget *parent = nullptr);protected:void paintEvent(QPaintEvent *event) override;signals:};#endif // CUSTOMWIDGET6_H
#include "customwidget6.h"
#include <QStyleOption>
#include <QPainter>
#include <QBitmap>CustomWidget6::CustomWidget6(QWidget *parent) : QWidget(parent)
{}void CustomWidget6::paintEvent(QPaintEvent *event)
{QPainter painter(this);painter.setPen(Qt::NoPen);painter.setBrush(Qt::black);painter.setRenderHint(QPainter::Antialiasing);//设置边框为圆角12pxQPainterPath path;path.addRoundedRect(rect(), 12, 12);painter.setClipPath(path);//画图片painter.drawPixmap(rect(), QPixmap(":/image/test.png"));
}
测试代码:
void MainWindow::initView()
{CustomWidget1 *custom1 = new CustomWidget1(this);custom1->resize(100, 50);custom1->move(20, 20);custom1->show();CustomWidget2 *custom2 = new CustomWidget2(this);custom2->resize(100, 50);custom2->move(150, 20);custom2->show();CustomWidget3 *custom3 = new CustomWidget3(this);custom3->resize(100, 50);custom3->move(280, 20);custom3->show();CustomWidget4 *custom4 = new CustomWidget4(this);custom4->resize(100, 50);custom4->move(420, 20);custom4->show();//338X247CustomWidget5 *custom5 = new CustomWidget5(this);custom5->resize(338, 247);custom5->move(20, 100);custom5->show();CustomWidget6 *custom6 = new CustomWidget6(this);custom6->resize(338, 247);custom6->move(380, 100);custom6->show();
}
运行效果:
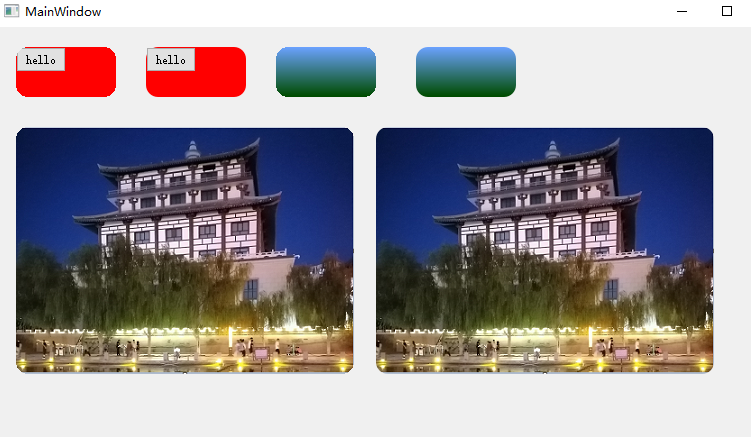
根据各种对比,用路径的绘制方法效果会好很多。