本篇博客主要对app进行开发来实现对esp系列芯片的远程控制,通过mqtt协议来进行数据的传输,用wifi模块接收数据串口收发数据到单片机上使用,可远程操控。
APP开发(Android Studio)
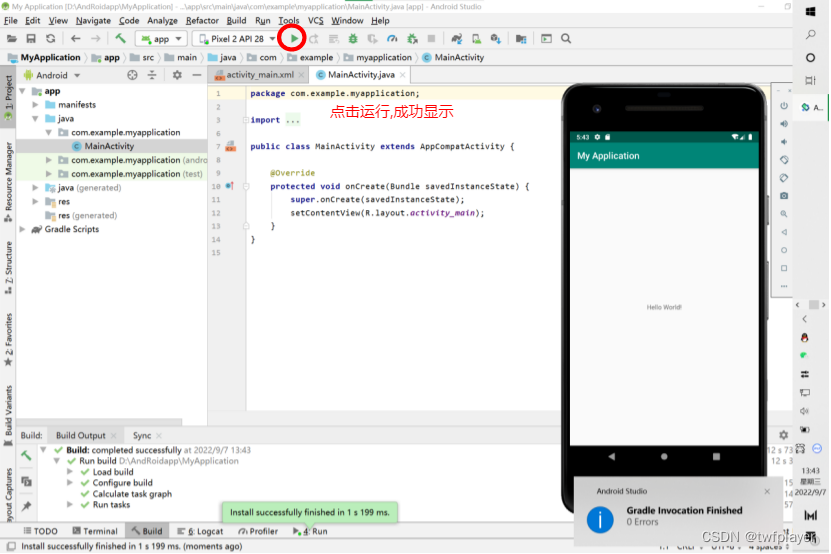
通过Android Studio来设计软件,用Java和xml来编译,xml控制界面的布局,而Java来进行数据的处理,将组件布局到xml页面上,例如以下代码实现的界面效果。
<LinearLayoutxmlns:android="http://schemas.android.com/apk/res/android"android:layout_width="match_parent"android:layout_height="match_parent"android:orientation="vertical"android:background="@color/white"android:padding="20dp"><LinearLayoutandroid:layout_width="wrap_content"android:layout_height="wrap_content"><Buttonandroid:id="@+id/btn_openBT"android:layout_width="wrap_content"android:layout_height="wrap_content"android:backgroundTint="@color/white"android:text="设置在线"/><TextViewandroid:id="@+id/text_state2"android:layout_marginLeft="40dp"android:layout_width="wrap_content"android:layout_height="wrap_content"android:textColor="@color/black"android:text="网络已经打开"/></LinearLayout><LinearLayoutandroid:layout_width="wrap_content"android:layout_height="wrap_content"><Buttonandroid:layout_marginTop="10dp"android:id="@+id/btn_search"android:layout_width="wrap_content"android:layout_height="wrap_content"android:backgroundTint="@color/white"android:text="数据列表"/><TextViewandroid:layout_marginTop="10dp"android:id="@+id/text_state"android:layout_width="wrap_content"android:layout_height="wrap_content"android:layout_marginLeft="40dp"android:textColor="@color/black"/></LinearLayout><ListViewandroid:id="@+id/listView"android:layout_width="match_parent"android:layout_height="400dp"android:layout_marginTop="10dp"android:textColor="@color/white" /><LinearLayoutandroid:layout_width="wrap_content"android:layout_height="wrap_content"><Buttonandroid:layout_marginTop="10dp"android:id="@+id/btn_receive"android:layout_width="wrap_content"android:layout_height="wrap_content"android:backgroundTint="@color/white"android:text="来信"/><TextViewandroid:id="@+id/text_msg"android:layout_marginTop="10dp"android:layout_width="wrap_content"android:layout_height="wrap_content"android:layout_marginLeft="20dp"android:textColor="@color/black"android:textColorHint="@color/white"android:text="请你发送消息"/></LinearLayout><LinearLayoutandroid:layout_width="wrap_content"android:layout_height="wrap_content"><Buttonandroid:layout_marginTop="10dp"android:id="@+id/btn_send"android:layout_width="wrap_content"android:layout_height="wrap_content"android:backgroundTint="@color/white"android:text="发送"/><EditTextandroid:id="@+id/text_Edit"android:layout_width="match_parent"android:layout_height="match_parent"android:layout_marginLeft="20dp"android:textColor="@color/black"android:textColorHint="@color/black"android:textSize="14dp" /></LinearLayout></LinearLayout>
所实现的效果
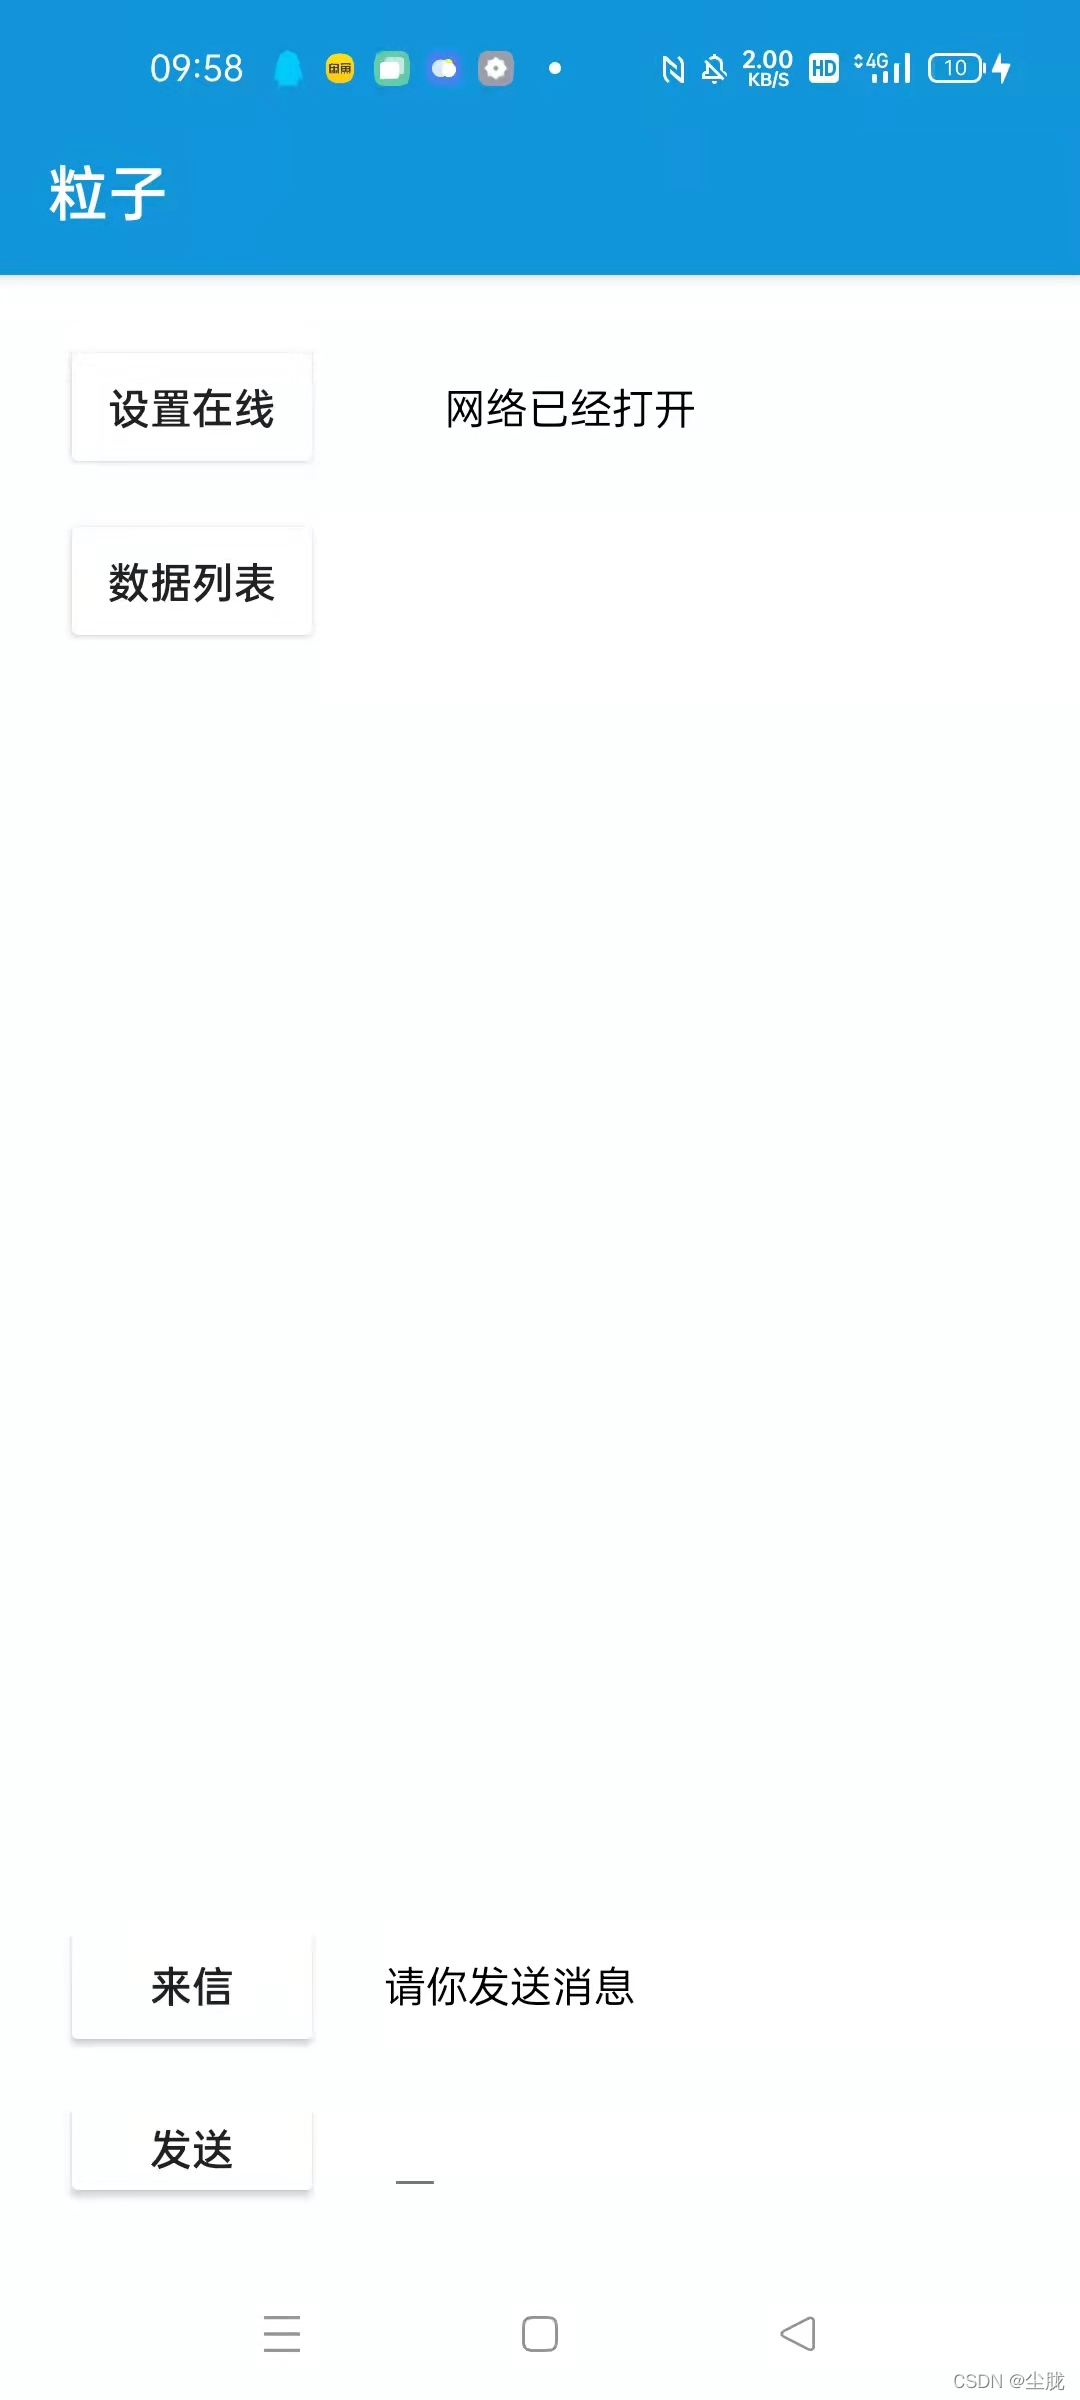 该界面使用的组件包括摁键编辑框容器 三种组件器组件包括其相应的数据,例如长宽高,字体大小,和容器来调整整体位置布局。要在需要控制的组件上加上id方便再Java文件里进行调用和处理,
编写完xml文件后,可以开始编辑Java文件,import你要的组件,然后将组件附上变量,再将变量和组件id进行关联,这样便可通过Java的数据处理,来对组件功能进行实现。
代码实现如下:
import android.widget.Button;private Button num1;num2=findViewById(R.id.num2);protected void onCreate(Bundle savedInstanceState) {num2.setOnClickListener(new View.OnClickListener() {@Overridepublic void onClick(View view) {publishmessageplus(mqtt_pub_topic,"2");}});}
这样实现的功能便是,将id为num1的摁键组件进行赋值成变量,然后再oncreat创建时的函数里写下,触发摁键执行函数setOnClickListener来只想来调用num2的出发,当摁键被摁下后,通过mqtt协议将信息发布出去。
mqtt协议
MQTT协议是一种消息列队传输协议,采用订阅、发布机制,订阅者只接收自己已经订阅的数据,非订阅数据则不接收,既保证了必要的数据的交换,又避免了无效数据造成的储存与处理。因此在工业物联网中得到广泛的应用。
因为有订阅和发布的功能,所以能保证我想要接收的数据能被esp芯片轻松处理,每次发布的信息不会带有更多的数据,能更加契合物联网的开发。
编写mqtt协议实现其功能,只需将以下代码填入
Mqtt_init();startReconnect();handler2 = new Handler() {@SuppressLint("SetTextI18n")public void handleMessage(Message msg) {super.handleMessage(msg);switch (msg.what){case 1: //开机校验更新回传break;case 2:break;case 3: //MQTT 收到消息回传 UTF8Buffer msg=new UTF8Buffer(object.toString());Toast.makeText(PlanActivity.this,msg.obj.toString() ,Toast.LENGTH_SHORT).show();break;case 30: //连接失败Toast.makeText(PlanActivity.this,"连接失败" ,Toast.LENGTH_SHORT).show();break;case 31: //连接成功text_1.setText("连接状态:已连接");try {client.subscribe(mqtt_sub_topic,1);} catch (MqttException e) {e.printStackTrace();}break;default:break;}}};}private void Mqtt_init(){try {//host为主机名,test为clientid即连接MQTT的客户端ID,一般以客户端唯一标识符表示,MemoryPersistence设置clientid的保存形式,默认为以内存保存client = new MqttClient(host, mqtt_id,new MemoryPersistence());//MQTT的连接设置options = new MqttConnectOptions();//设置是否清空session,这里如果设置为false表示服务器会保留客户端的连接记录,这里设置为true表示每次连接到服务器都以新的身份连接options.setCleanSession(false);//设置连接的用户名options.setUserName(userName);//设置连接的密码options.setPassword(passWord.toCharArray());// 设置超时时间 单位为秒options.setConnectionTimeout(10);// 设置会话心跳时间 单位为秒 服务器会每隔1.5*20秒的时间向客户端发送个消息判断客户端是否在线,但这个方法并没有重连的机制options.setKeepAliveInterval(20);//设置回调client.setCallback(new MqttCallback() {@Overridepublic void connectionLost(Throwable cause) {//连接丢失后,一般在这里面进行重连System.out.println("connectionLost----------");//startReconnect();}@Overridepublic void deliveryComplete(IMqttDeliveryToken token) {//publish后会执行到这里System.out.println("deliveryComplete---------"+ token.isComplete());}@Overridepublic void messageArrived(String topicName, MqttMessage message)throws Exception {//subscribe后得到的消息会执行到这里面System.out.println("messageArrived----------");Message msg = new Message();msg.what = 3; //收到消息标志位msg.obj = message.toString();handler2.sendMessage(msg); // hander 回传}});} catch (Exception e) {e.printStackTrace();}}private void Mqtt_connect() {new Thread(new Runnable() {@Overridepublic void run() {try {if(!(client.isConnected()) ) //如果还未连接{client.connect(options);Message msg = new Message();msg.what = 31;handler2.sendMessage(msg);}} catch (Exception e) {e.printStackTrace();Message msg = new Message();msg.what = 30;handler2.sendMessage(msg);}}}).start();}private void startReconnect() {scheduler = Executors.newSingleThreadScheduledExecutor();scheduler.scheduleAtFixedRate(new Runnable() {@Overridepublic void run() {if (!client.isConnected()) {Mqtt_connect();}}}, 0 * 1000, 10 * 1000, TimeUnit.MILLISECONDS);}private void publishmessageplus(String topic,String message2){if (client == null || !client.isConnected()) {return;}MqttMessage message = new MqttMessage();message.setPayload(message2.getBytes());try {client.publish(topic,message);} catch (MqttException e) {e.printStackTrace();}}
以上代码实现的功能即为将mqtt的初始化即连接,并公告handle的返回值,来判断是否接收数据,和是否连接,可以用 System.out.println("")函数来做调试使用。添加以上代码后还需要将变量写出来,否则会报错。
private String host = “tcp://a”;
private String userName = “android”;
private MqttConnectOptions options;
private String passWord = “android”;
private String mqtt_id = “1”;
private String mqtt_sub_topic = “18”;
private String mqtt_pub_topic = “SP”;
private Handler handler2;
这些是将你要连接的服务器ip,mqtt登录账号和本身id这些变量声明,通过些变量可以将手机上的app和wifi模块(esp32)进行连接,其对用esp32也应将变量赋给对应的值,只要esp能连接ip便可以连接手机的app端。