轮播图
1.思路与写法
1.1 首先我们拿到一个关于轮播图的实例我们要分析里面的功能,将其模块化处理;
1.2 首先需要实现的是自动轮播的效果:
1.2.1需要用到运动函数框架,startMove(),还需要用到定时器,这里我们用的是多次调用的延时定时器达到效果;
1.2.2对dom元素的操作,获取它的样式;
1.3其次实现上下按钮实现上一页和下一页的切换,对其绑定鼠标点击事件,同时需要获取该元素的节点;
1.4最后实现底部的小圆圈的固定切换,需要对其绑定鼠标点击事件,这里用到获取该元素的节点,利用排他思想改变样式实现动态切换!
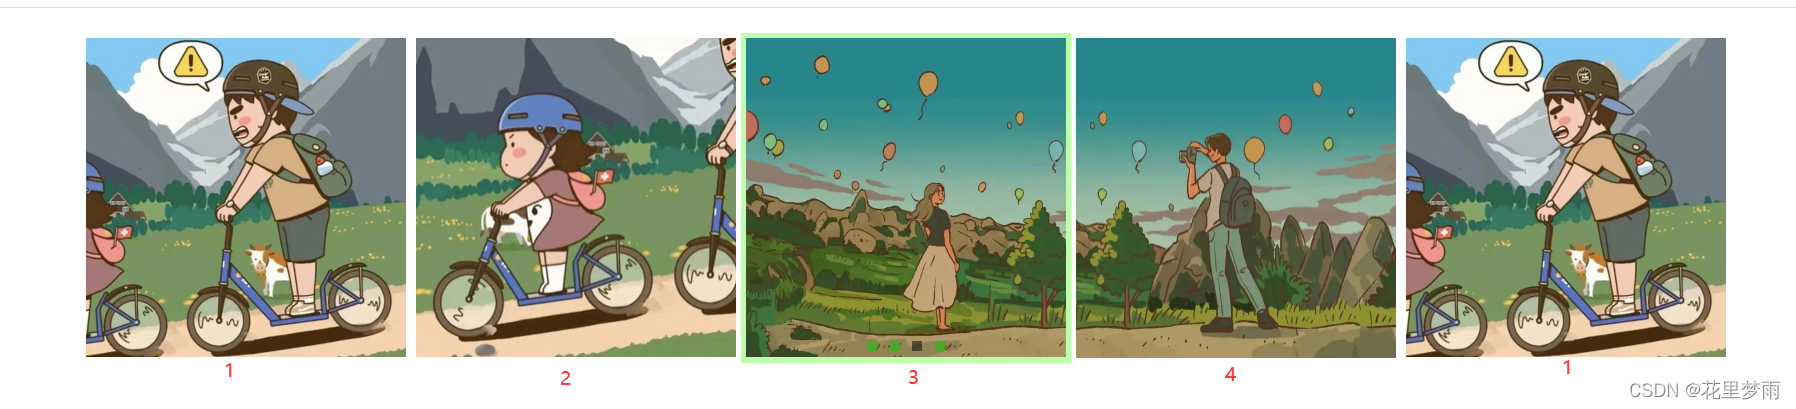
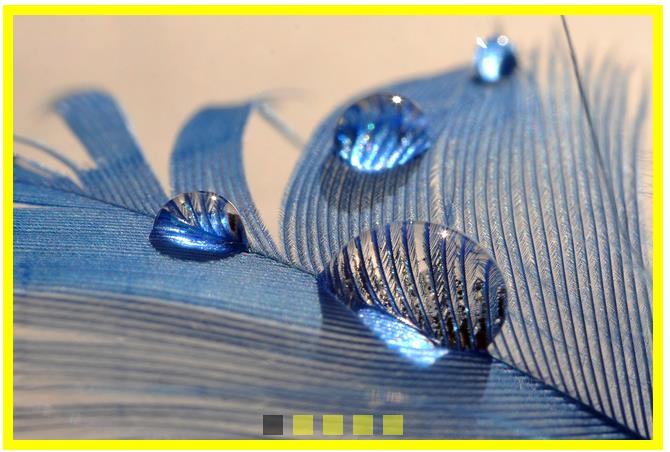
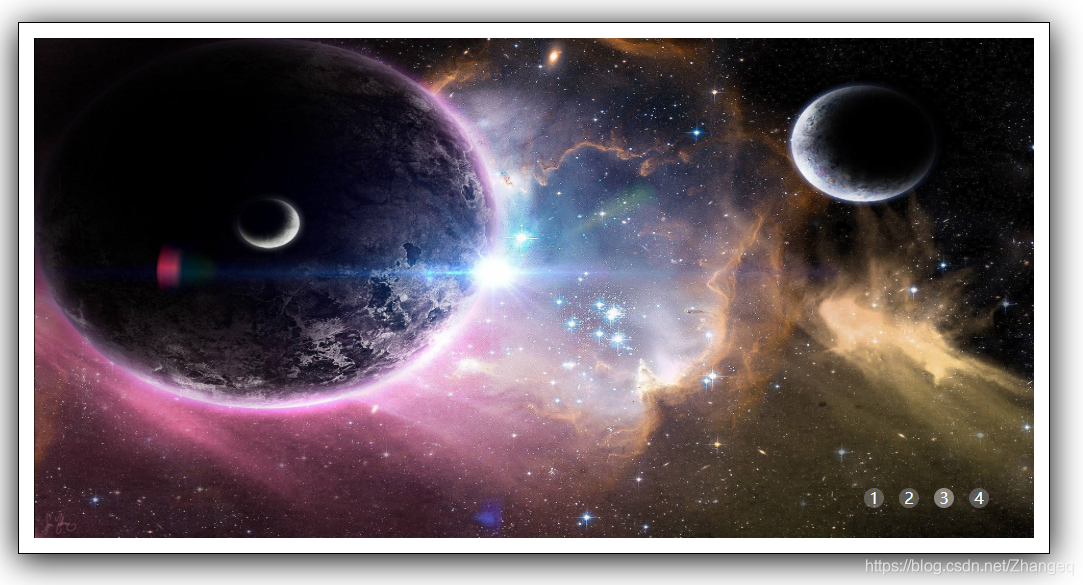
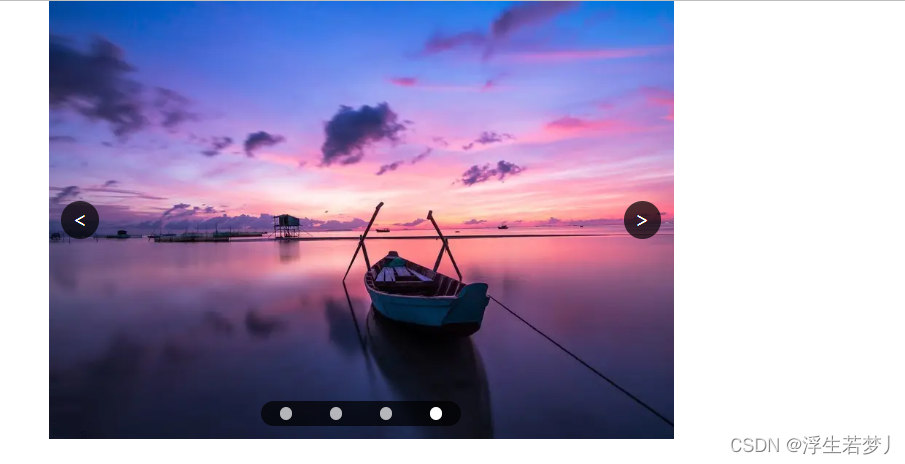
2.结果示意图:
(如图是鼠标点击状态和点击底部小圆点以及自动轮播效果,图片大小有限制就没能展示太长!!!)

3.参考代码:
html部分:
<!DOCTYPE html>
<html lang="en">
<head><meta charset="UTF-8"><meta http-equiv="X-UA-Compatible" content="IE=edge"><meta name="viewport" content="width=device-width, initial-scale=1.0"><title>Document</title><!-- 引用外部css样式 --><link rel="stylesheet" href="../css/index.css"><!-- 引用外部运动函数js文件,这里需要注意的就是一定要放到下一个js引用的前面 --><script src="../js/index01.js"></script><!-- 引用外部js文件 --><script src="../js/index.js"></script>
</head>
<body><div class="father"><ul class="one"><li class="son1"><img src="../image/1.jpg" alt=""></li><li class="son2"><img src="../image/2.jpg" alt=""></li><li class="son3"><img src="../image/3.jpg" alt=""></li><li class="son4"><img src="../image/4.jpg" alt=""></li><li class="son5"><img src="../image/5.jpg" alt=""></li><li class="son6"><img src="../image/6.jpg" alt=""></li><li class="son7"><img src="../image/1.jpg" alt=""></li></ul><button class="btn1"><</button><button class="btn2">></button><div class="two"><span class="active"></span><span></span><span></span><span></span><span></span><span></span></div></div>
</body>
</html>
js部分1(运动函数):
function startMove(dom, attrObj,callback) {clearInterval(dom.timer)var iSpeed = null,iCur = null;dom.timer = setInterval(function () {var bStop = true;for (var attr in attrObj) {if (attr == "opacity") {iCur = parseFloat(getStyle(dom, attr)) * 100} else {iCur = parseFloat(getStyle(dom, attr))}iSpeed = (attrObj[attr] - iCur) / 7;iSpeed = iSpeed > 0 ? Math.ceil(iSpeed) : Math.floor(iSpeed)if (attr == "opacity") {dom.style.opacity = (iCur + iSpeed) / 100} else {dom.style[attr] = iCur + iSpeed + "px"}if(iCur != attrObj[attr]){bStop = false}}if(bStop){clearInterval(dom.timer)typeof callback == "function" && callback()}}, 30)}function getStyle(dom,attr){if(window.getComputedStyle){return window.getComputedStyle(dom,null)[attr]}else{return dom.currentStyle[attr]}}js部分2(对页面元素进行操作):
window.onload=function(){var lock=true;var one=document.getElementsByTagName("ul")[0] // console.log(one);var moveWidth=one.children[0].offsetWidth; //移动的距离为400px,固定值var num=one.children.length-1 //每张图片的长度var index=0;var oSpanArray=document.getElementsByTagName("span")// console.log(oSpanArray);// 获取左右按钮var btn1=document.getElementsByTagName("button")[0]var btn2=document.getElementsByTagName("button")[1]// console.log(btn1,btn2);// 绑定点击事件btn1.onclick=function(){autoMove("pre")}btn2.onclick=function(){autoMove("next")}// 自动轮播var timer=null;//定时器调用函数// timer=setInterval(autoMove,2500)timer=setTimeout(autoMove,2500)function autoMove(direction){if(lock){lock=false;clearTimeout(timer);// 调用缓冲运动函数// console.log(direction);//定时器自动轮播和按钮下一页的功能一样可以一起写如下做一个判断if(!direction || direction=="next"){index ++;// 调用运动函数实现自动轮播和下一页切换startMove(one,{left:one.offsetLeft-moveWidth},function(){//当ul距离father左边宽度为-1600的时候,将最后一张图片切换为第一张图片if(one.offsetLeft==-num*moveWidth){console.log(one);one.style.left="0px"index=0;}// 调用延时定时器timer=setTimeout(autoMove,2500);lock=true;changeIndex(index);}) // 再次调用运动函数和定时器实现上一页切换}else if(direction=="pre"){// 判断第一张的情况下,将第一张切换为最后一张图片if(one.offsetLeft==0){one.style.left=-num*moveWidth+"px"index=num;}// 同理调用运动函数实现上一页的切换startMove(one,{left:one.offsetLeft+moveWidth},function(){timer=setTimeout(autoMove,2500)lock=true;changeIndex(index)})} }}// 封装一个函数实现底下小圆圈样式颜色改变,排他思想,同时要获取当前小圆圈类数组下标function changeIndex(_index){for(var i=0;i<oSpanArray.length;i++){// 遍历一遍底下6个小圆点,消除所以小圆点样式oSpanArray[i].className=""}// console.log(_index);// 保留自己的样式,剔除其他人留下我一个oSpanArray[_index].className="active"} // 遍历每一个小圆点,依次绑定点击事件for(var i=0;i<oSpanArray.length;i++){// 消除变量提升导致对i值得影响(function(myindex){oSpanArray[i].onclick=function(){lock=false;clearTimeout(timer)// 调用运动函数// 实现将小圆圈类数组的下标值*对应的移动的宽度赋值给要移动的距离点startMove(one,{left:-myindex*moveWidth},function(){lock=true;timer=setTimeout(autoMove,2500)changeIndex(myindex)})}})(i)}}
css部分:
*{margin: 0px;padding: 0px;
}
.father{width: 400px;height: 400px;/* border: 1px solid red; */overflow: hidden;margin: 200px auto;position: relative;}
.father .one{width: 2800px;height: 100%;/* border: 1px solid black; */margin-top: 0px;/* margin-left: -40px; */position: absolute;left: 0;top: 0;
}
.father .one li{list-style: none;width: 400px;height: 100%;float: left;}
.father .one li img{width: 400px;height: 100%;}
button{width: 40px;height: 40px;background-color: black;opacity: 0.2;color: white;text-align: center;line-height: 40px;font-size: 30px;position: absolute;top: 50%;}
.father:hover button{opacity: 0.7;
}
.father .btn1{left: 0px;
}
.father .btn2{right: 0px;
}
.father .two{width: 100%;height: 50px;/* background-color: blue; */position: absolute;bottom: 10px;text-align: center;line-height: 60px;
}
.father .two span{display: inline-block;width: 18px;height: 18px;border: 1px solid black;margin-left: 3px;border-radius: 50%;
}
.father .two .active{background-color: brown;
}
4.总结:
了解到轮播图的原理后,进行模块儿化处理的时候写很简单,可以实现单个模块比如:自动轮播、上下页的切换、小圆圈固定切换,这些功能单独写出来很容易,写到一起的时候会出现很多bug,这就要考虑到多个定时器的同时进行产生的影响,所以要及时在特定的时候清楚定时器来消除影响,(代码量可以精简,欢迎大家可以多多提意见!)