Preference 是Android App 中重要的控件之一,Settings 模块大部分都是通过 Preference 实现
优点:
Preference 可以自动显示我们上次设置的数据,Android提供preference这个键值对的方式来处理这种情况,自动保存这些数据,并立时生效,无需用户自己保存操作,只需要在xml中定义对应的Preference控件即可。
PreferenceActivity和PreferenceFragment:
PreferenceActivity是一个非常有用的基类,当我们开发Android项目时避免不了选项设置,这些设置习惯用Preference来保存。Android专门为这种Activity提供了便捷的基PreferenceActivity。如果继承自Preference则不需要自己控制Preference的读写,PreferenceActivity会为我们处理一切。
PreferenceActivity与普通的Activity不同,它不是使用界面布局文件,而是使用选项设置的布局文件。选项设置布局文件以PreferenceScreen作为根元素来表示定义一个参数设置界面布局。
从Android 3.0以后官方不再推荐直接让PreferenceActivity加载选项设置布局文件,而是建议使用PreferenceFragment,PreferenceFragment 源码布局实际就是一个RecyclerView,通过读取Preference的布局来作为其item,通过adapter适配器展示
Preference的介绍和使用
1.preference常用控件
Preference 控件家庭 View控件家庭 控件含义
Preference TextView 文本框
CheckPreference CheckBox 单选框
EditTextPreference EditText 输入文本框
ListPreference ListView 列表框
RingtonePreference —— 铃声
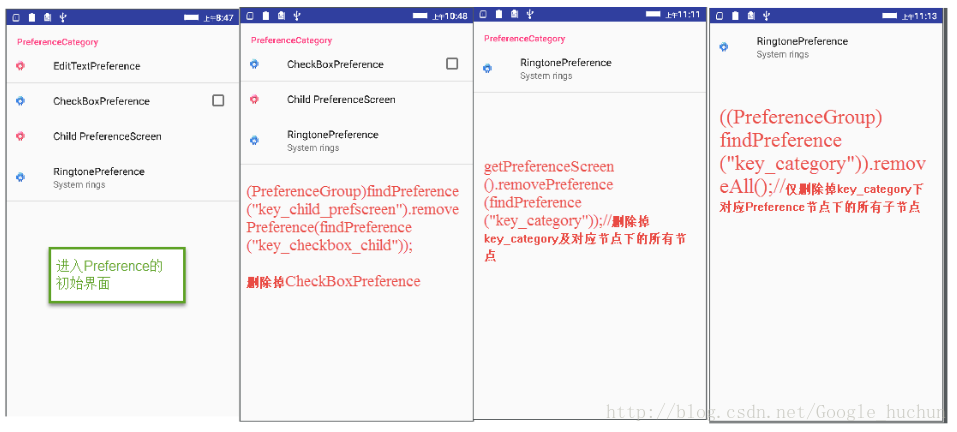
PreferenceCategory 类似于LinearLayou、RelativeLayout,用于组合一组Preference,使布局更具备层次感 。
PreferenceScreen 所有Preference元素的根节点
2.使用 需要加入依赖
implementation ("androidx.preference:preference:1.2.0-alpha01")(1)在res文件下定义xml文件夹,定义 test.xml;如下
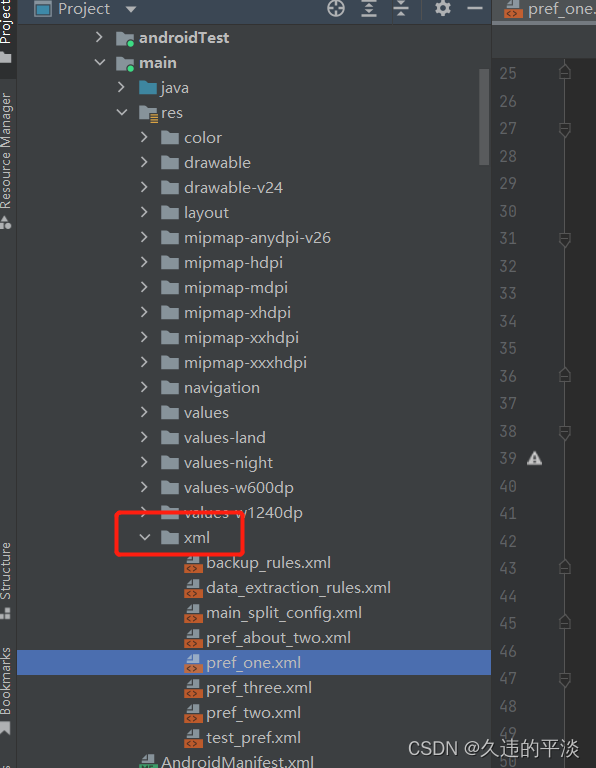
(2)xml文件中是定义的preference控件
<?xml version="1.0" encoding="utf-8"?>
<PreferenceScreen xmlns:android="http://schemas.android.com/apk/res/android"xmlns:app="http://schemas.android.com/apk/res-auto"xmlns:settings="http://schemas.android.com/tools"><PreferenceCategoryandroid:key="test2"android:title="第二组设置"><CheckBoxPreferenceandroid:defaultValue="false"android:key="g2_checkbox_key"android:summaryOff="关"android:summaryOn="开"android:title="第二组设置勾选" /><ListPreferenceandroid:dialogIcon="@android:drawable/stat_sys_warning"android:dialogTitle="第二组列表设置"android:key="g2_list_key"android:summary="选择"android:title="第一组列表设置" /></PreferenceCategory><SwitchPreferenceandroid:defaultValue="false"android:key="show_advanced_setting"android:summary="高级设置"android:title="显示高级设置" /><PreferenceCategory android:key="yh"><com.android.test3.prefence.RestrictedSwitchPreferenceandroid:defaultValue="true"android:icon="@drawable/ic_settings_wireless"android:key="login_dji_account"android:title="蓝牙" /><com.android.test3.prefence.RestrictedSwitchPreferenceandroid:defaultValue="true"android:icon="@drawable/ic_launcher_background"android:key="login_dji_account1"app:allowDividerAbove="true"android:title="网络" /><com.android.test3.prefence.RestrictedPreferenceandroid:icon="@drawable/ic_launcher_background"android:key="internet_settings"android:order="20"android:summary=" SAA"android:title="互联网"app:allowDividerAbove="true"settings:keywords="@string/keywords_internet"settings:useAdminDisabledSummary="true" /><com.android.test3.prefence.LuxPreferenceandroid:icon="@drawable/ic_settings_wireless"android:summary="ww"app:allowDividerAbove="true"android:title="测试自动" /><com.android.test3.prefence.LuxArrowPreferenceandroid:icon="@drawable/ic_settings_wireless"android:summary="ww"android:title="开始" /></PreferenceCategory></PreferenceScreen>
(3)新建类PrefFragment.java,让其继承PreferenceFragment,并加载选项设置的布局文件:(核心代码是第6行和13行)
package com.android.test3.fragment;
import android.os.Bundle;import androidx.annotation.Nullable;
import androidx.preference.PreferenceFragmentCompat;import com.android.test3.R;/*** @author hudebo* @desc* @date 2022/11/11*/
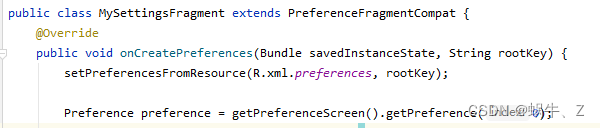
public class PowerFragment extends PreferenceFragmentCompat {@Overridepublic void onCreatePreferences(@Nullable Bundle savedInstanceState, @Nullable String rootKey) {//从xml文件加载选项 setPreferencesFromResource(R.xml.pref_two, rootKey);}
}
(4)然后,在MainActivity.java中加载上面的Fragment:
package com.android.test3;import android.os.Bundle;
import androidx.appcompat.app.AppCompatActivity;
import com.android.test3.fragment.PowerFragment;public class MainActivity extends AppCompatActivity {@Overrideprotected void onCreate(Bundle savedInstanceState) {super.onCreate(savedInstanceState);getSupportFragmentManager().beginTransaction().replace(R.id.content,new PowerFragment() ).commitAllowingStateLoss();}}
自定义Preference
有时候原生的preference满足不了我们的需求,比如,加个背景,加个其他控件等;此时就需要我们自定义控件解决
比如:(1)给布局设置背景;我们继承Preference;在onBindViewHolder 方法中对通过holder获取控件其进行设置
package com.android.test3.prefence;import android.content.Context;
import android.util.AttributeSet;import androidx.core.content.res.TypedArrayUtils;
import androidx.preference.Preference;
import androidx.preference.PreferenceViewHolder;import com.android.test3.PrefenceFeatureManager;
import com.android.test3.R;/*** @author hudebo* @desc 自定义子Preference 支持圆角; 去除summary  支持icon title* @date 2022/11/24*/
public class LuxPreference extends Preference {public LuxPreference(Context context, AttributeSet attrs, int defStyleAttr) {this(context, attrs, defStyleAttr, 0);}public LuxPreference(Context context, AttributeSet attrs) {this(context, attrs, TypedArrayUtils.getAttr(context, R.attr.luxPreferenceStyle,android.R.attr.preferenceStyle));}public LuxPreference(Context context) {this(context, null);}public LuxPreference(Context context, AttributeSet attrs, int defStyleAttr, int defStyleRes) {super(context, attrs, defStyleAttr, defStyleRes);}@Overridepublic void onBindViewHolder(PreferenceViewHolder holder) {super.onBindViewHolder(holder);if (holder != null) {PrefenceFeatureManager.setPrefenceBackground(this, holder.itemView);}}
}
(2)修改布局控件;a.首先我们在layout中定义绘制你的布局样式
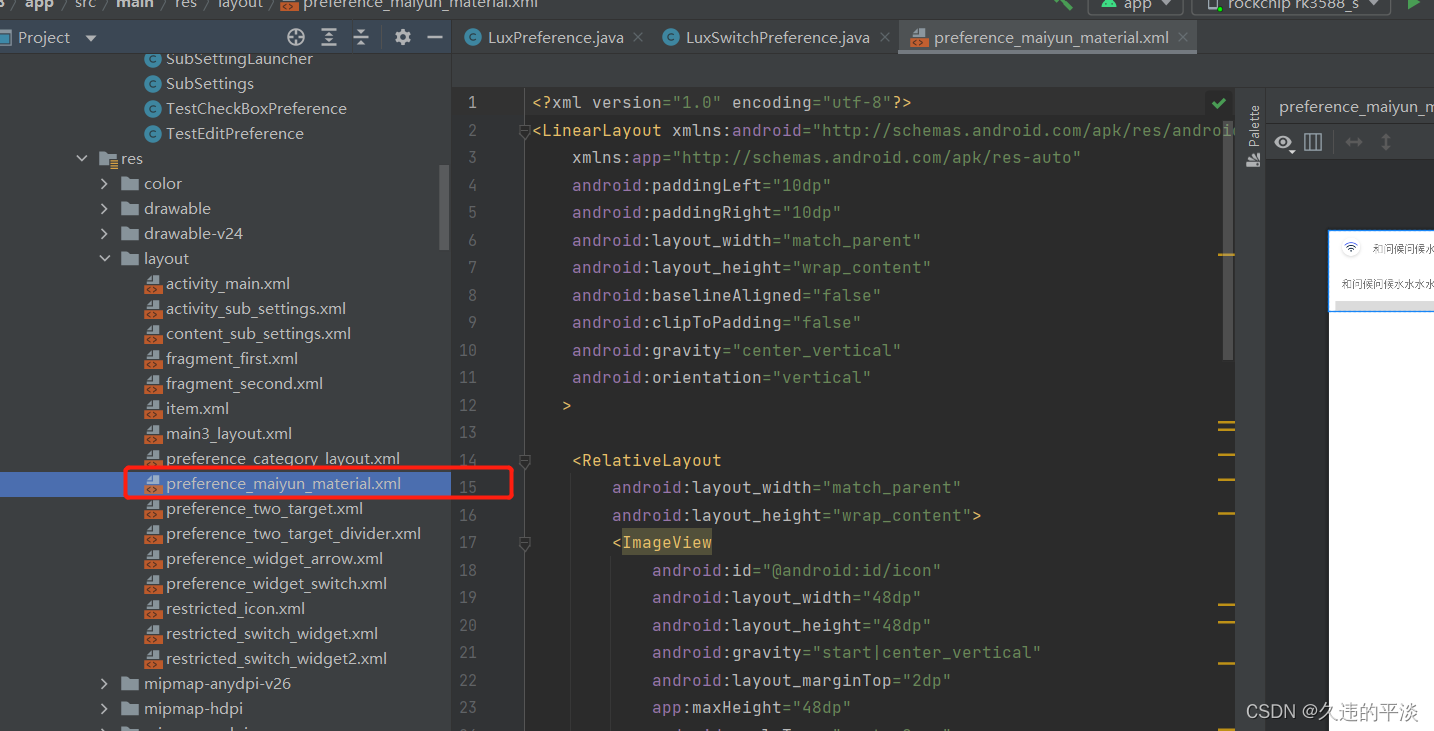
b.在自定义控件中引入你的布局即可
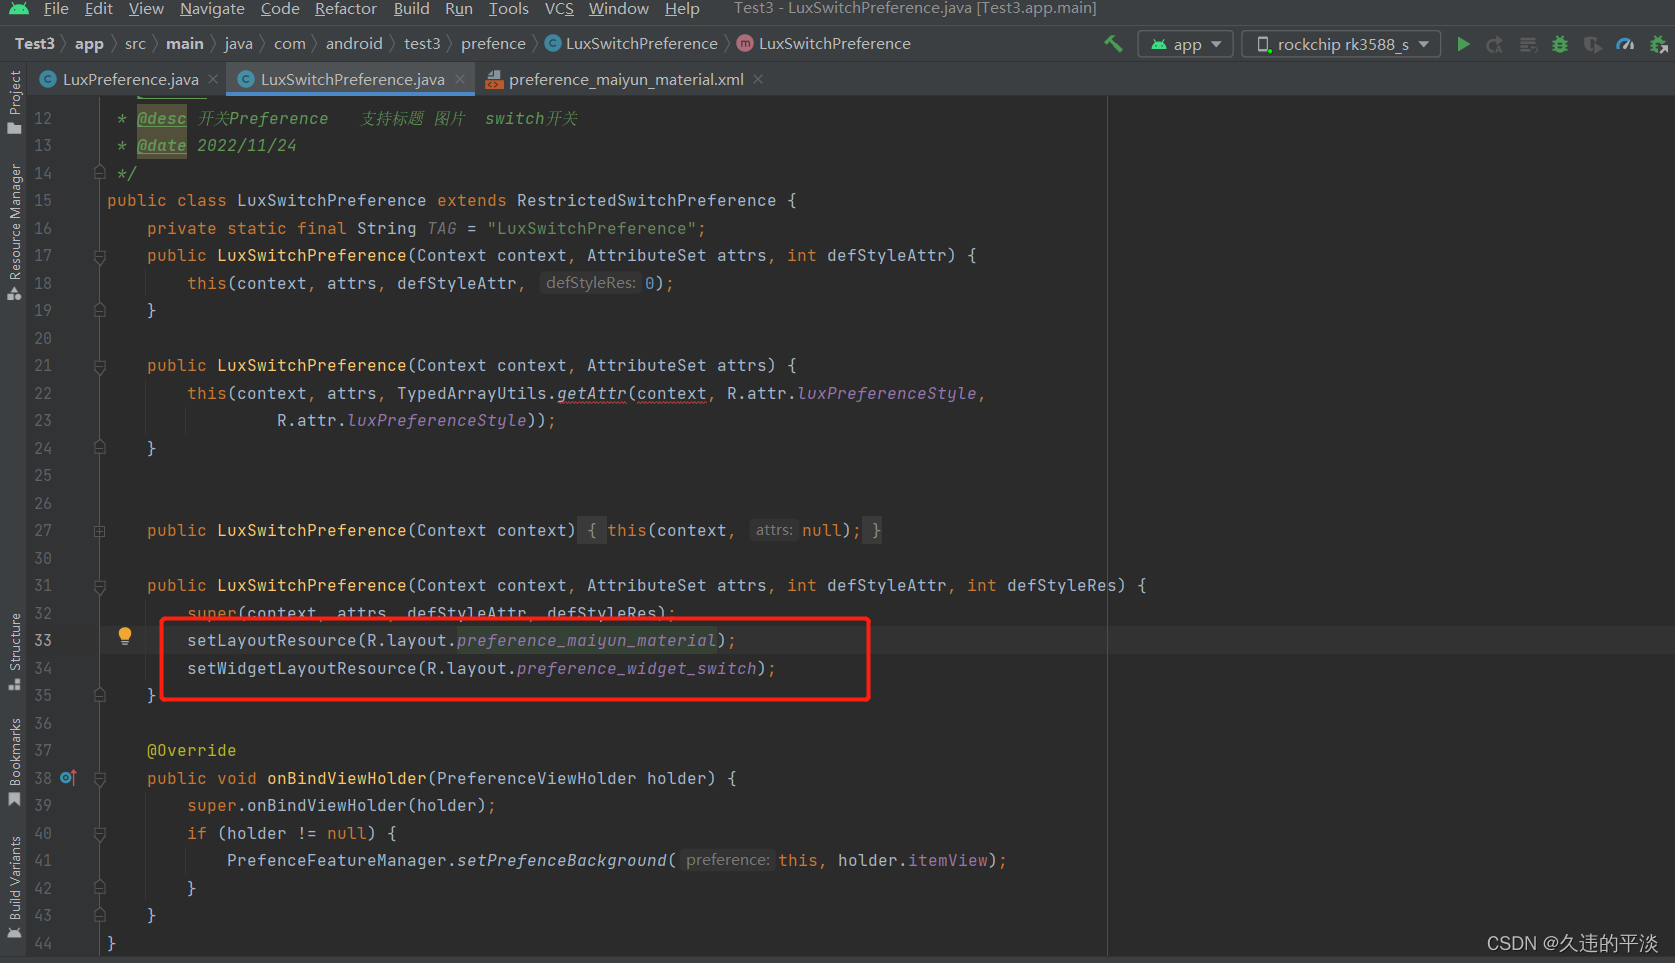
声明:setLayoutResource 方法即是覆盖原始preference的主布局;setWidgetLayoutResource 方法是覆盖原始布局的WidgetLayout的控件;如下图是preference的源码布局;
setLayoutResource 是替换除了"@android:id/widget_frame" 这个控件的部分;setWidgetLayoutResource只是替换"@android:id/widget_frame"部分;如果setWidgetLayoutResource不设置也不影响;说明你得,右边没有布局
<?xml version="1.0" encoding="utf-8"?>
<!--~ Copyright (C) 2015 The Android Open Source Project~~ Licensed under the Apache License, Version 2.0 (the "License");~ you may not use this file except in compliance with the License.~ You may obtain a copy of the License at~~      http://www.apache.org/licenses/LICENSE-2.0~~ Unless required by applicable law or agreed to in writing, software~ distributed under the License is distributed on an "AS IS" BASIS,~ WITHOUT WARRANTIES OR CONDITIONS OF ANY KIND, either express or implied.~ See the License for the specific language governing permissions and~ limitations under the License.--><LinearLayoutxmlns:android="http://schemas.android.com/apk/res/android"android:layout_width="match_parent"android:layout_height="wrap_content"android:minHeight="?android:attr/listPreferredItemHeightSmall"android:gravity="center_vertical"android:paddingLeft="?android:attr/listPreferredItemPaddingLeft"android:paddingStart="?android:attr/listPreferredItemPaddingStart"android:paddingRight="?android:attr/listPreferredItemPaddingRight"android:paddingEnd="?android:attr/listPreferredItemPaddingEnd"android:background="?android:attr/selectableItemBackground"android:clipToPadding="false"android:baselineAligned="false"><include layout="@layout/image_frame"/><RelativeLayoutandroid:layout_width="0dp"android:layout_height="wrap_content"android:layout_weight="1"android:paddingTop="16dp"android:paddingBottom="16dp"><TextViewandroid:id="@android:id/title"android:layout_width="wrap_content"android:layout_height="wrap_content"android:singleLine="true"android:textAppearance="?android:attr/textAppearanceListItem"android:ellipsize="marquee"/><TextViewandroid:id="@android:id/summary"android:layout_width="wrap_content"android:layout_height="wrap_content"android:layout_below="@android:id/title"android:layout_alignLeft="@android:id/title"android:layout_alignStart="@android:id/title"android:layout_gravity="start"android:textAlignment="viewStart"android:textColor="?android:attr/textColorSecondary"android:maxLines="10"style="@style/PreferenceSummaryTextStyle"/></RelativeLayout><!-- Preference should place its actual preference widget here. --><LinearLayoutandroid:id="@android:id/widget_frame"android:layout_width="wrap_content"android:layout_height="match_parent"android:gravity="end|center_vertical"android:paddingLeft="16dp"android:paddingStart="16dp"android:paddingRight="0dp"android:paddingEnd="0dp"android:orientation="vertical"/></LinearLayout>
以上就是一些个人理解;像通用的preference属性;以及点击等相关方法后续介绍; 喜欢的点个赞吧!!!